|
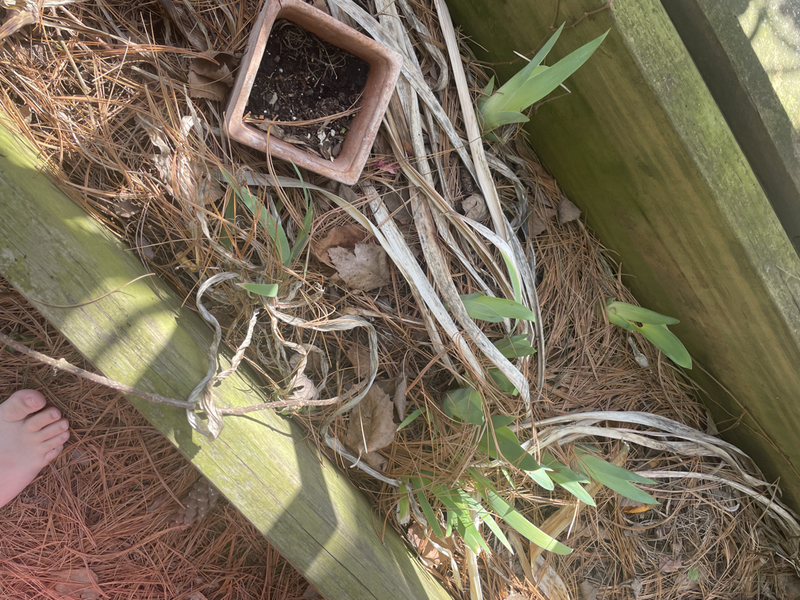
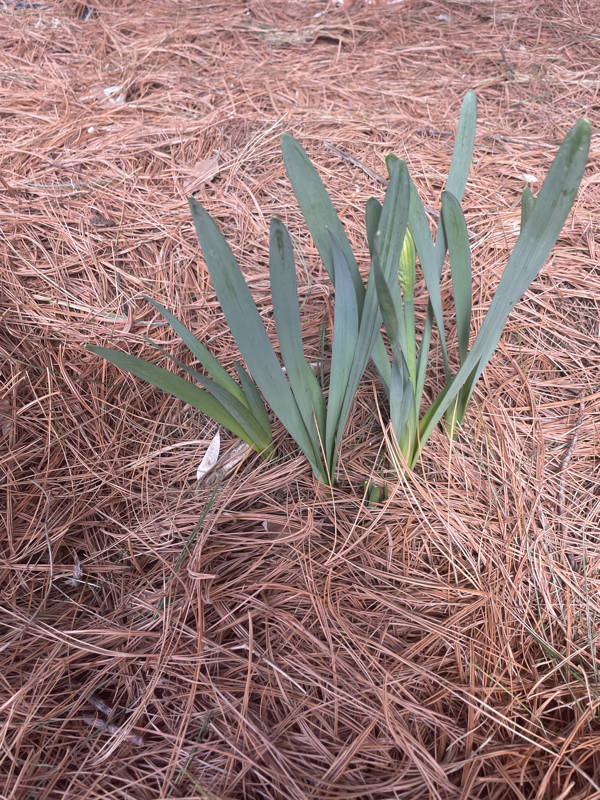
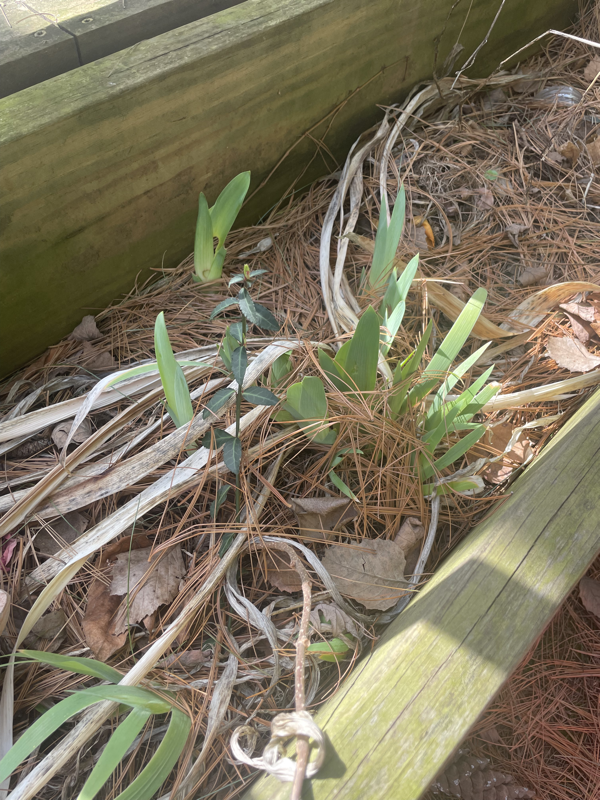
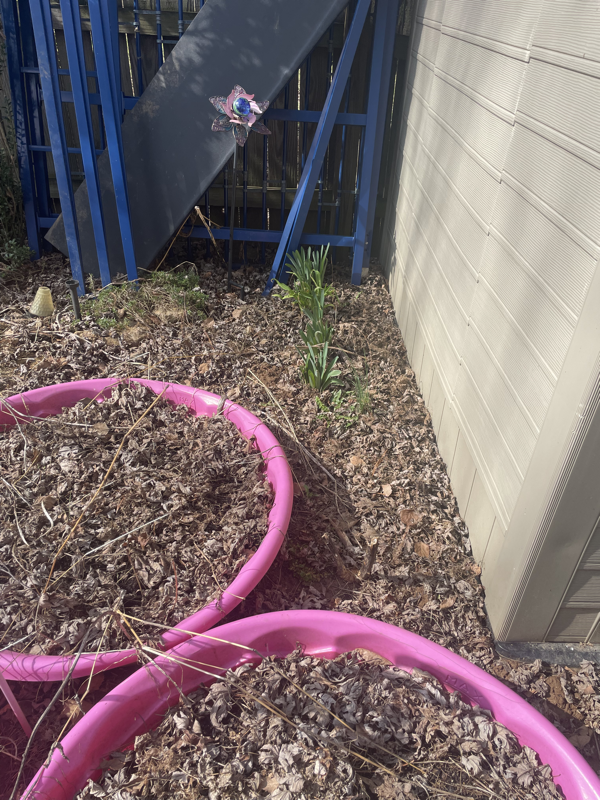
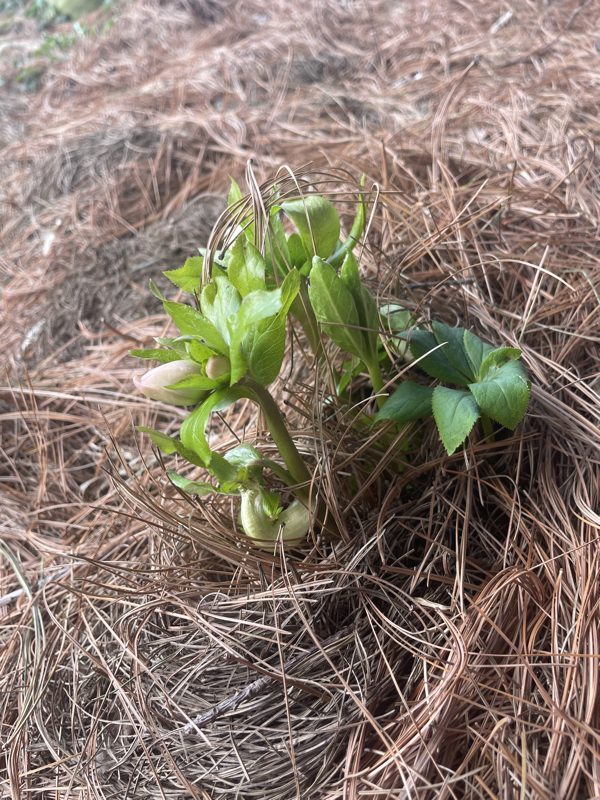
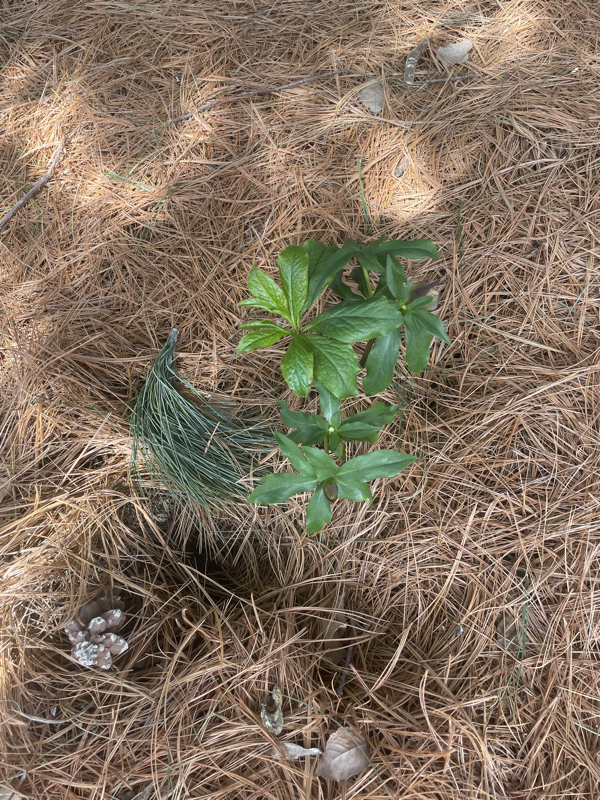
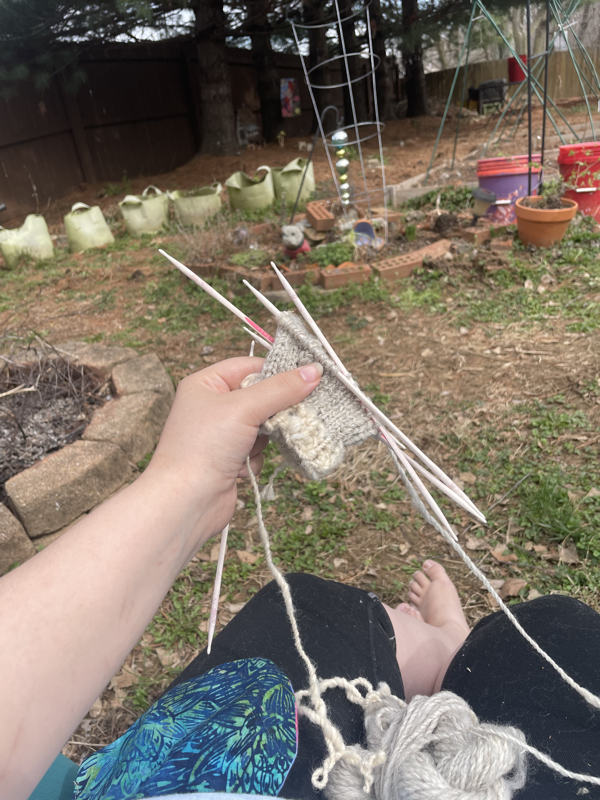
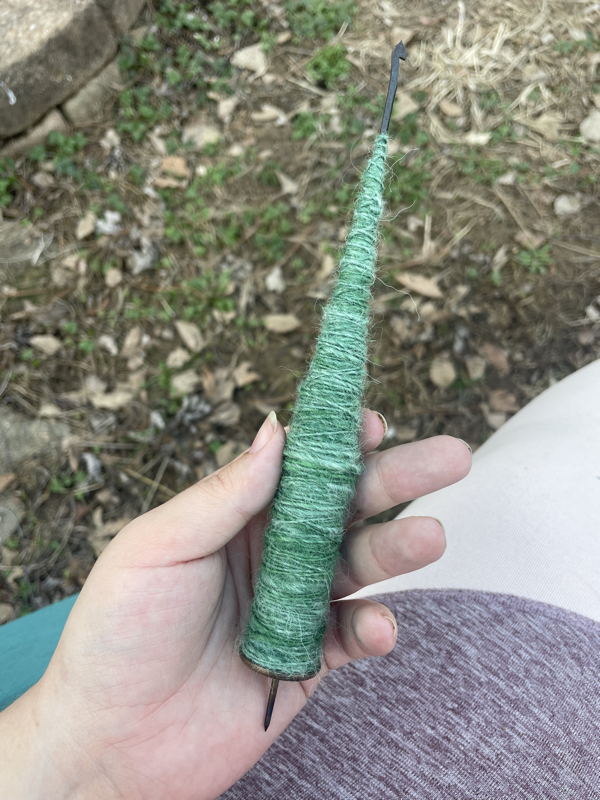
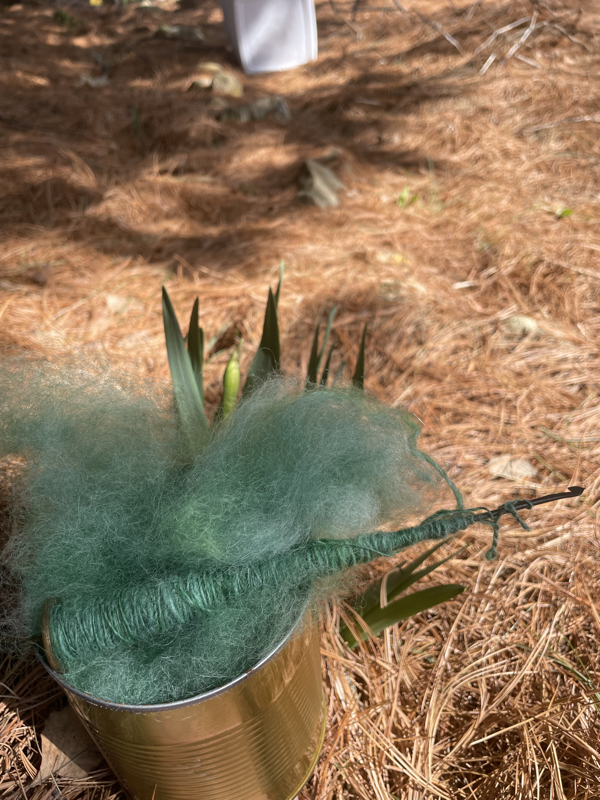
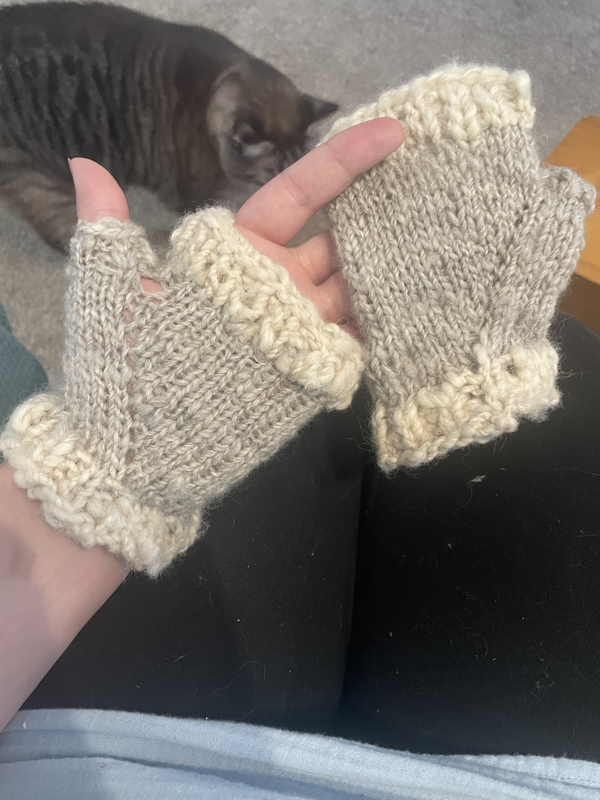
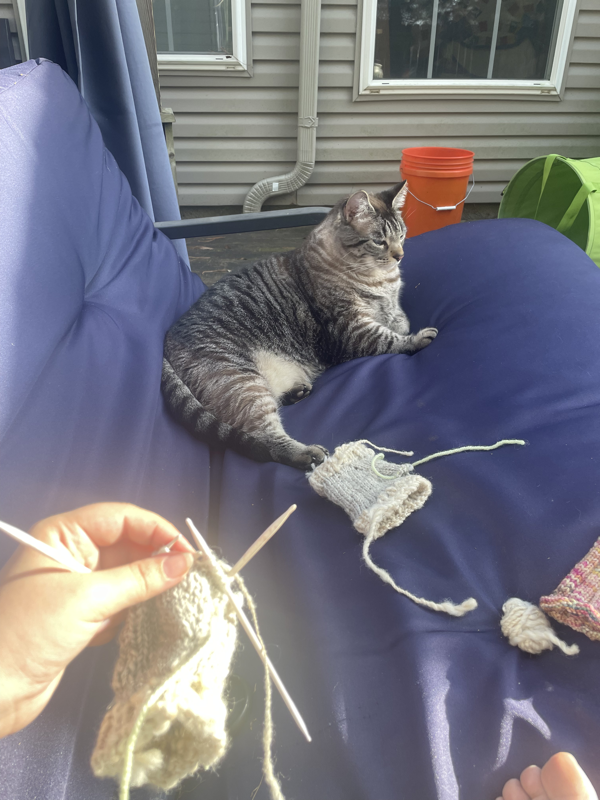
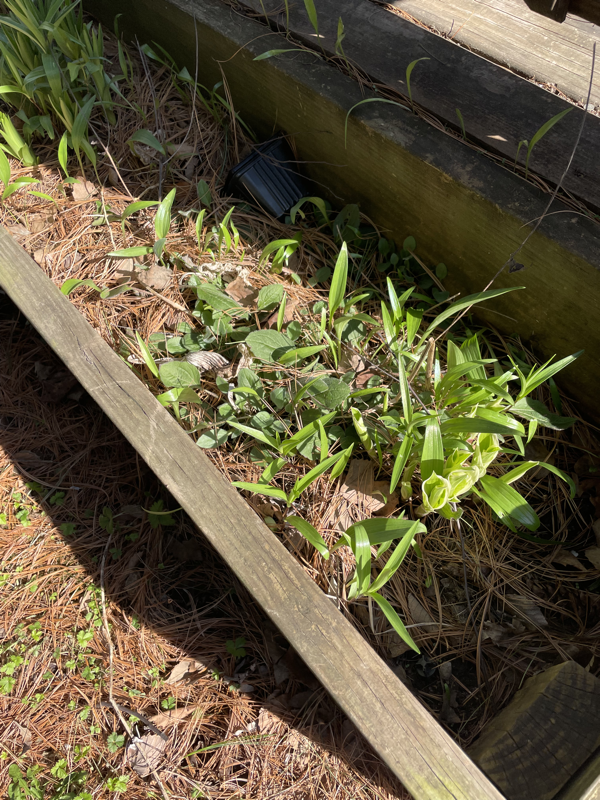
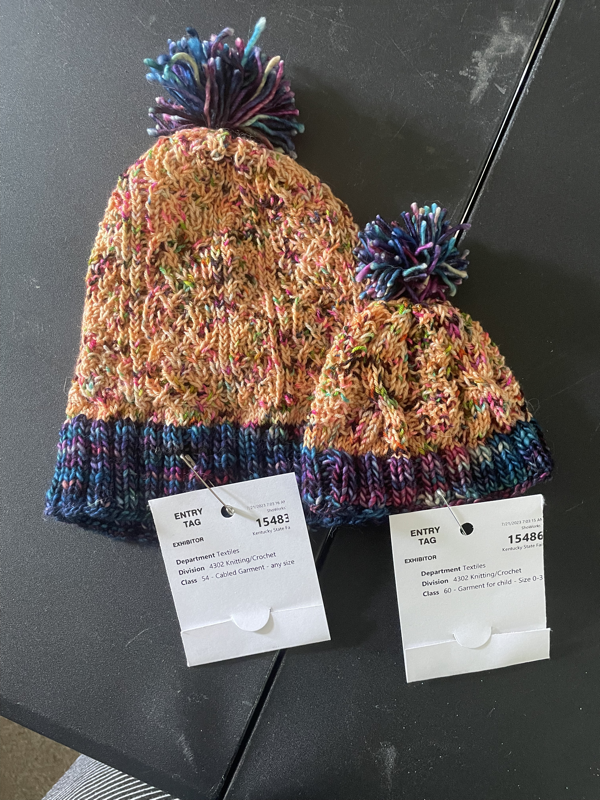
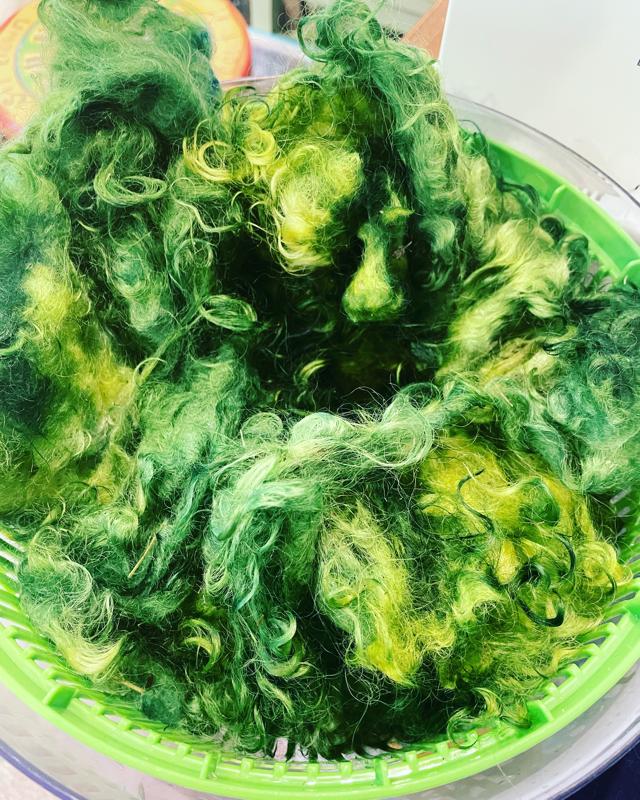
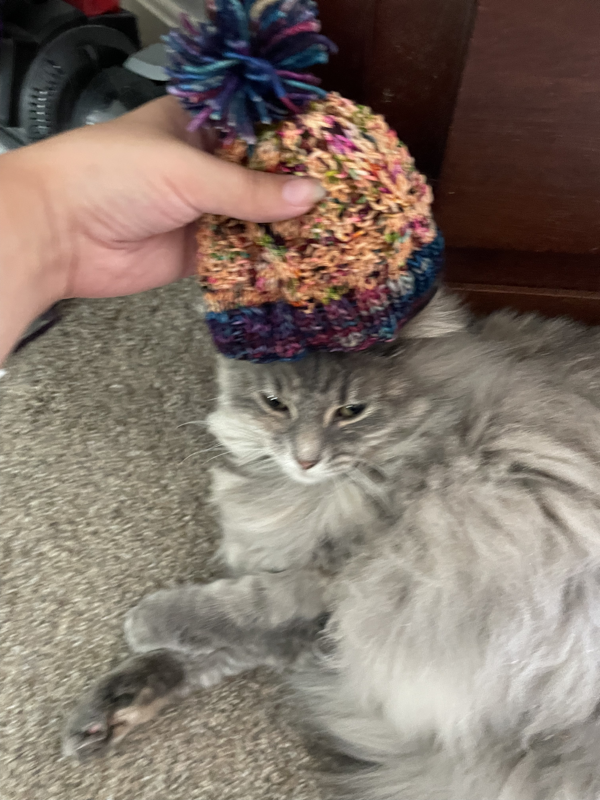
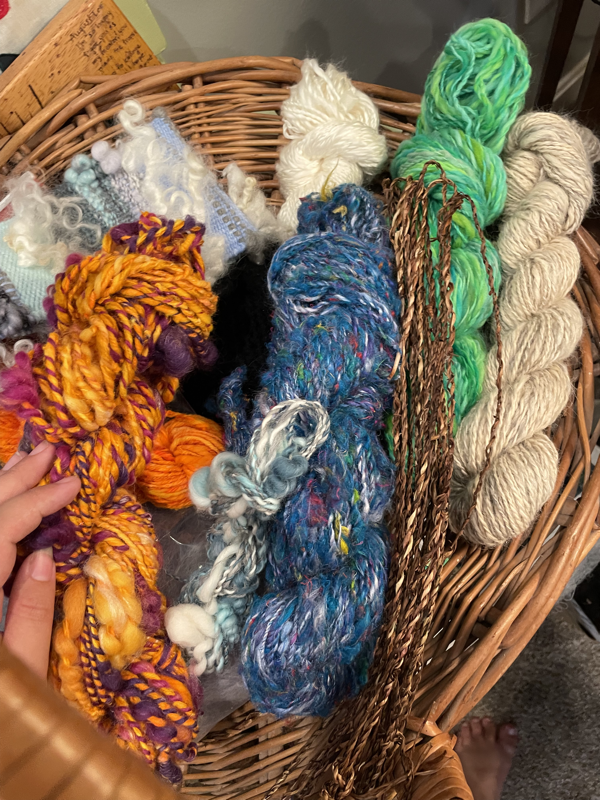
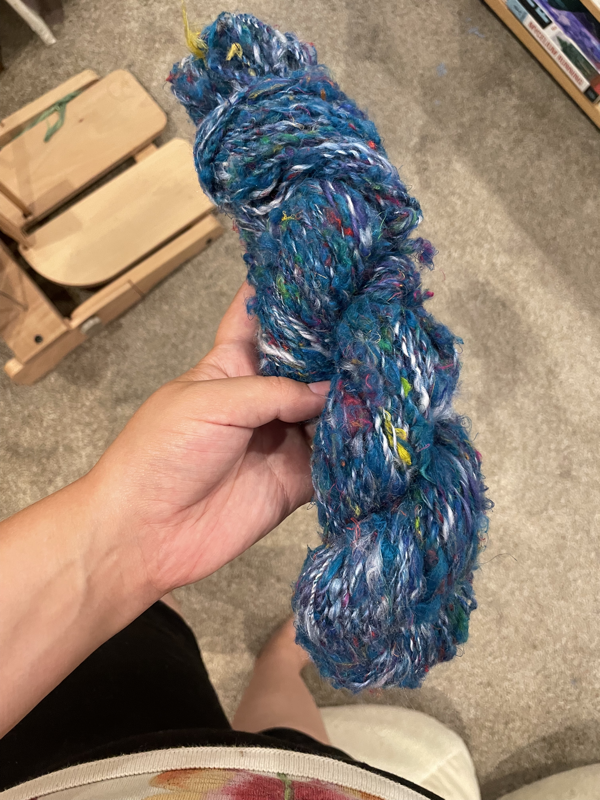
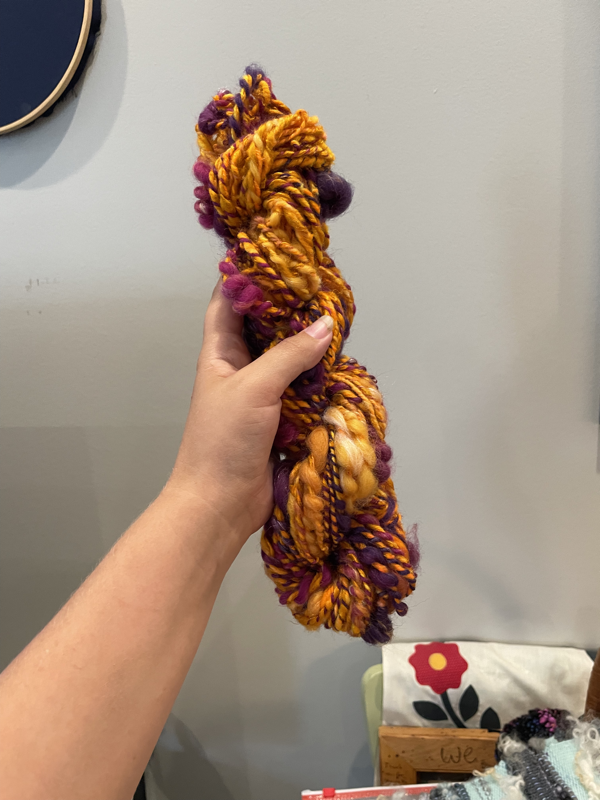
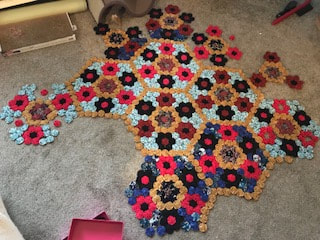
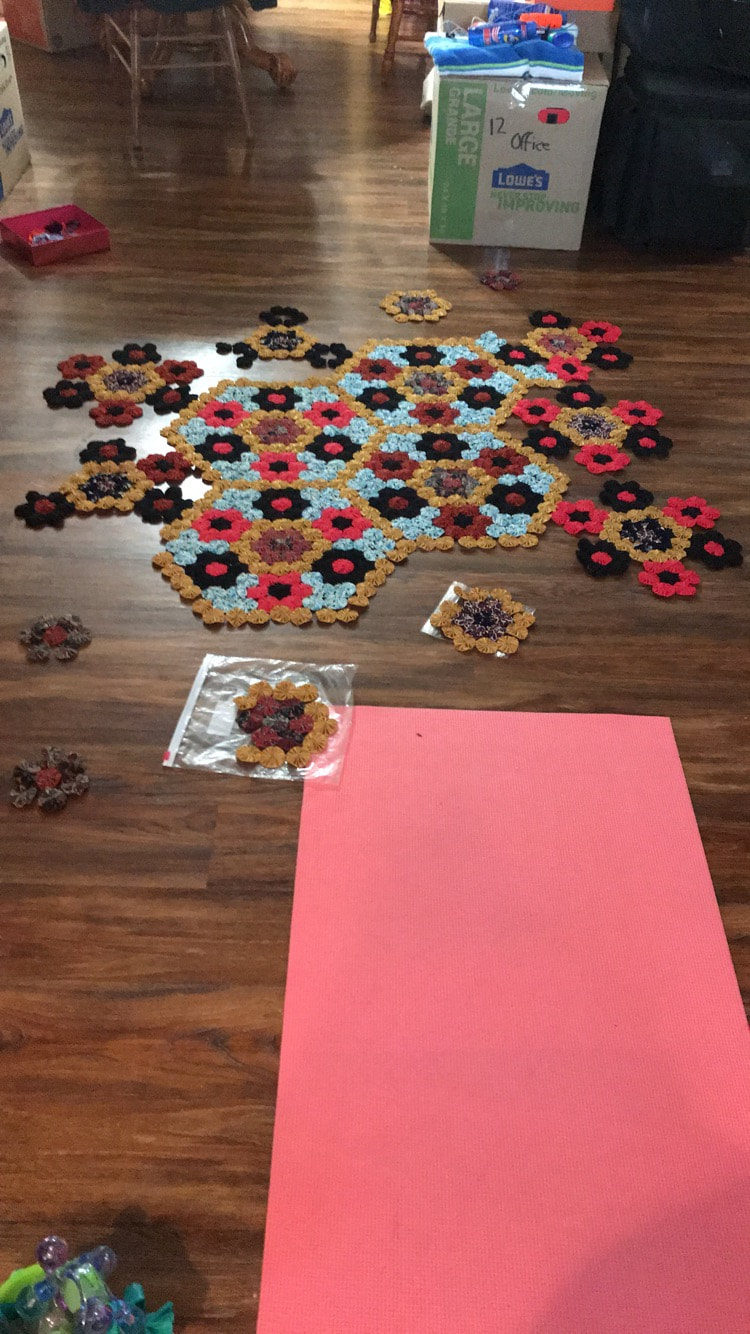
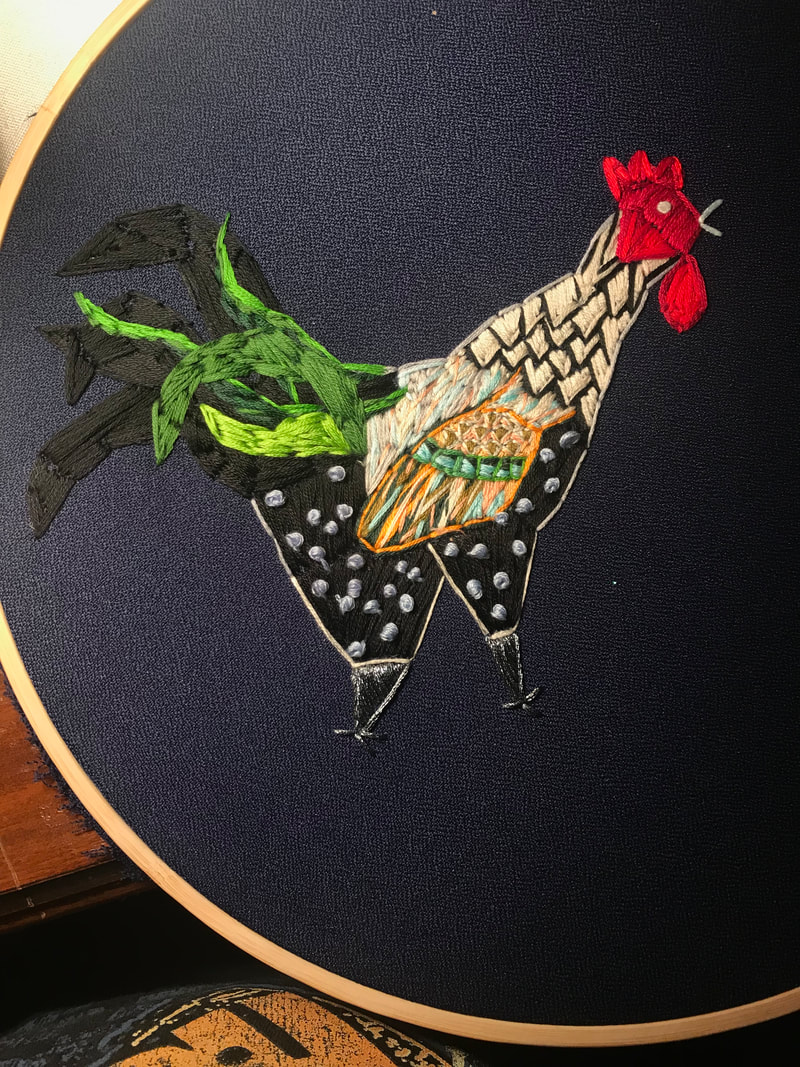
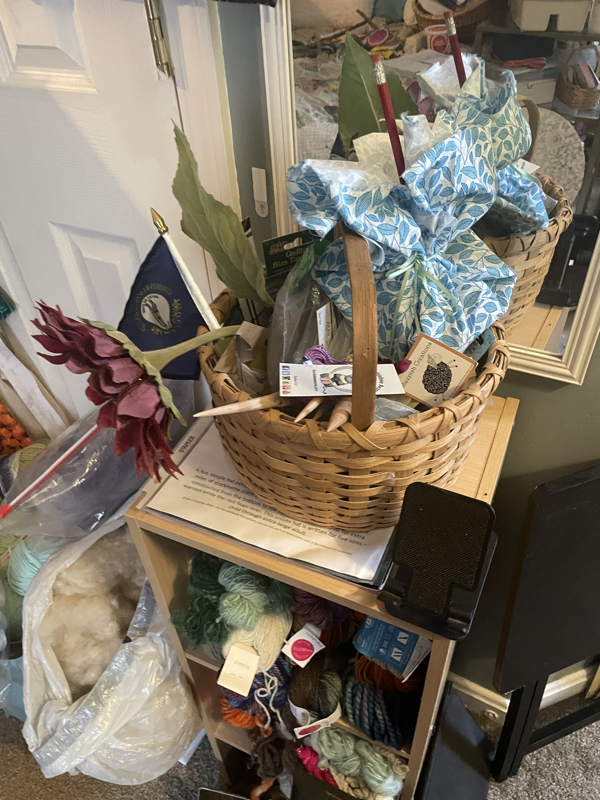
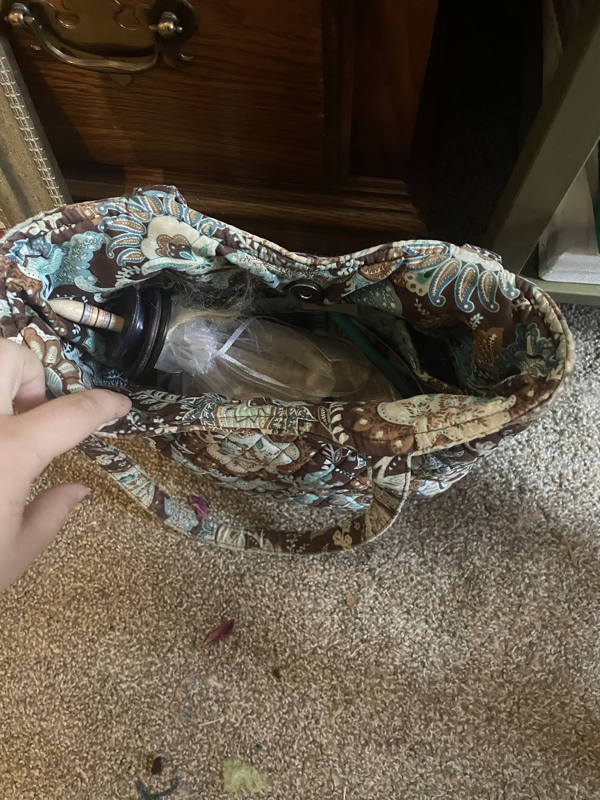
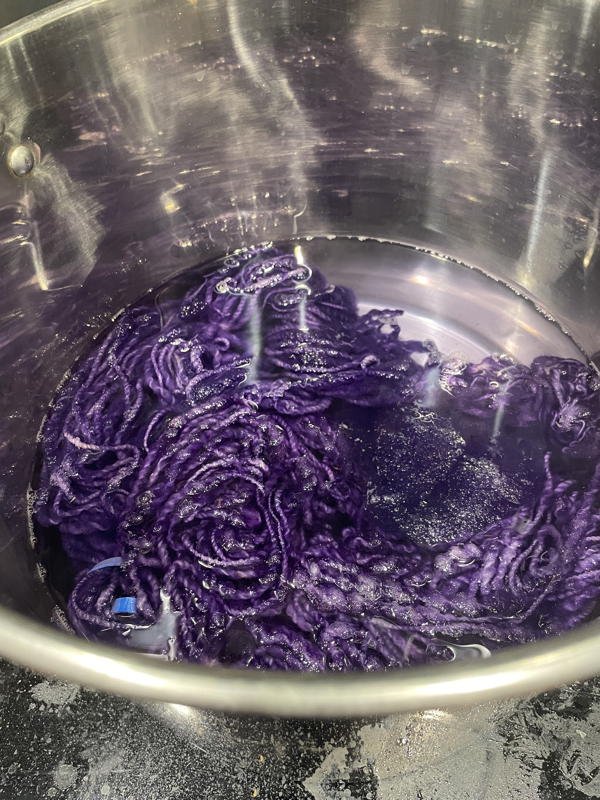
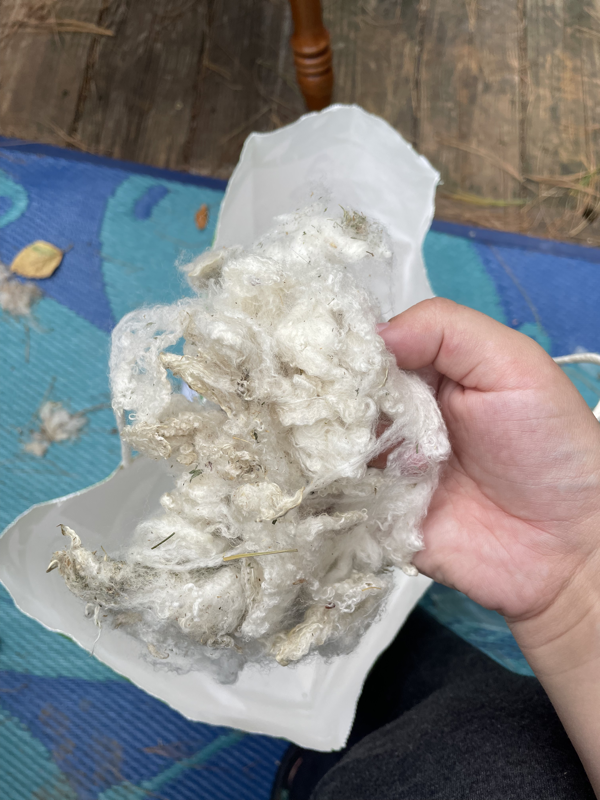
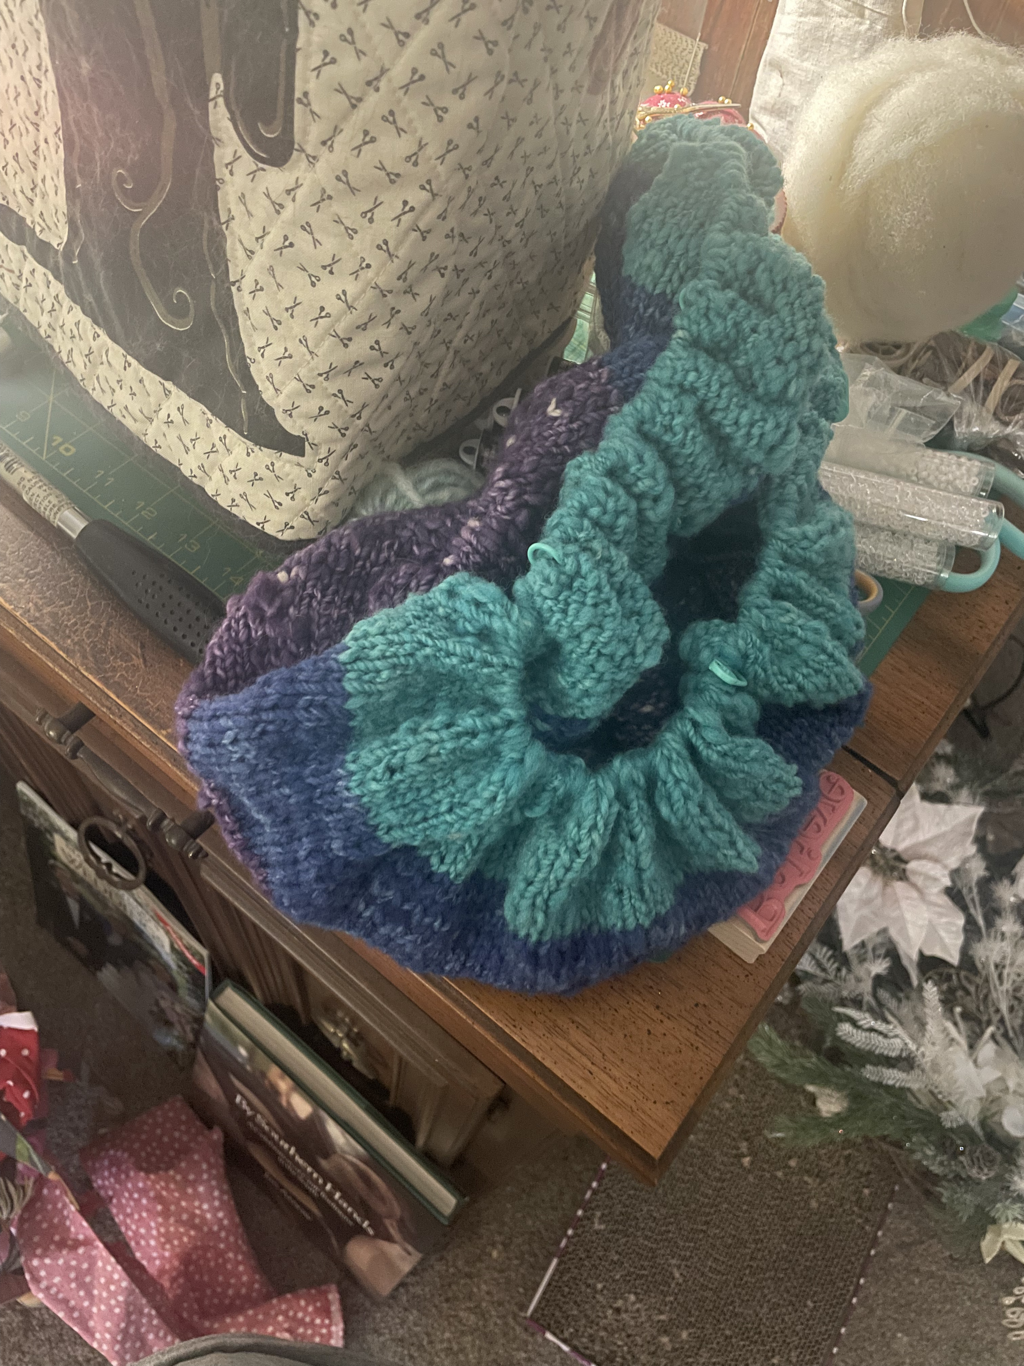
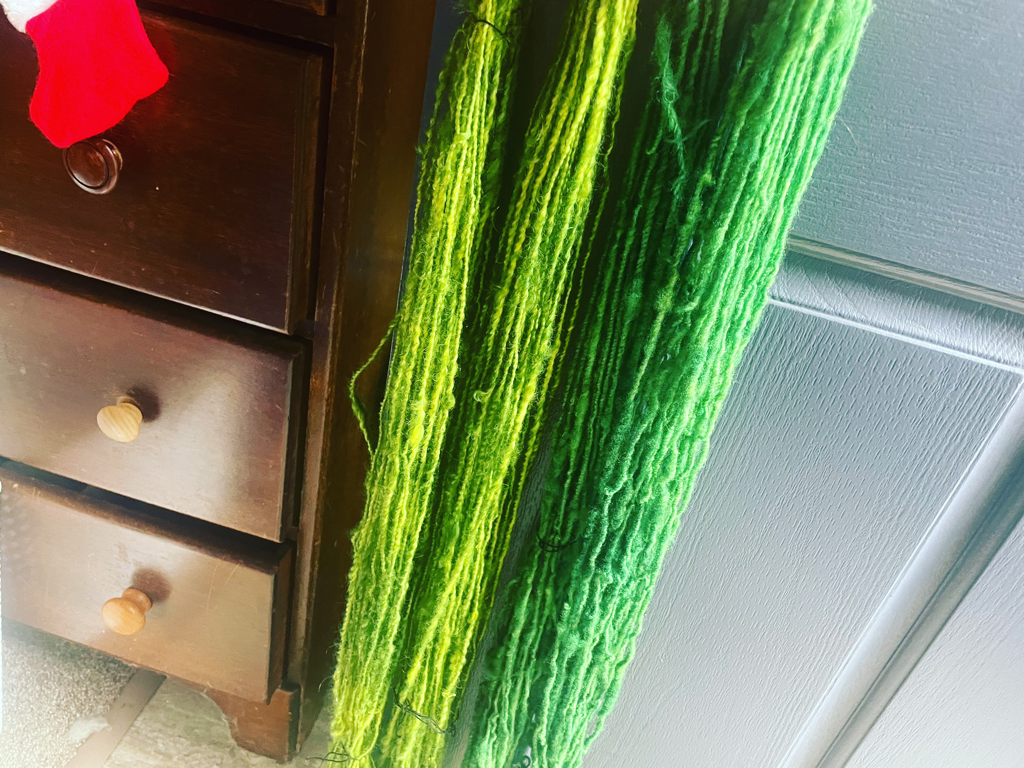
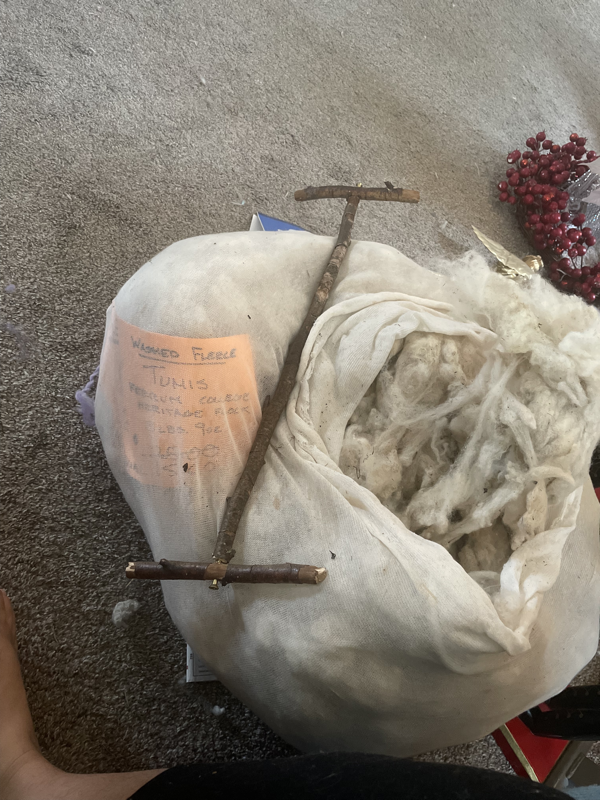
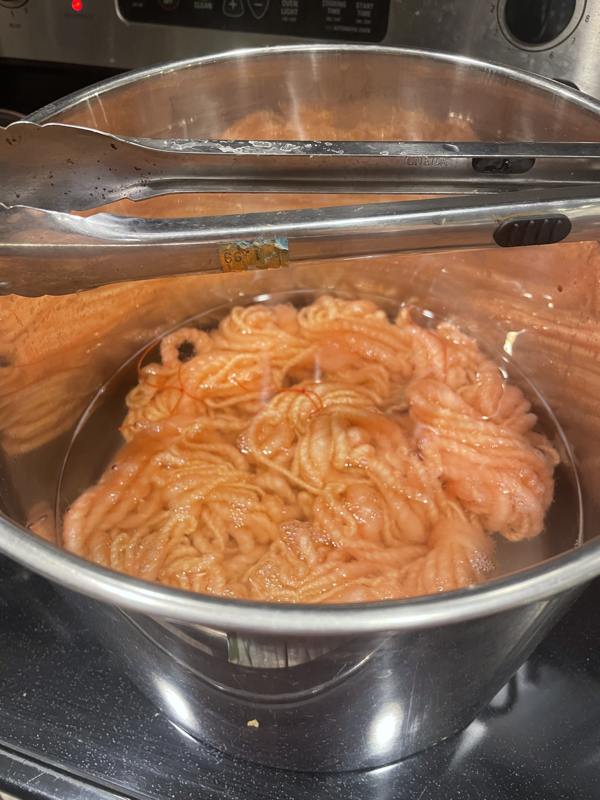
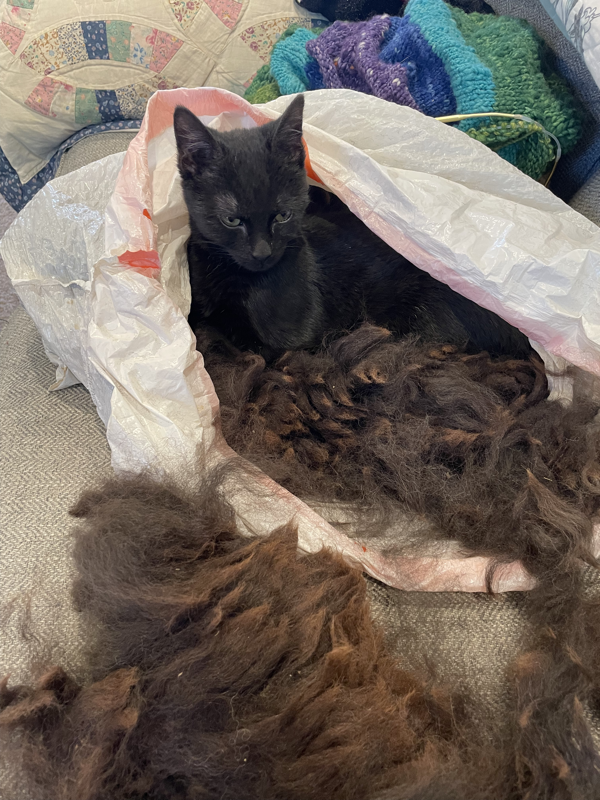
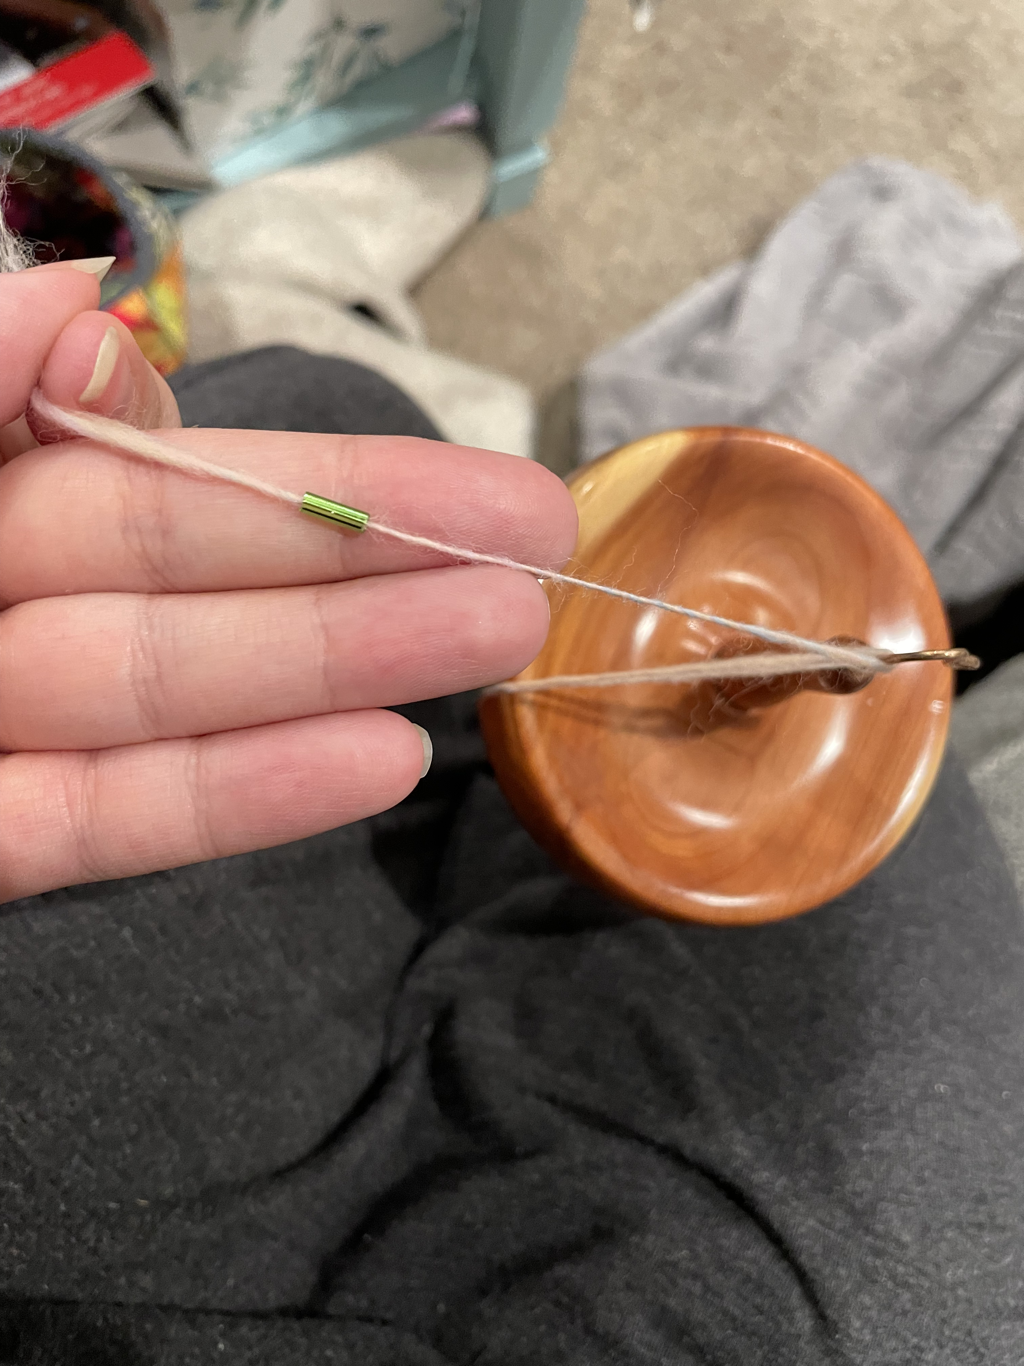
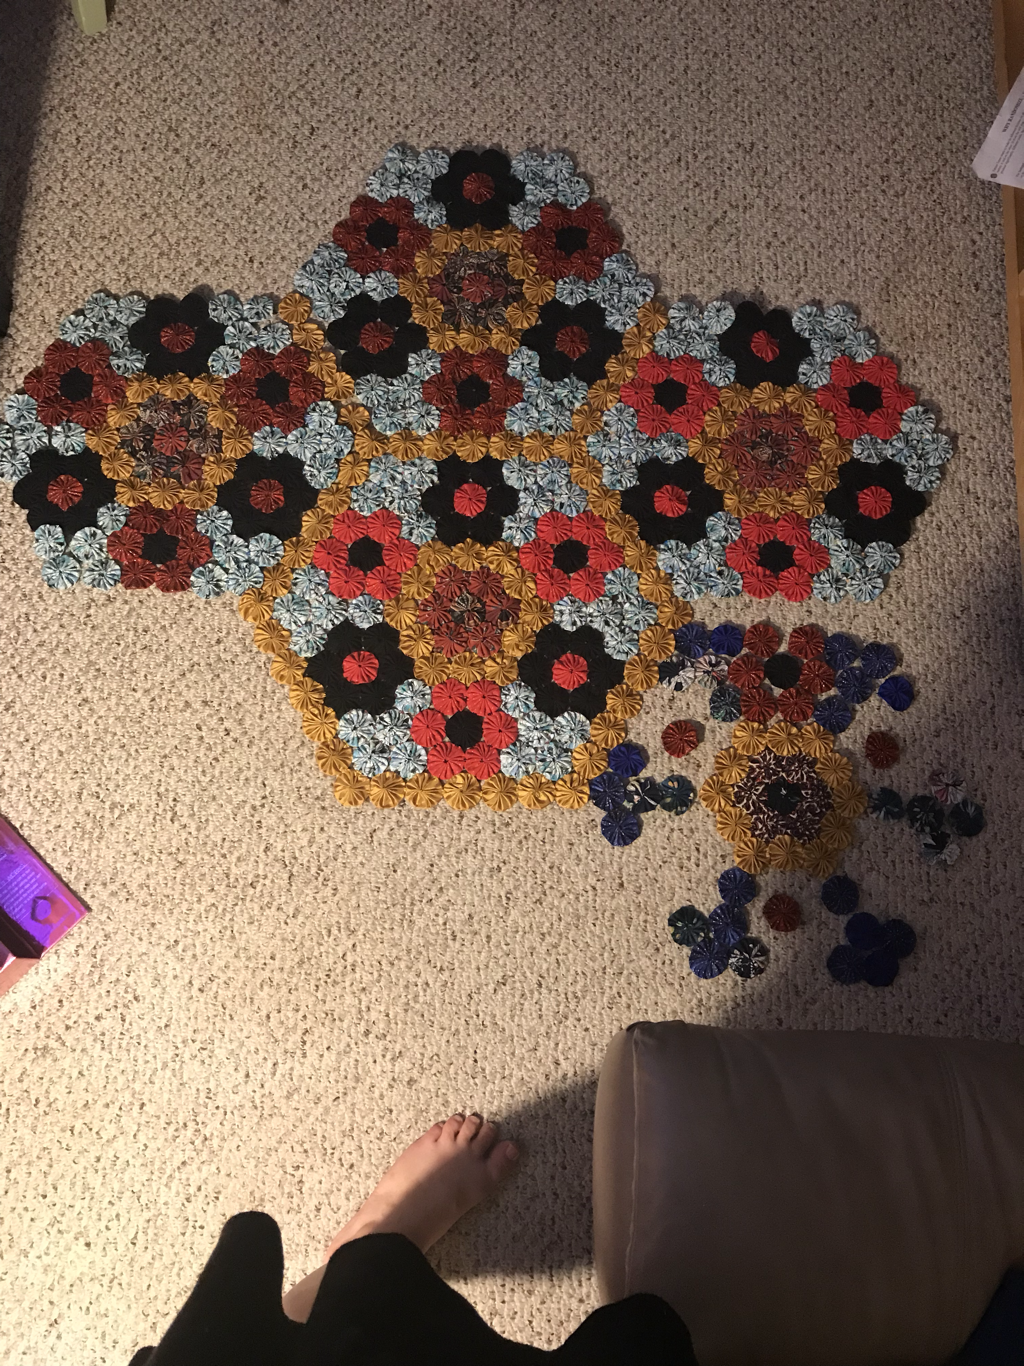
February and March were very busy months for me, I worked on a lot of different projects, some of which were completed, and I’ll go over in my Finished Object Roundup. But first I’ll give the update on the Yo-Yo Quilt—still working on the top with only 8 tiles to go! The first thing I made in February was this delicate beaded yarn, which I wrote about and actually made a video about too, so I won’t go on about it. I continued my natural dyeing explorations with cherry, onion, red cabbage, pomegranate, and spinach on cotton fabric. I also branched out into dyeing wool roving (with red cabbage). I pre mordanted the wool in tannins and mordanted in alum, the same as I do with my cotton fabric, however, the color did not saturate very heavy on the wool. I’m interested in trying roving again with a different dye material, but I’m also interested in using acid dyes. I have used those before with yarn, but I’d like to see how it works with roving. Before I dyed my wool roving, I had to premordant and mordant it. For the mordant, (second,) I did my usual alum soak, and for my premordant, (first,) I did my usual tannin soak (which is a many step process). First step, gather materials with tannins. Sometimes I do pine needles. However, when I tried them this time, I remembered there are actually better sources of tannin in my daylily spent leaves. So I added in some of them, and some spent Iris leaves too (for good measure). Second step, take this time as an opportunity to do some basketry (Possum, my cat, helped). Third, when done basketing, remove the rest of the material to dry, and go ahead and soak your material to be dyed. I let it soak for 24 hours, then let it dry thoroughly before going ahead and mordanting, then after 24 hours, again let it dry completely before the dye process. In getting ready for selling at farmers markets, I did dye up some yarn with acid dye, in turquoise (and overdyed with Copenhagen blue), in a dark green and turquoise (overdyed In purple), and in magenta and violet (overdyed in purple). I got to some knitting, finishing my very own Hermione’s Everyday Socks in Jems Luxe Fiber’s Texas Wildflowers, accented with what is seeming to be my favorite, Malabrigo Washted Fortaleza. I liked the cast on number that I went with (56), and think after wearing them for a bit, I could go even smaller. I have a whole lot of fun knitting on double pointed needles, and honestly can’t wait to do more socks. After my socks, I focused on a new hat for myself, I did both as birthday presents to myself, and was really happy that I did. It’s nice to treat yourself for your birthday, and why not have a dual purpose gift? The feeling of accomplishment as well as the item. I did another Hat For Joy hat pattern—this time one section smaller (on accident) but it just fits different. My first hat is pretty big and slouchy, and this one ended up a close fitting beanie. I think I could go even fluffier on my yarn poms. This time around, the pattern was much more in my mind, and it took less brain power (and since it was smaller, less time!) I loved the colors I went with; a cobalt, Ziggy Stardust from Miss Babs, and Malabrigo Fortaleza again, and for the body, Miss Babs Smurf and Turf in their sparkle base, Estrelita. I explored a little more into my pagan craft (I am exploring pagan practices through my January’s book club book, Sacred Actions: Sustainability through the Wheel of the Year. A common Imbolc or Candlemas ritual is making candles. Two of the common candles made are a blue or black weather candle (to be lit during storms) and a red woman’s candle, for fertility. I decided to make these two (though, I haven’t lit the weather one yet, and don’t expect to light my woman’s candle for some time ahead. They are both sitting on my Matriarch’s Altar.) For my Ostara, or Spring Equinox celebrations, I did a little more candle making with sun eggshell candles. I made a little hole in two eggs blew out the contents of them, and set them where they stood straight up. For some reason I had a cutting board out, and the handle was absolutely perfect for this. So I got out another cutting board that had the same style of handle, and my eggs were perfectly held up. I melted some beeswax in a plastic cup in my dye pot—still planning on getting a pot from goodwill for beeswax use only. The plastic cup was 1000 times better than cans, because I could hold it with my fingers rather than pliers. I added turmeric and calendula petals, which were really on theme and gave a much more natural look than crayons. I’ve come to the conclusion that beeswax pellets are probably the better option for melting, rather than a brick (which I smashed apart with a hammer on my garage floor.) After a really long time melting, I placed a wick in each egg, and carefully poured in the wax. Lessons learned, don’t poke a hole in the bottom of the egg as well as the top. The wax will pour right out that hole until it hardens. (I did that with the first egg, but not the second, which worked much better.) Let harden, and gently break the eggshell off, trim wicks and they’re ready to go! Now, my eggs had a bit of membrane that left the bottom of the candle flat. If yours come out rounded at the bottom, melt the bottom a little in your beeswax pot. Also for the pagan holiday Ostara, I did a little magic weaving with some foraged willow, I made a hoop and warped around it in preparation for some circular weaving. I spun a little thick-and-thin, spring green yarn on my louet drop spindle, and wound it onto a knitting needle to use as a weaving bobbin. I’m not completely done with the weaving, but I’m kind of extending my Ostara celebration until May, when we hit Beltane. And finally, I started making prototypes of little quilted bags to sell at the markets. The end goal is to use hand dyed fabric, but while I’m figuring it all out, I’m using some fabric I bought—chicken fabric! I did my best to match the pattern so the chickens look good on the actual bag. The whole thing was really a learning process, and there were several key takeaways. Make the snap button bigger, make the flap longer, make the seam allowances bigger, match the pattern more closely on the width panel. That’s all for now! Let me know what you’re working on, any type of craft, or recipe, or whatever you’re proud of. I’d love to hear! Blessings, blessings, AugustLee
0 Comments
Leave a Reply. |
Quilt Update!
IronweedDisco Chicken of Love
sTate fair ready!seed starting 2019ky state fair quiltWHOTH Embroideryseashell casTleswhoth blanketedible goodnessAuthorA sustainability major at U of L, beginning farmer, crafter, and writer. Archives
April 2024
Categories |
Proudly powered by Weebly
















 RSS Feed
