|
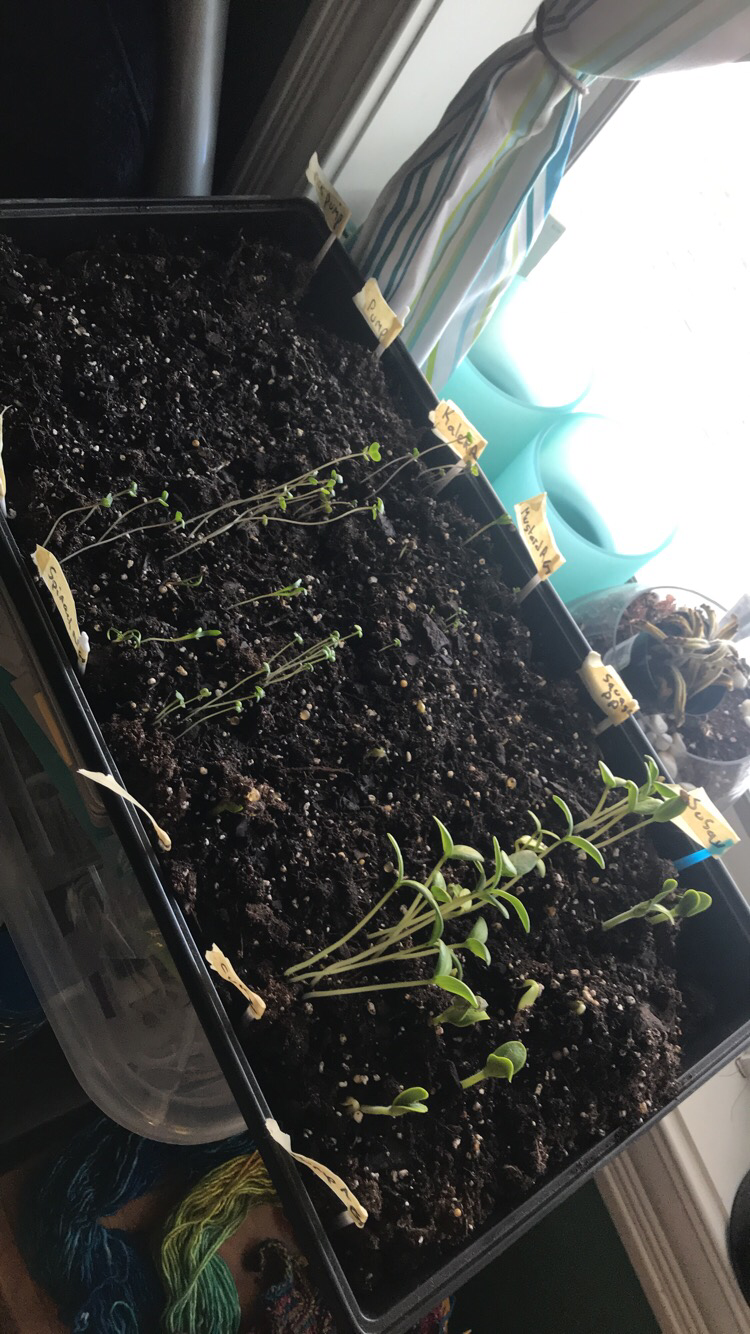
Here is my long awaited 2024 Seed Starting video! Enjoy!
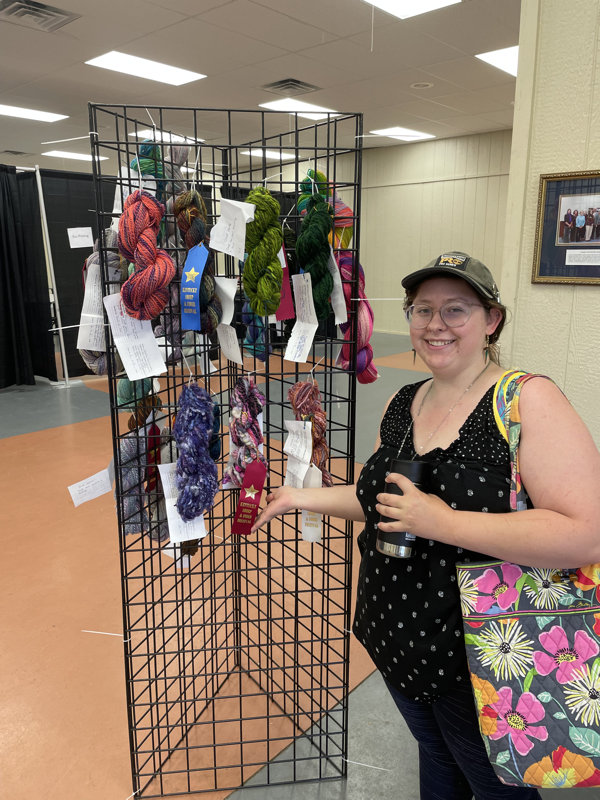
1 Comment
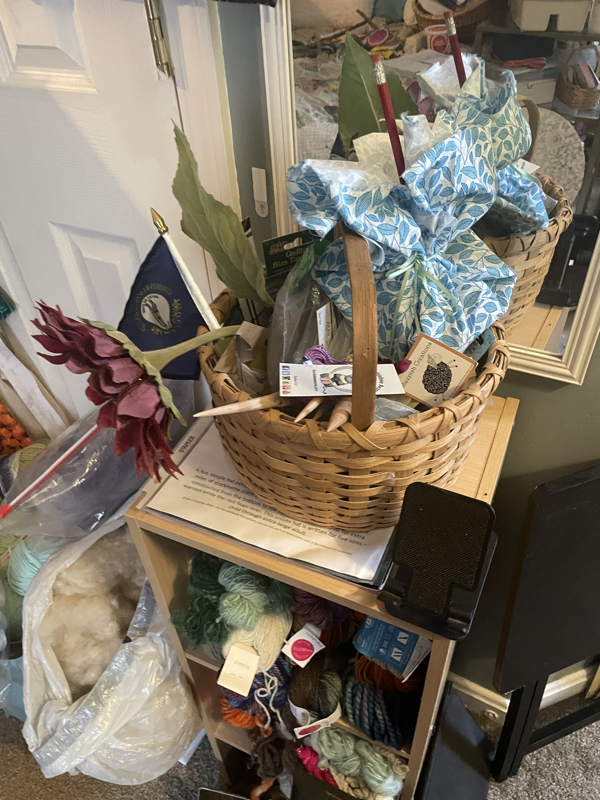
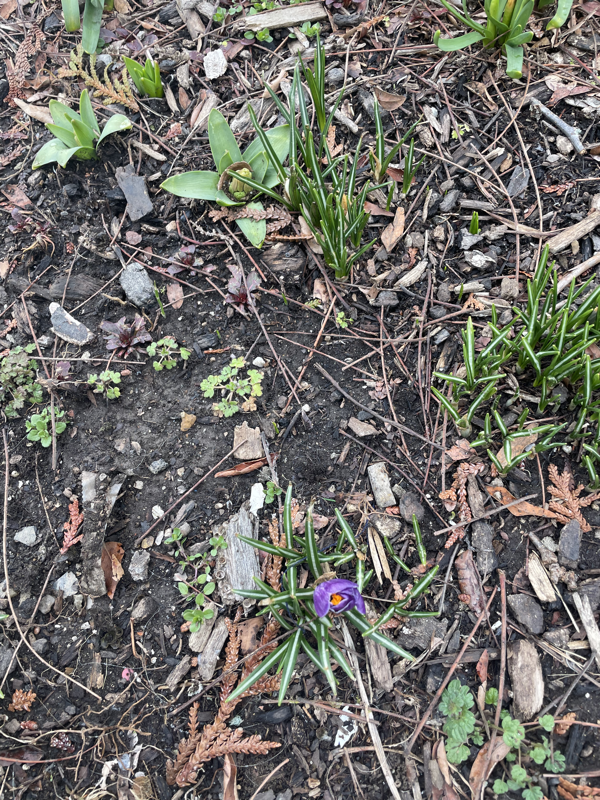
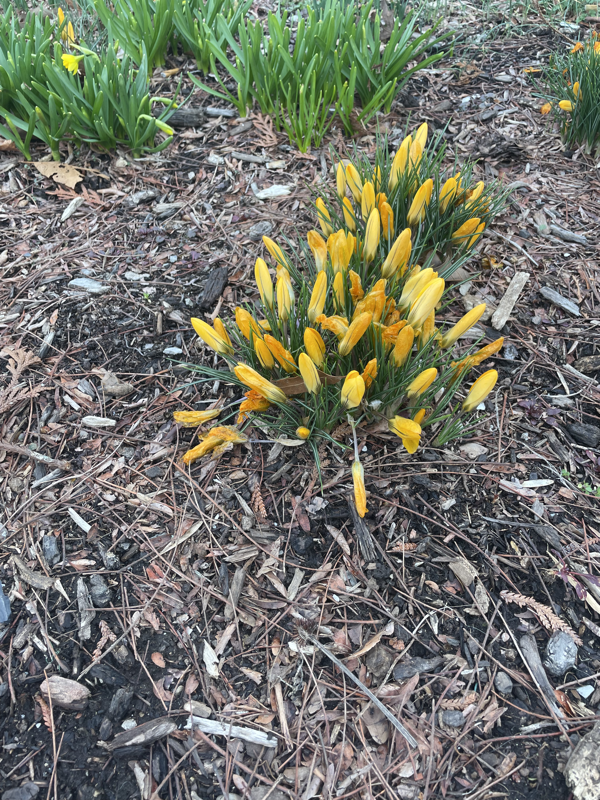
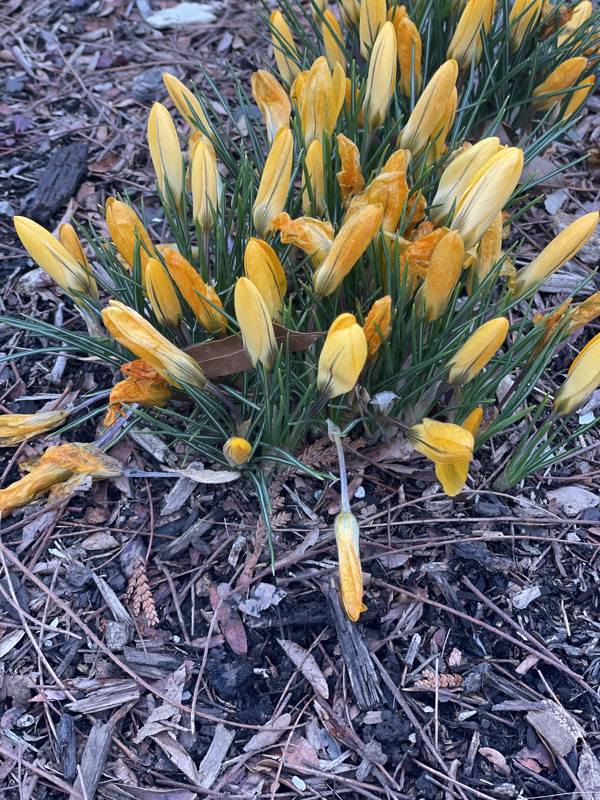
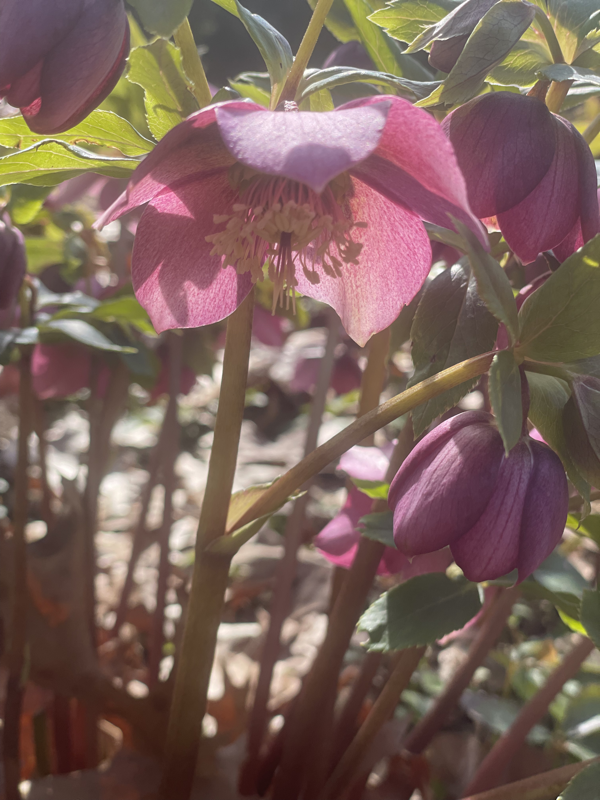
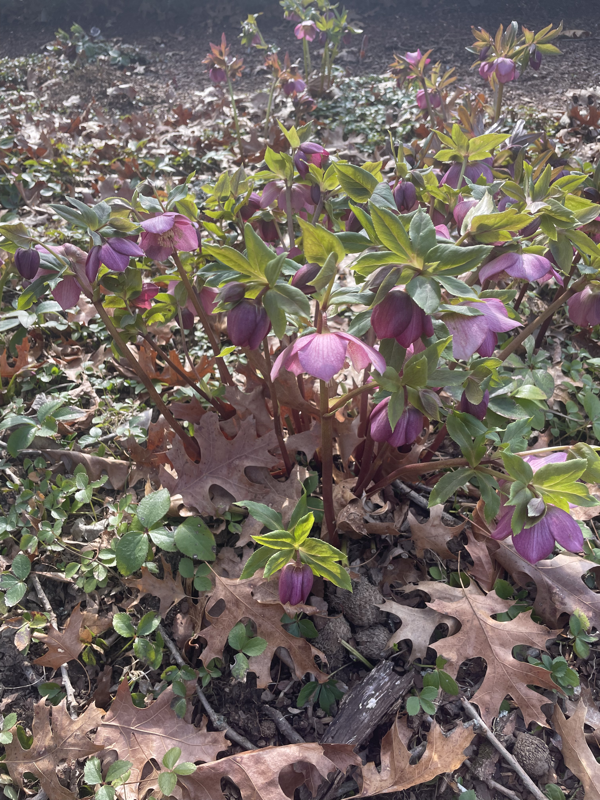
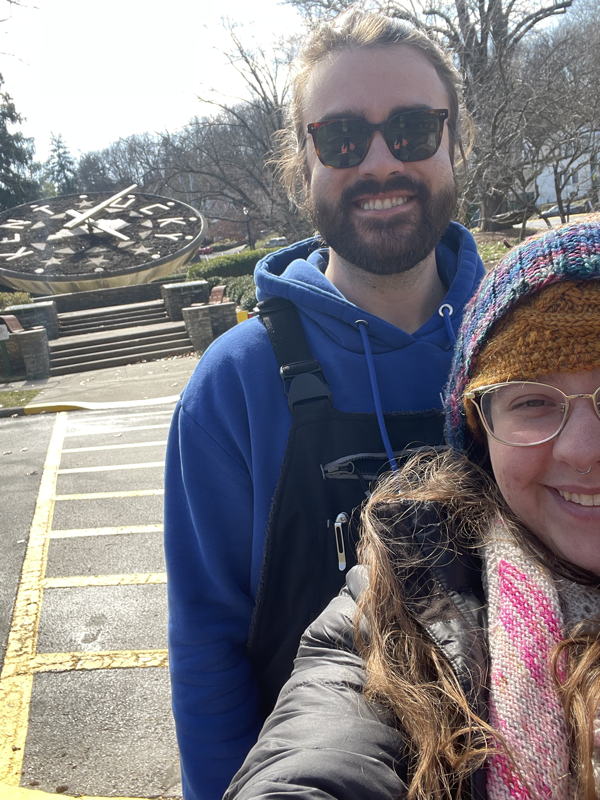
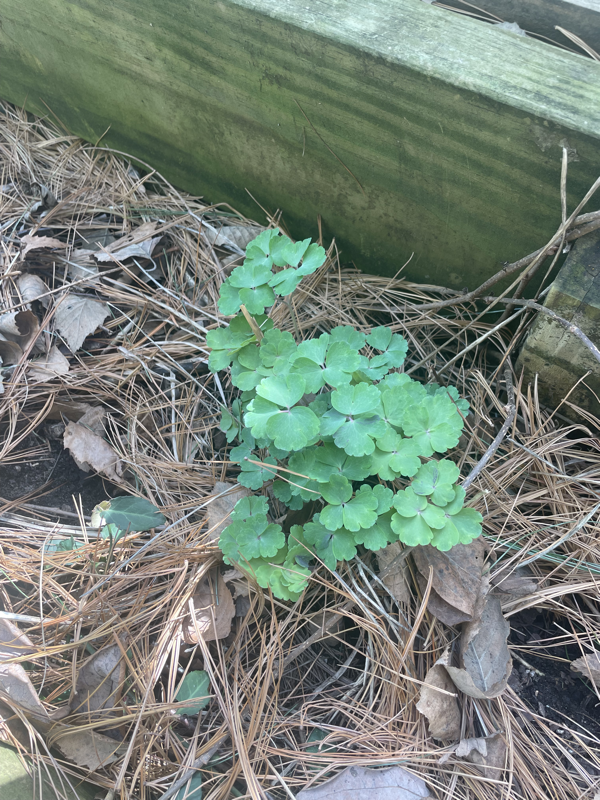
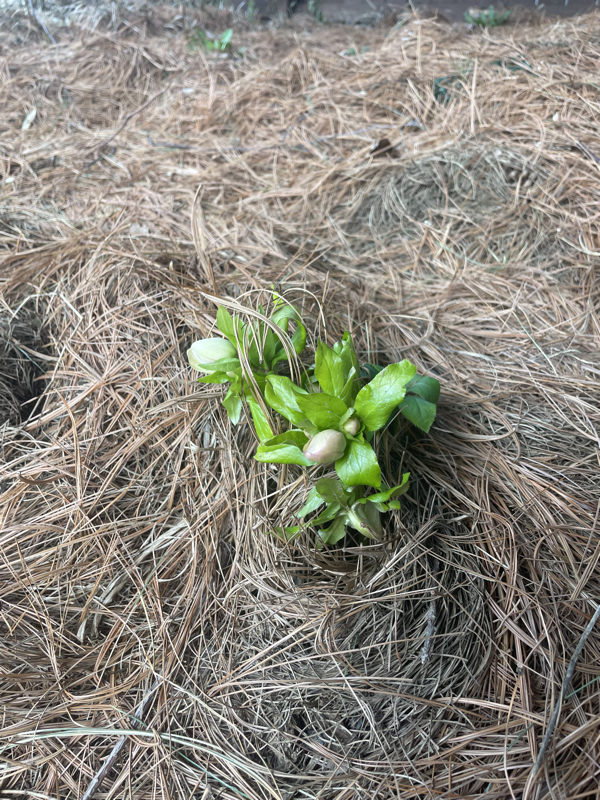
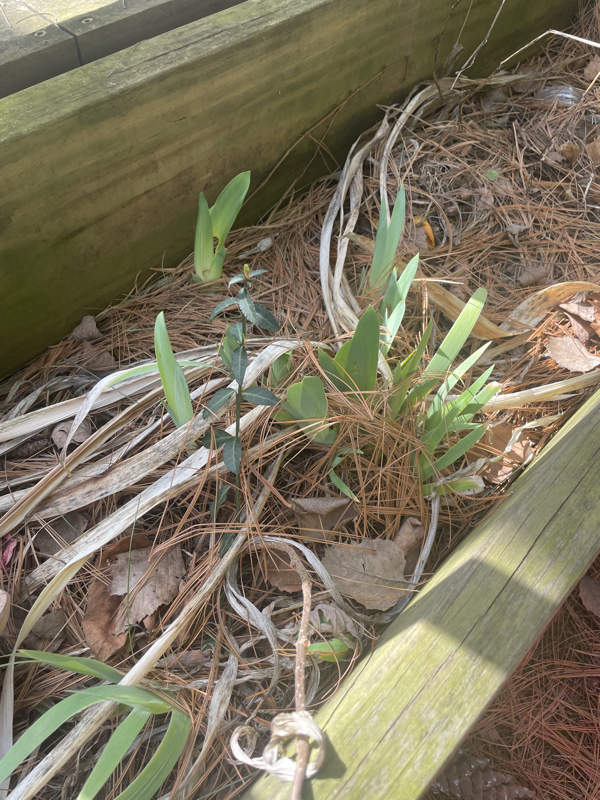
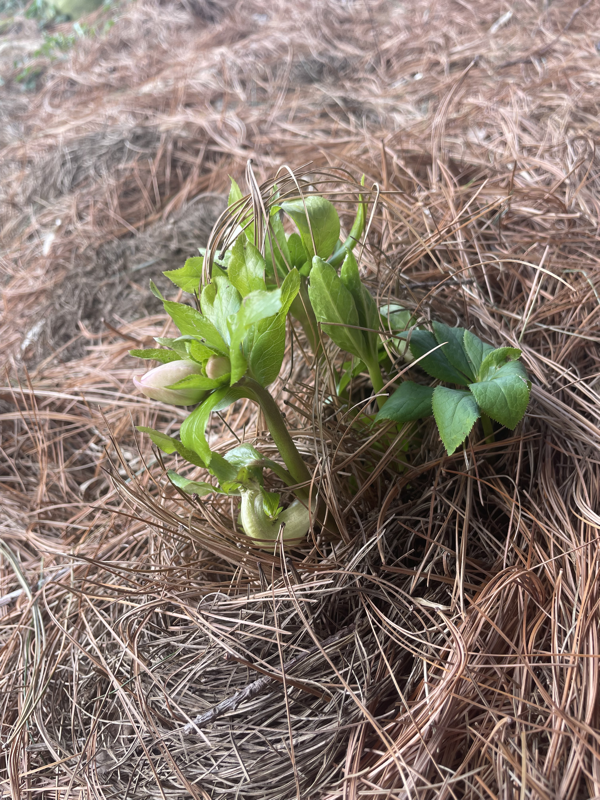
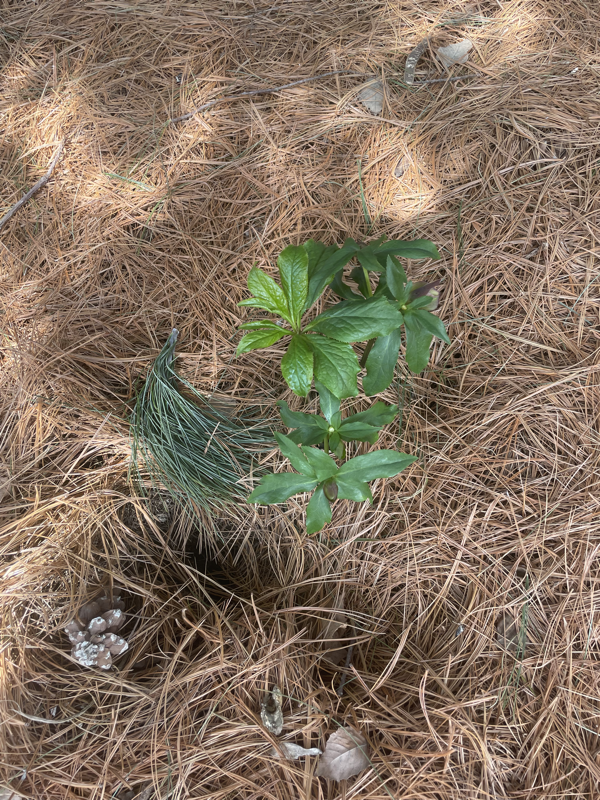
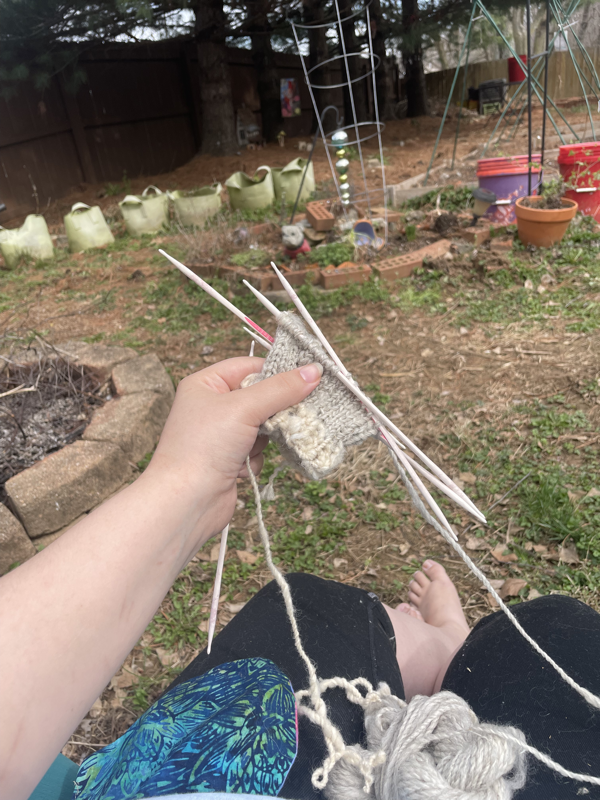
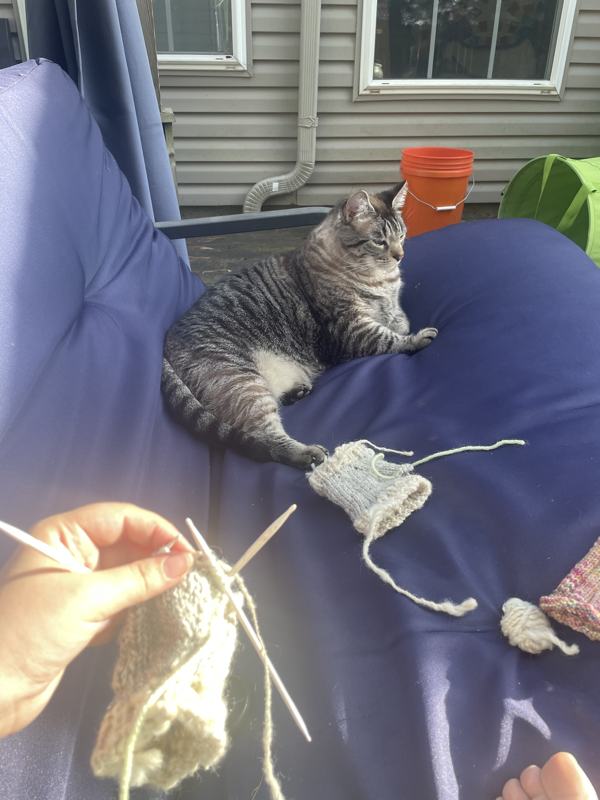
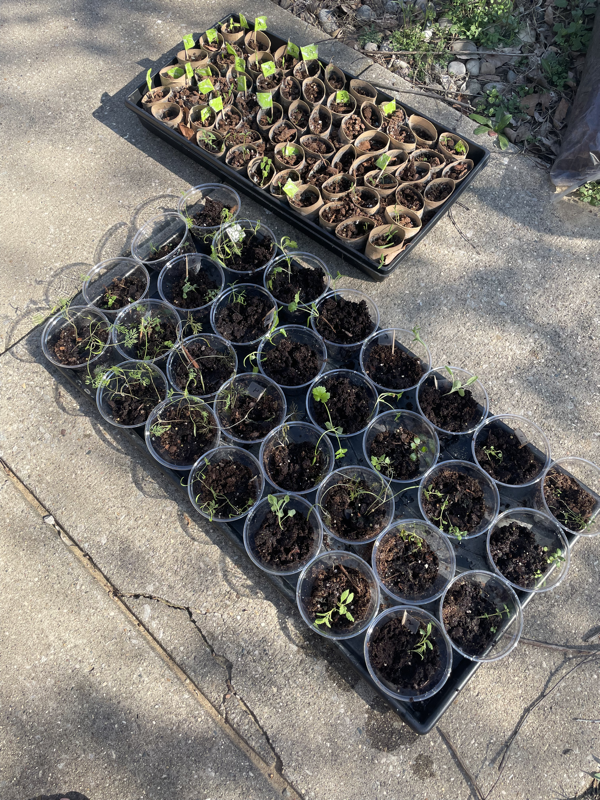
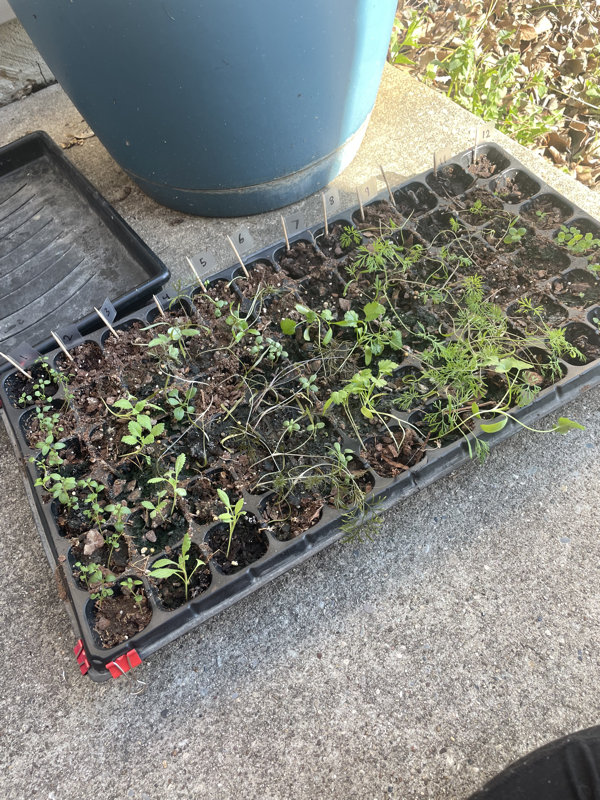
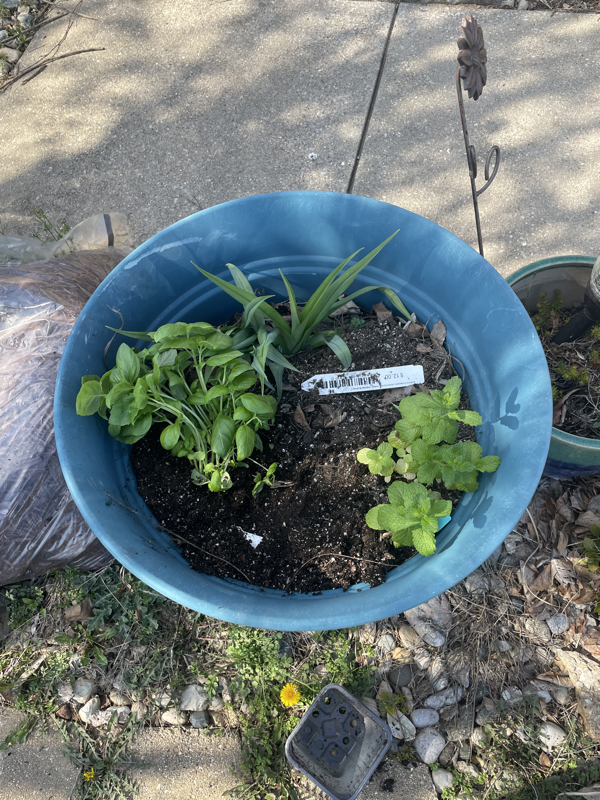
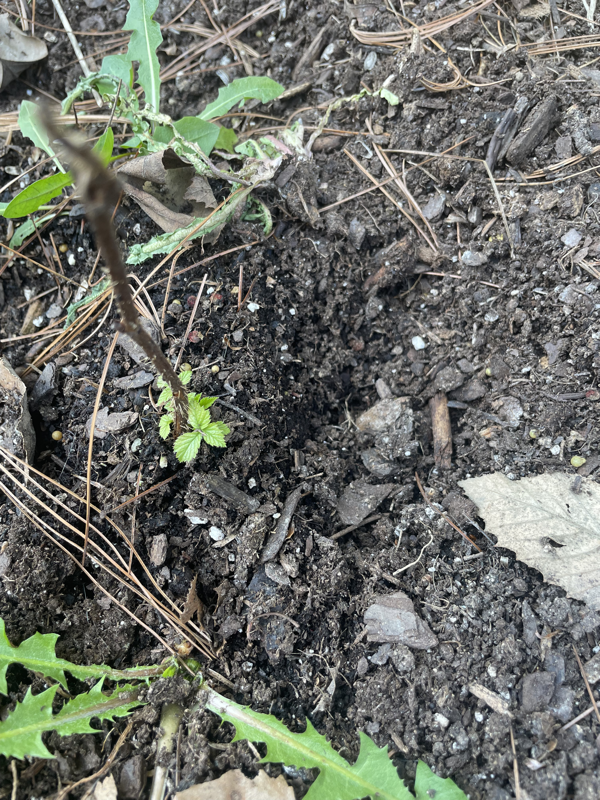
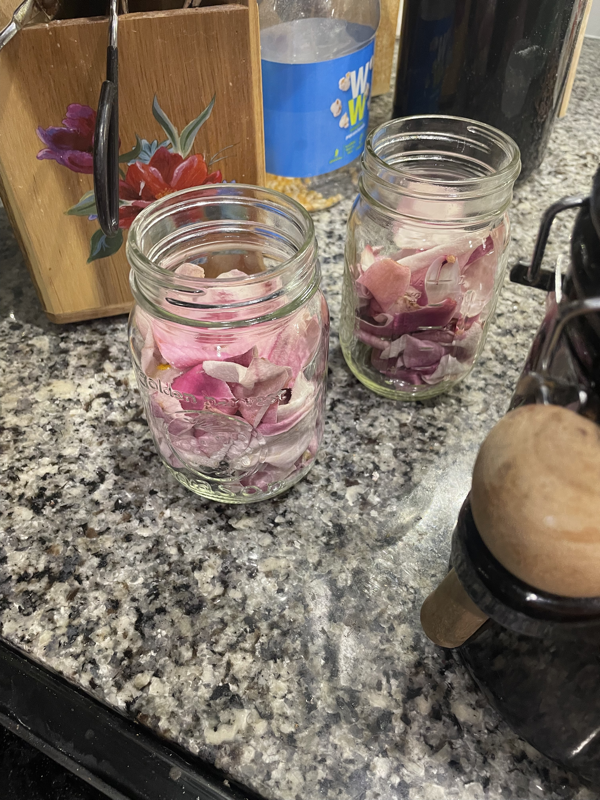
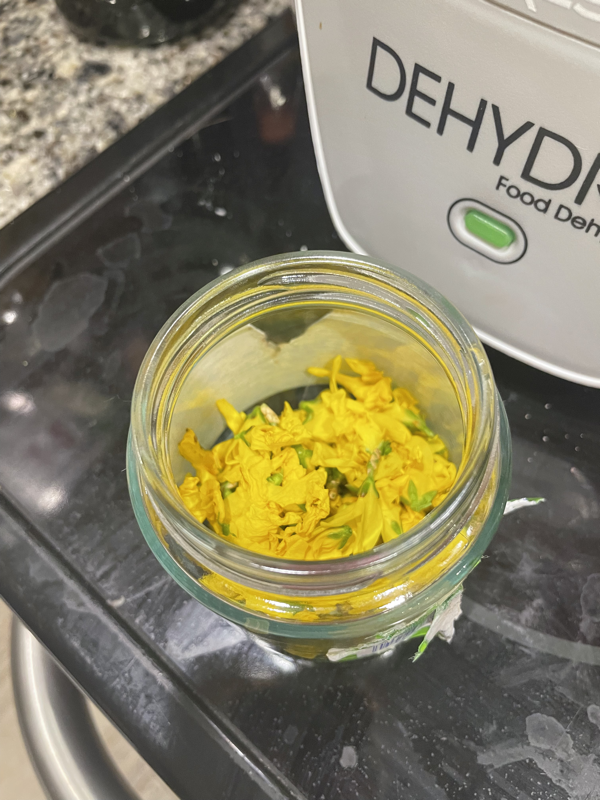
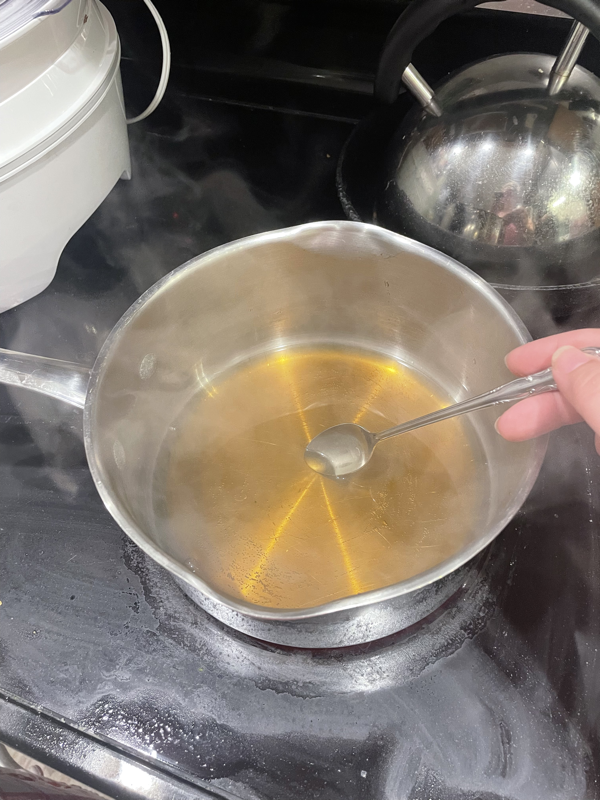
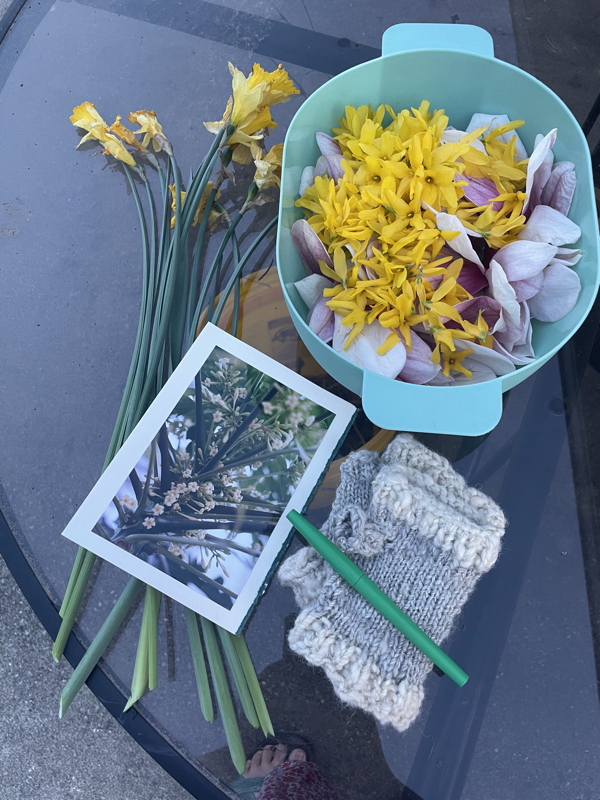
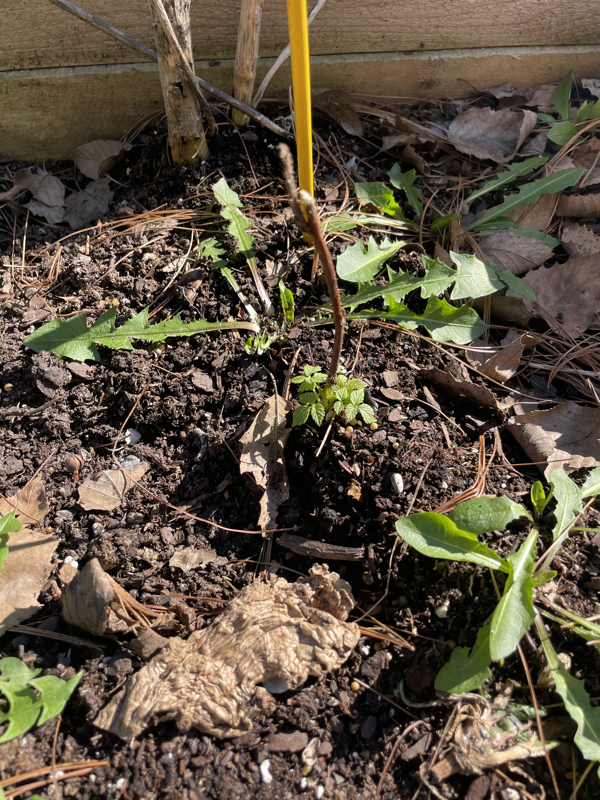
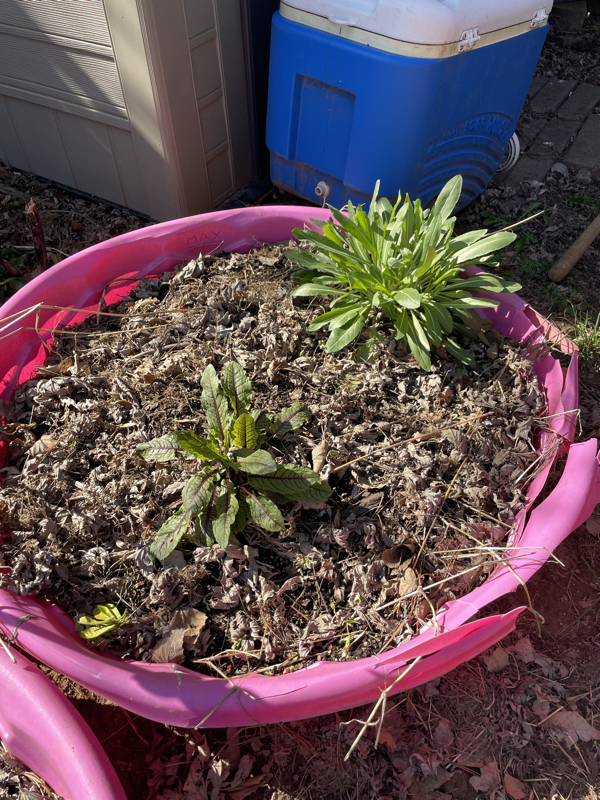
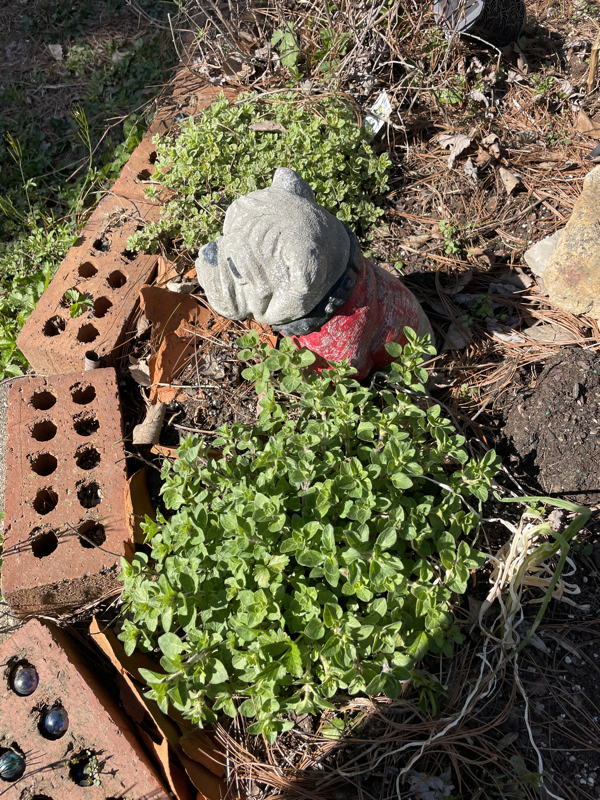
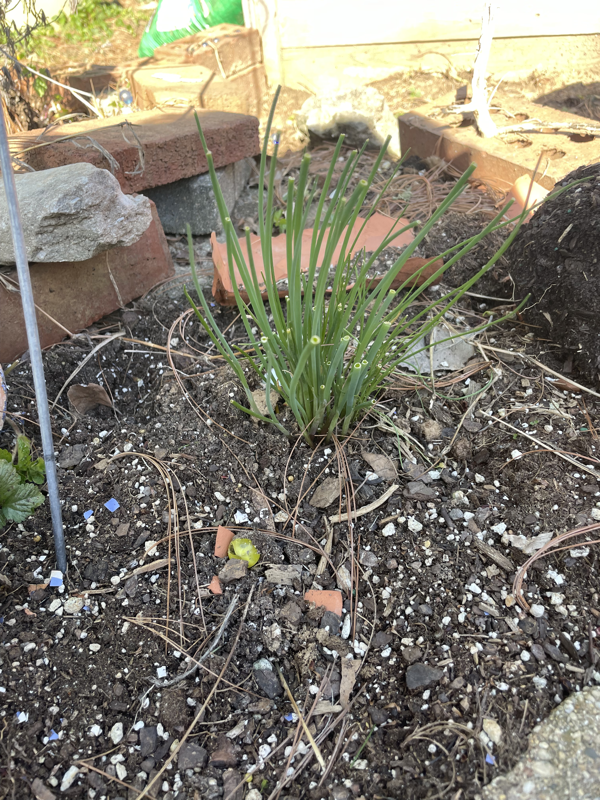
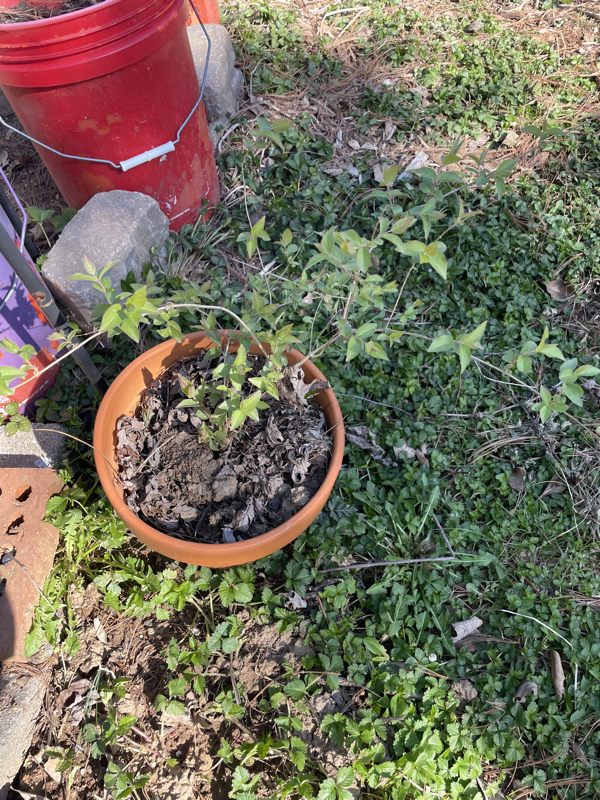
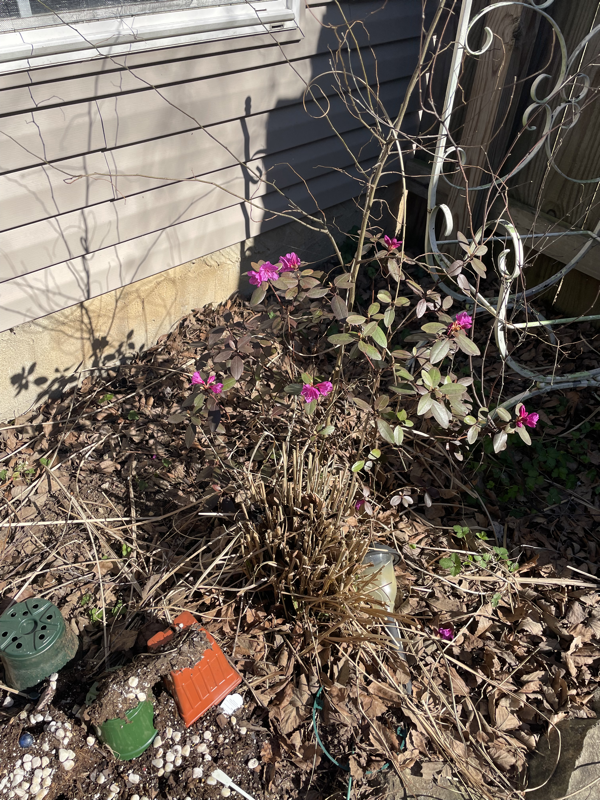
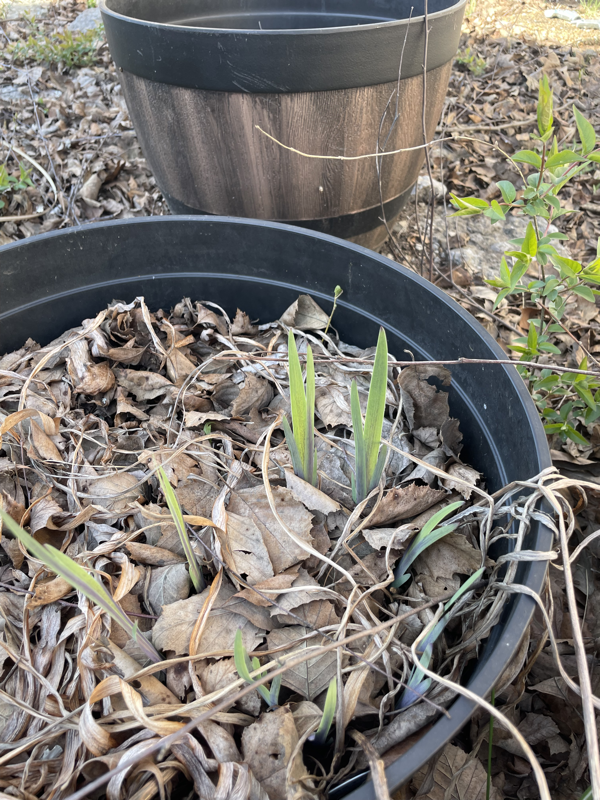
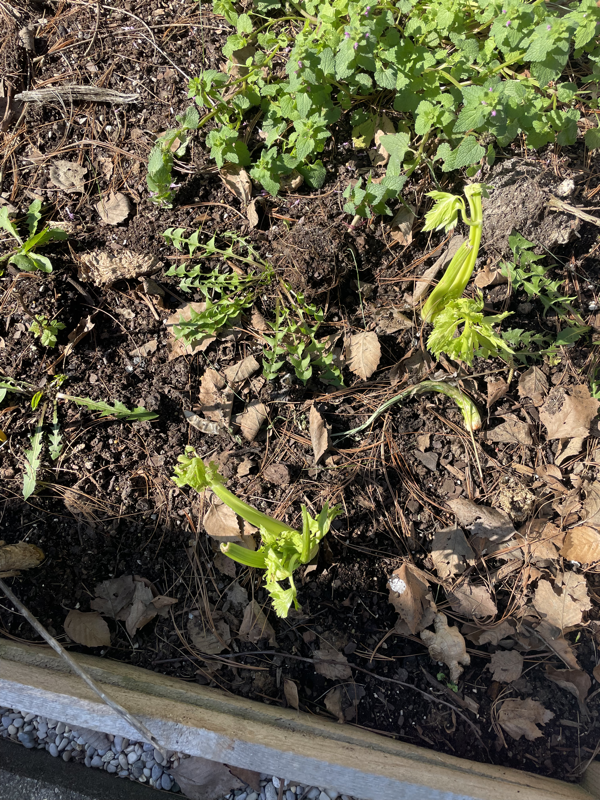
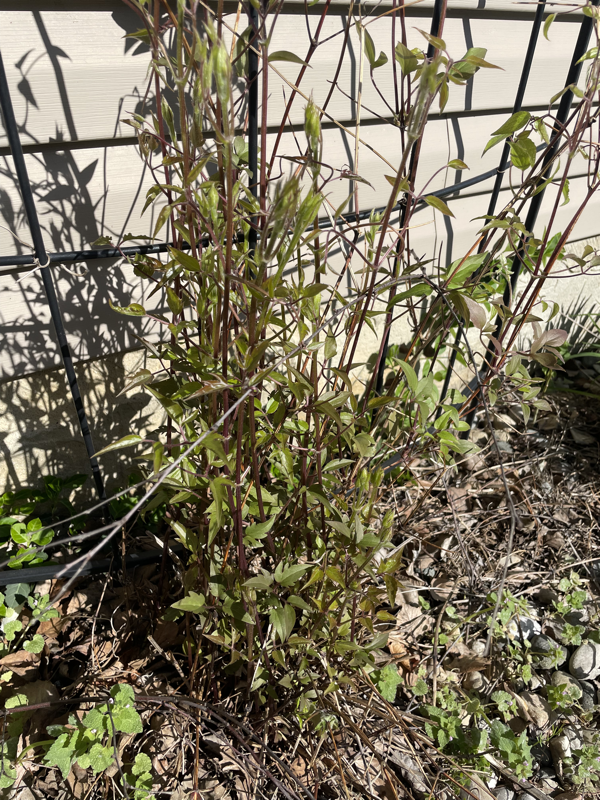
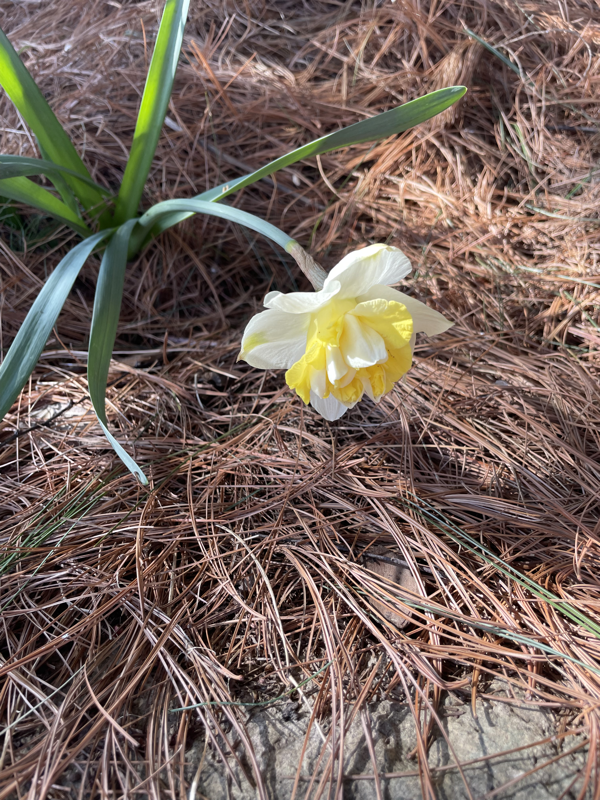
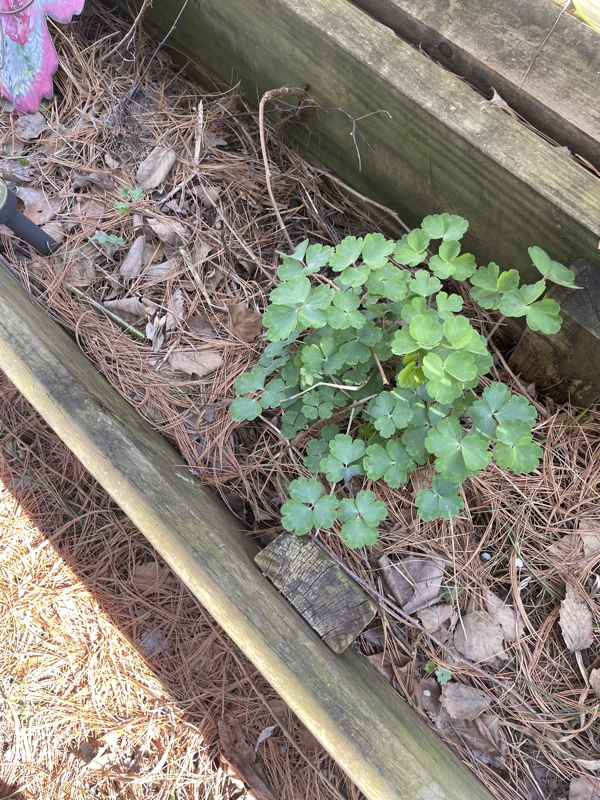
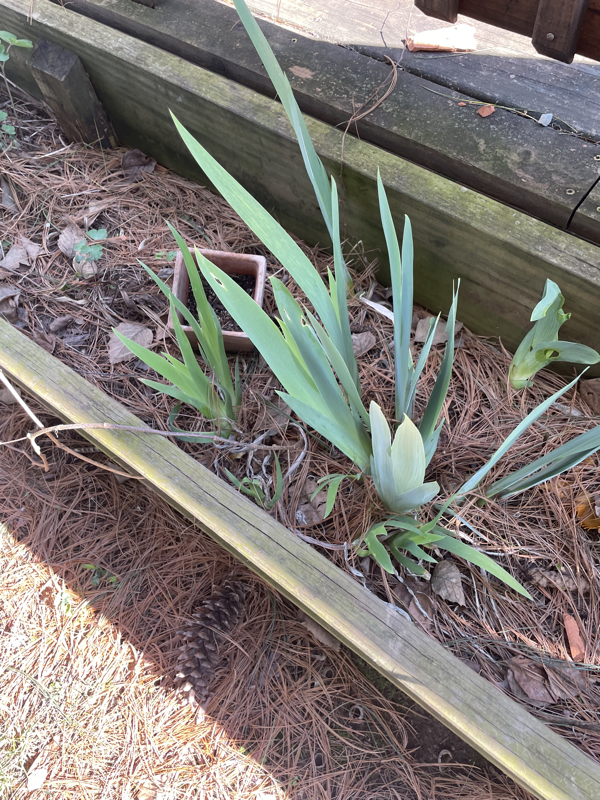
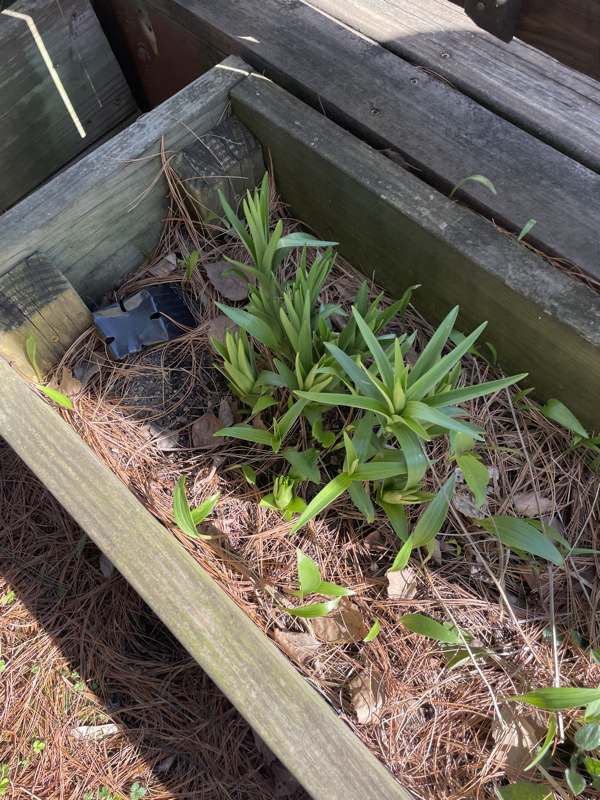
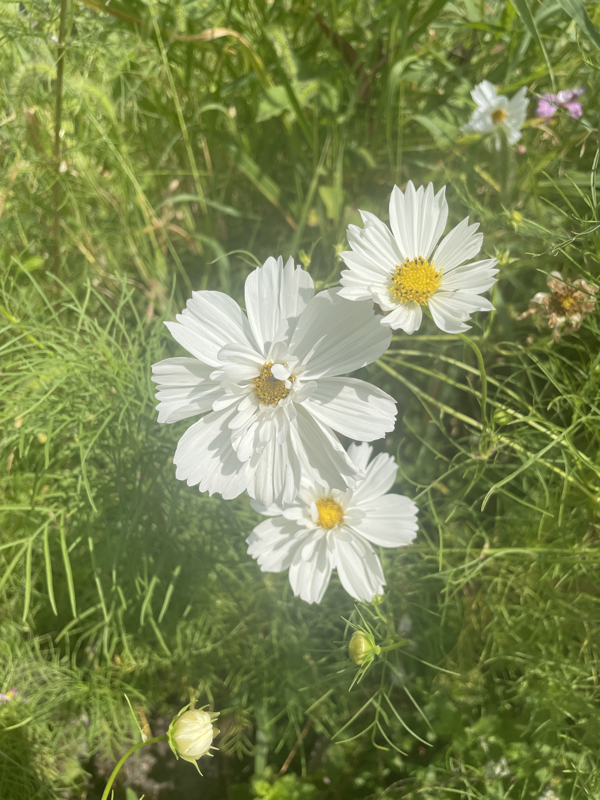
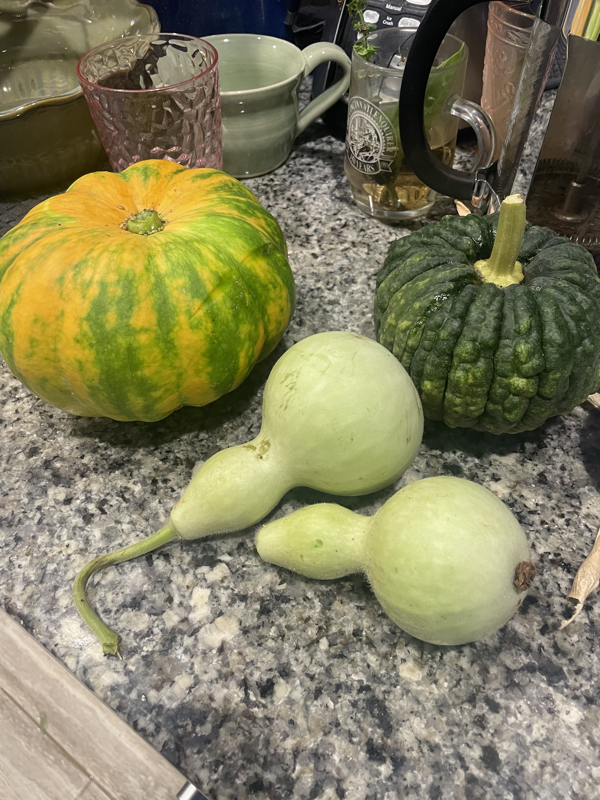
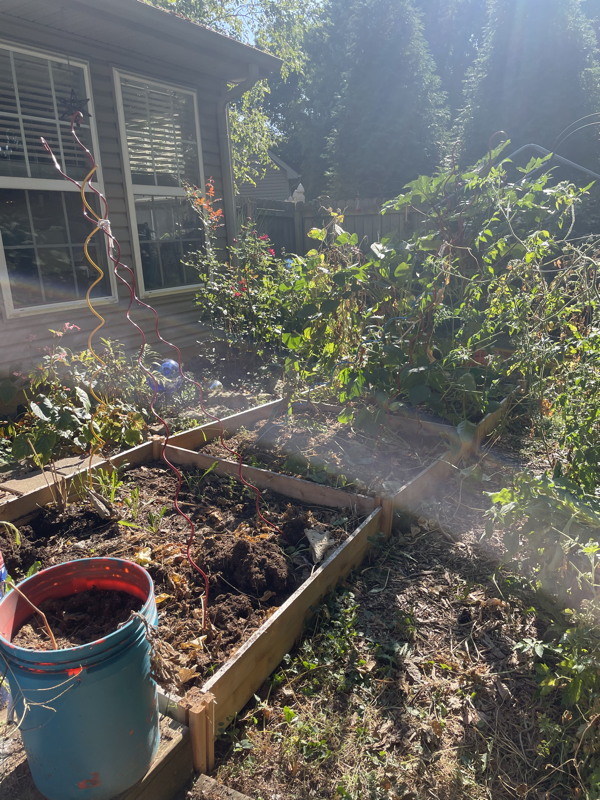
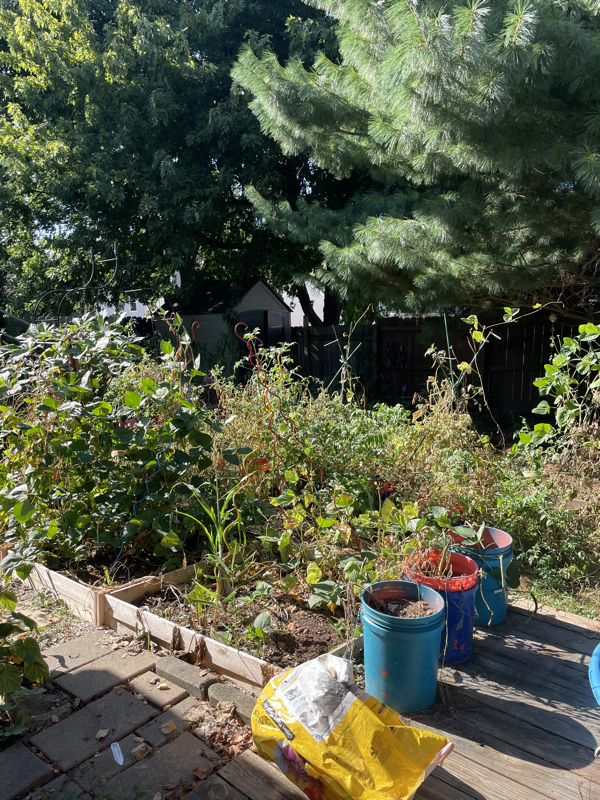
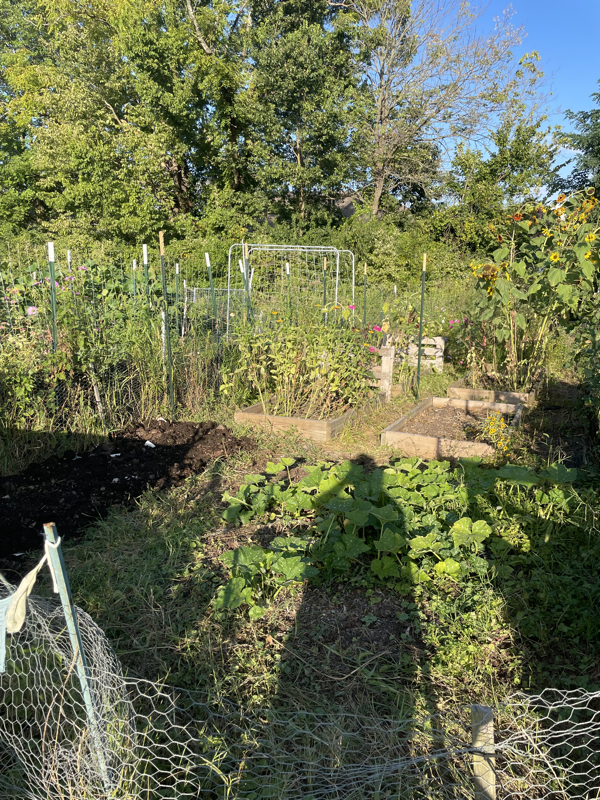
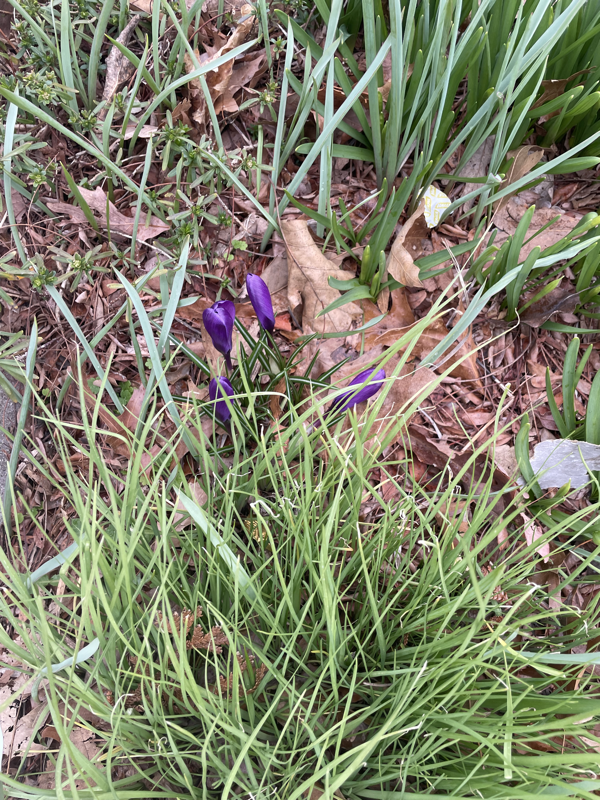
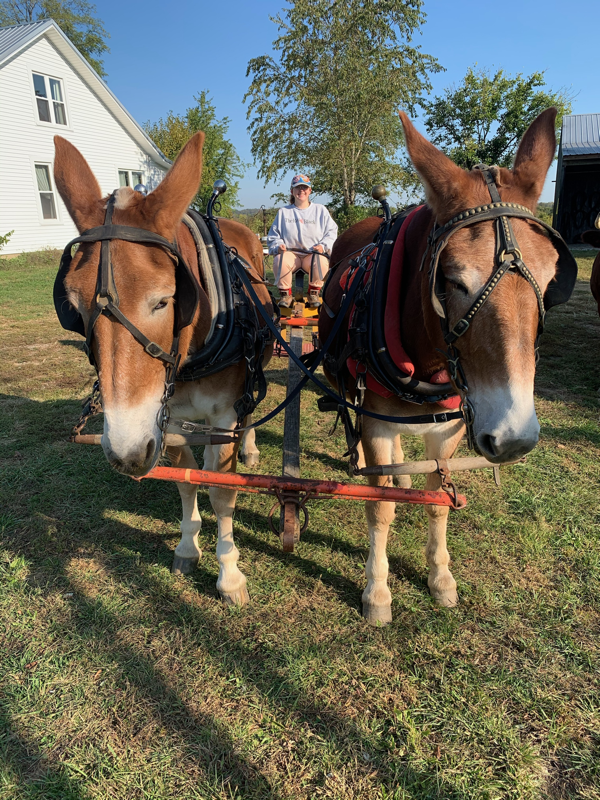
Ostara Happy Spring Equinox, my friends! Temps have been fairly mild in Louisville KY, but we are still having a few nights just below freezing. The past few nights didn’t affect our daffodils much, they bowed but we’re up and standing tall by the next day. I thought the freezes would zap the Japanese magnolias (but they were spared.) However, my overzealous move to get the basil out there was wishful thinking—it was brown mush this morning. It’s just basil, I can replant it. But spring has sprung here! The hellebores and crocuses were blooming when Jordan and I went to Berea for my birthday.  Fairly soon the daffodils, tulips, and surprise lilies started sprouting from the earth. It took them a while to bloom, and by the time his daffodils started to bloom, mine started sprouting from under our shady pine trees and in our side yard. I had planted a few bulbs last spring that I thought may have died somehow, but they made it!!! They’re supposed to be planted in fall for spring blooms. Our hellebores started unfurling. And I even spotted a lady beetle!  We ventured out into the backyard for yard work and the weeds are coming in slowly which is helping with cleaning things up. Easier to get a handle on my menace—snakeberries! The little fake strawberries that taste like water. But we found a new plant that we identified as dittany—a native wildflower mint (and another Harry Potter plant).  I did a bit of crafting with handspun wool and alpaca yarn in the garden. I started the hardening-off process for our seed starts, repotted the herbs and am getting things more space so they can thrive better! I also put a few kitchen scraps into the garden to let them take root alongside the raspberry patch, which I noticed some leaves on! Jordan’s yard started budding and blooming. I picked his spent jonquils, some Japanese magnolia petals for pickled magnolias, and forsythia flowers for forsythia syrup. His silver maple budded and is forming its seeds already! But today the yard was at its peak at the equinox! Look at the beauty The moon is a bit past half full today, the sun is setting at 7:56 pm nowadays. I have to say it again, folks, we live a beautiful life, we live a wonderful life, we are so lucky, we have a beautiful family, and I am so thankful.
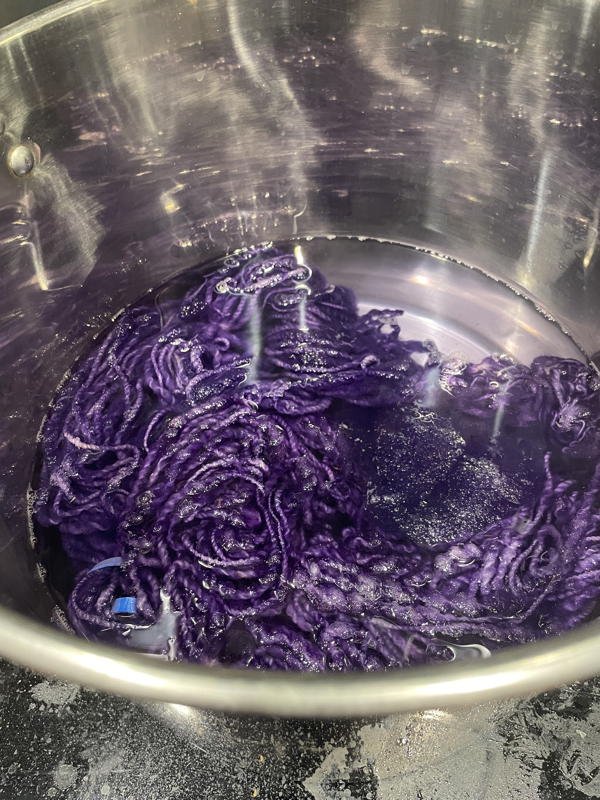
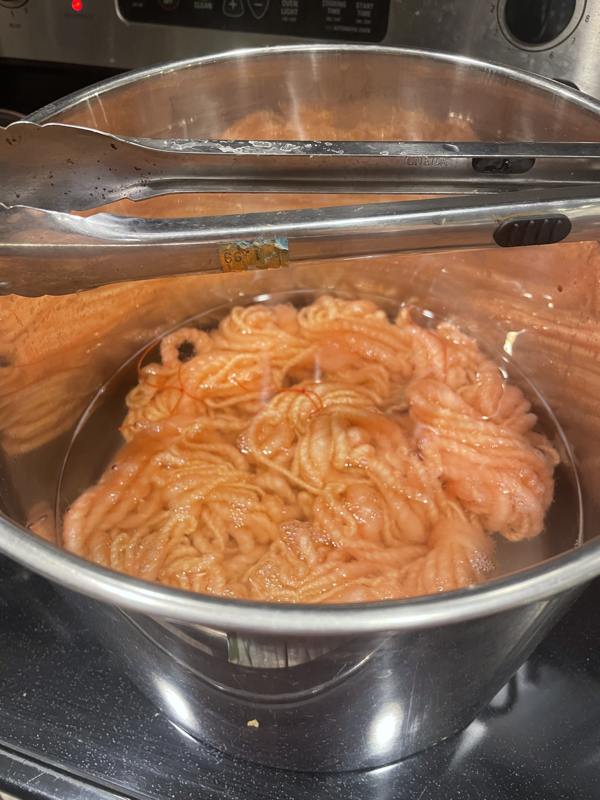
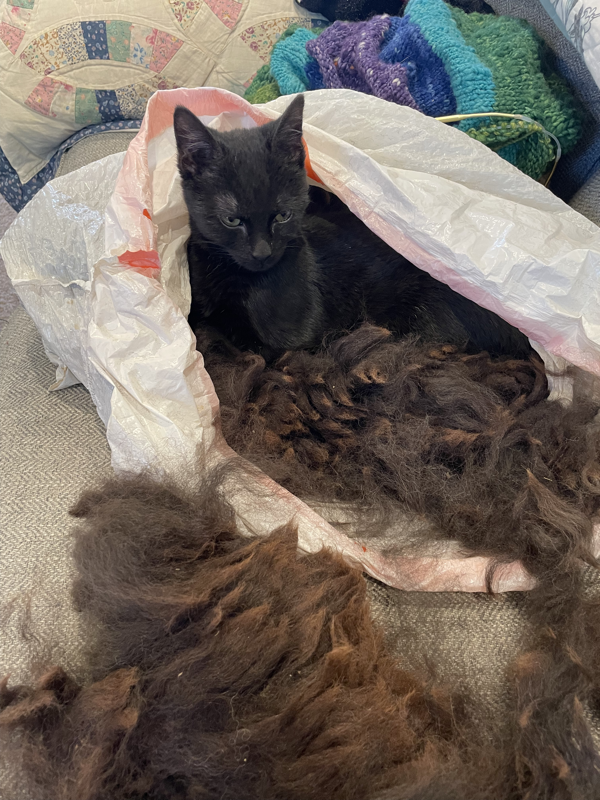
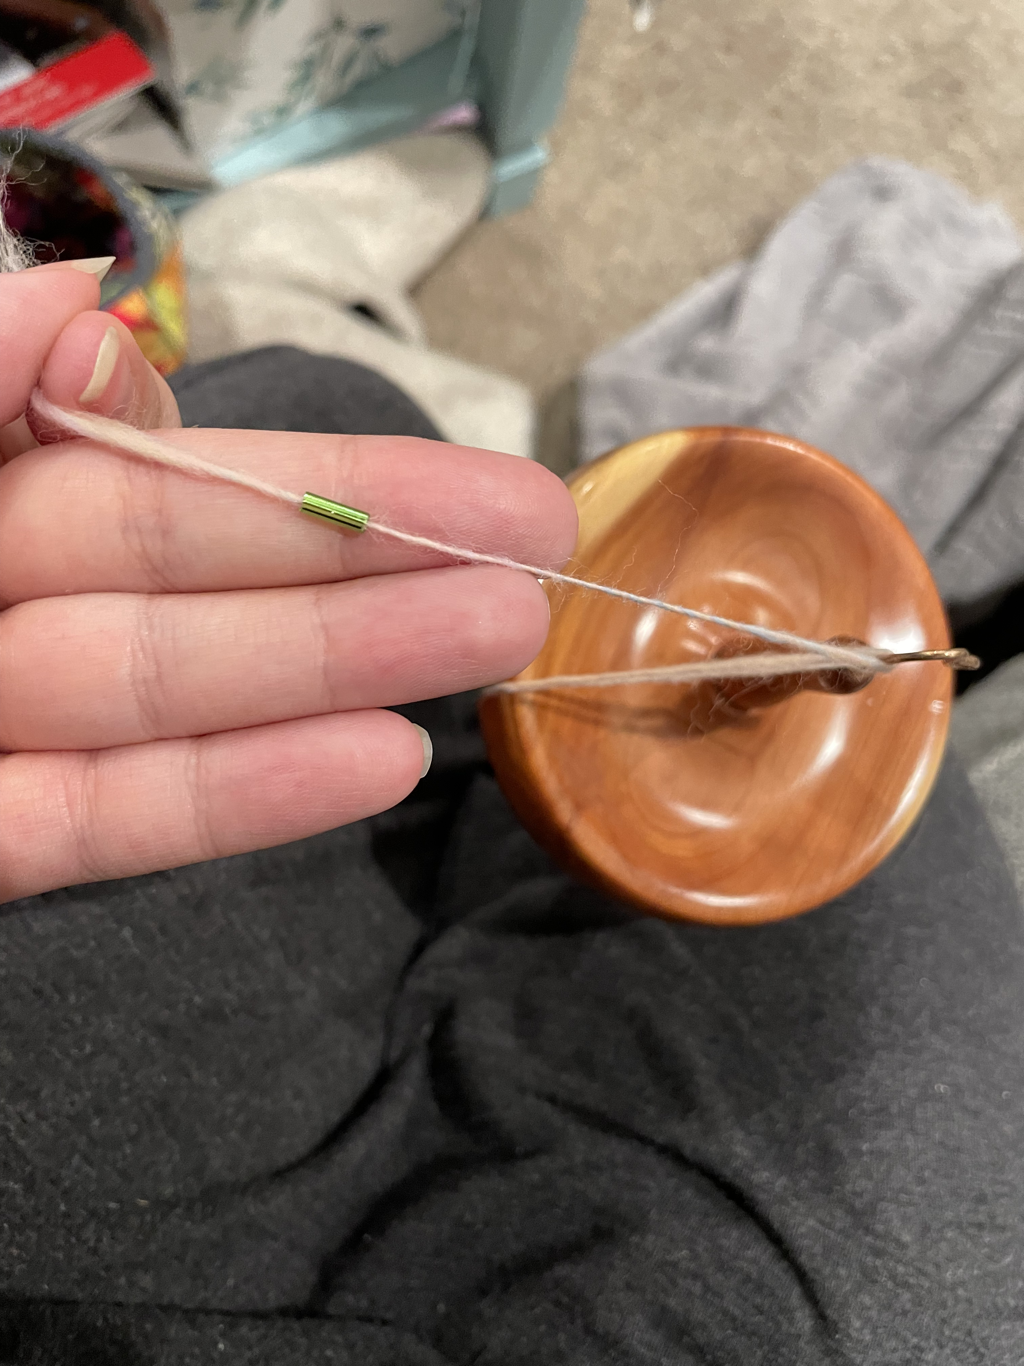
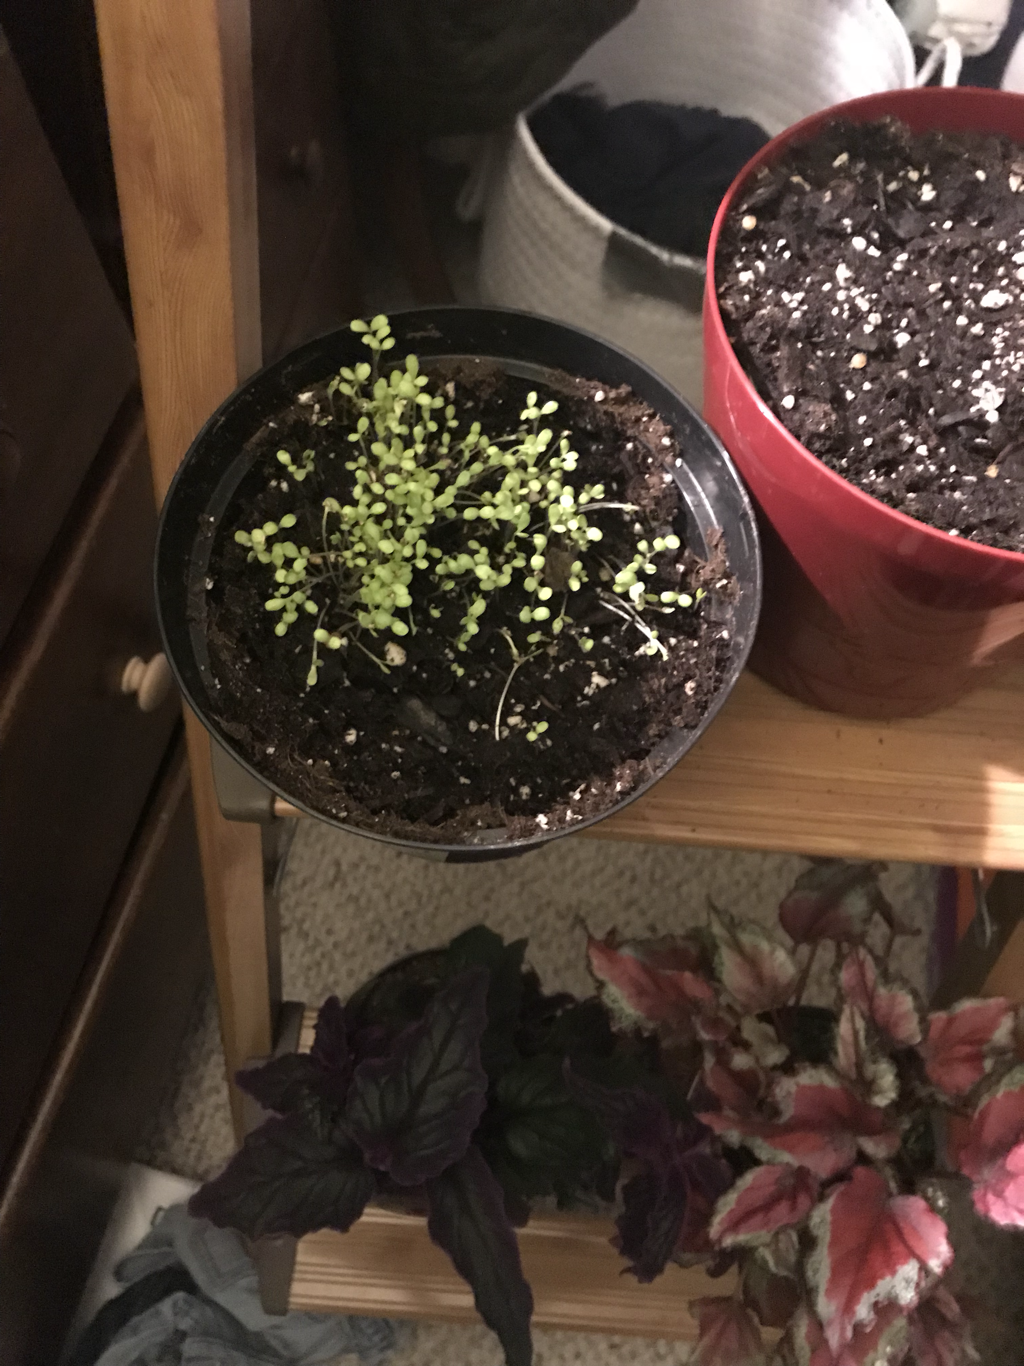
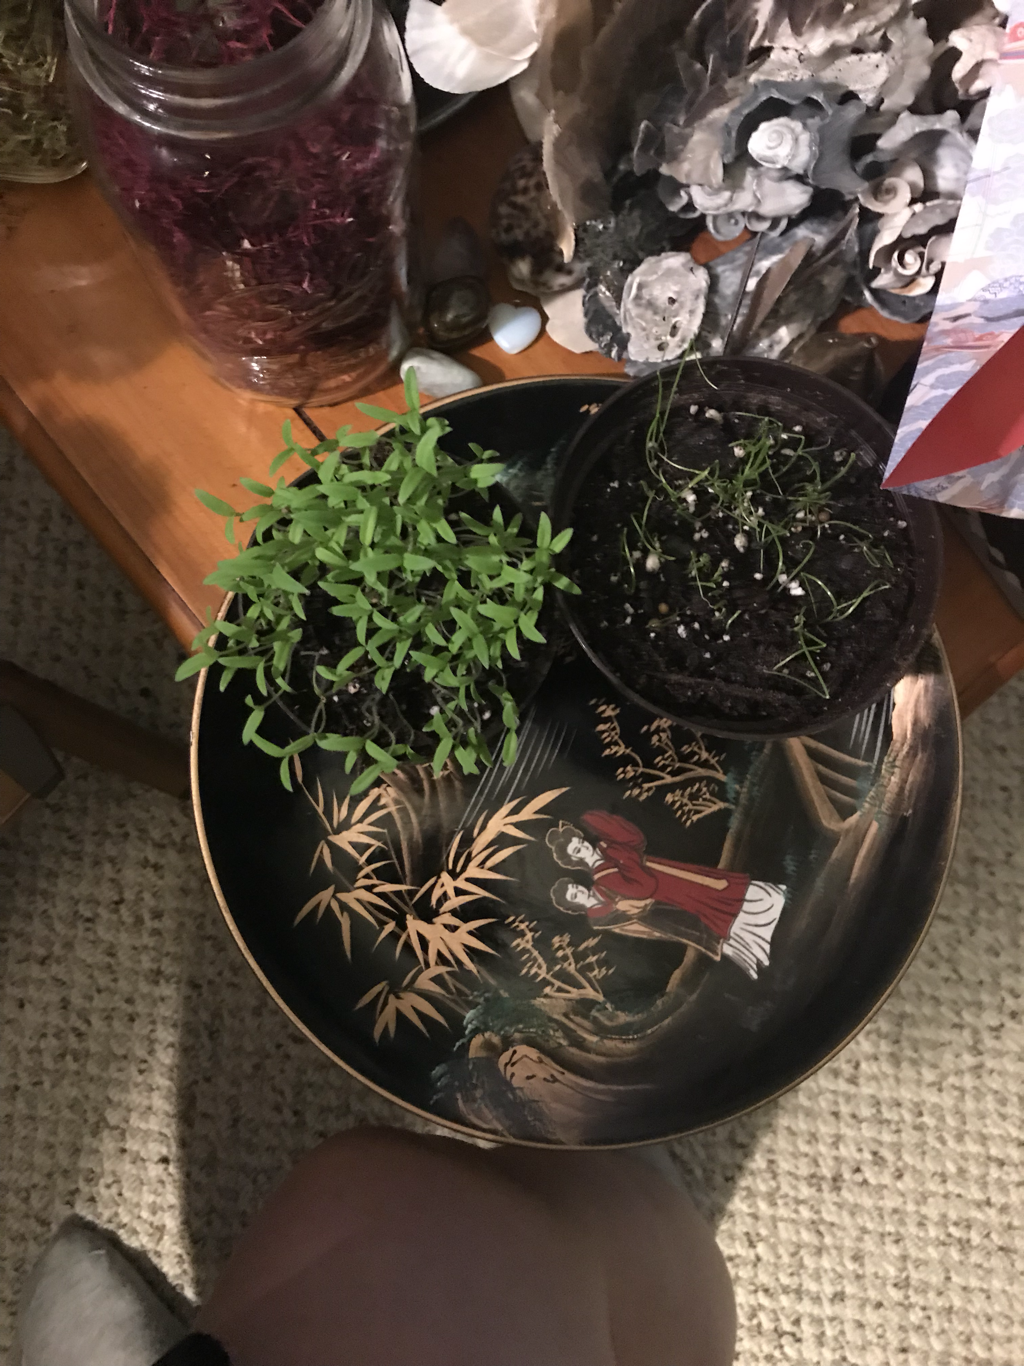
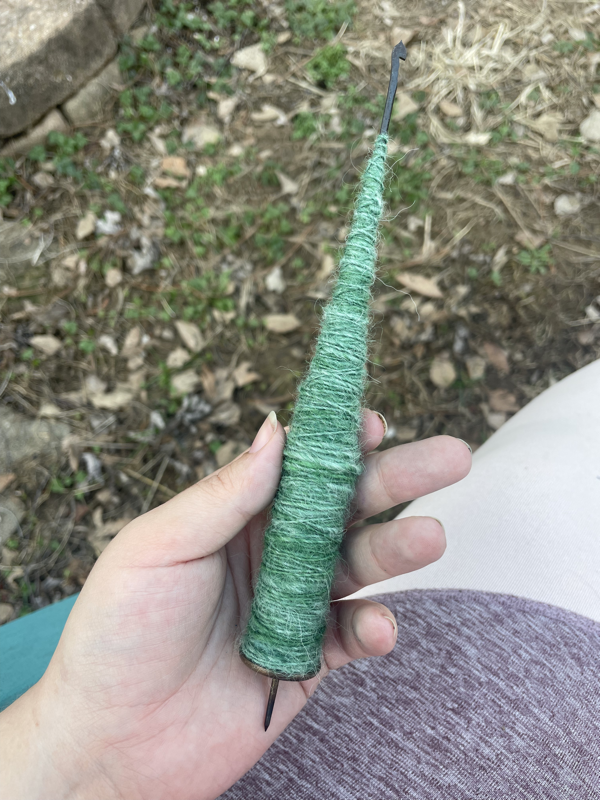
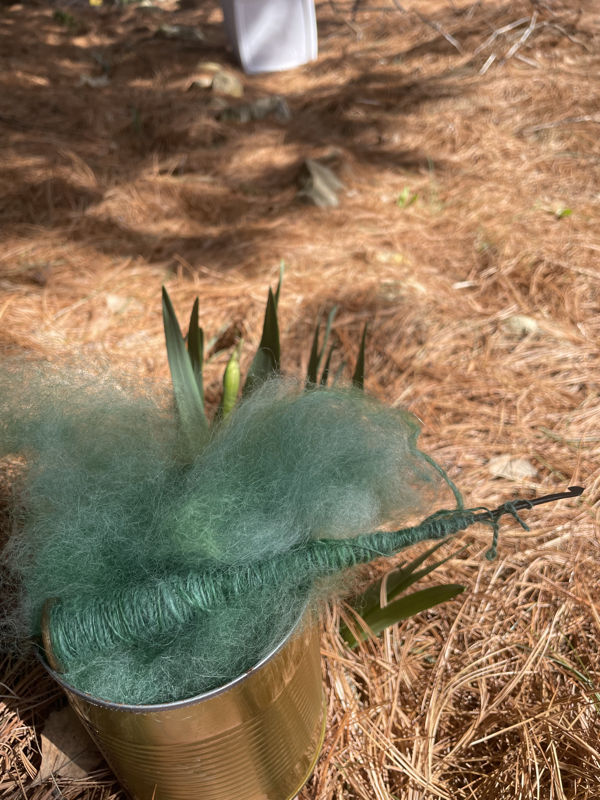
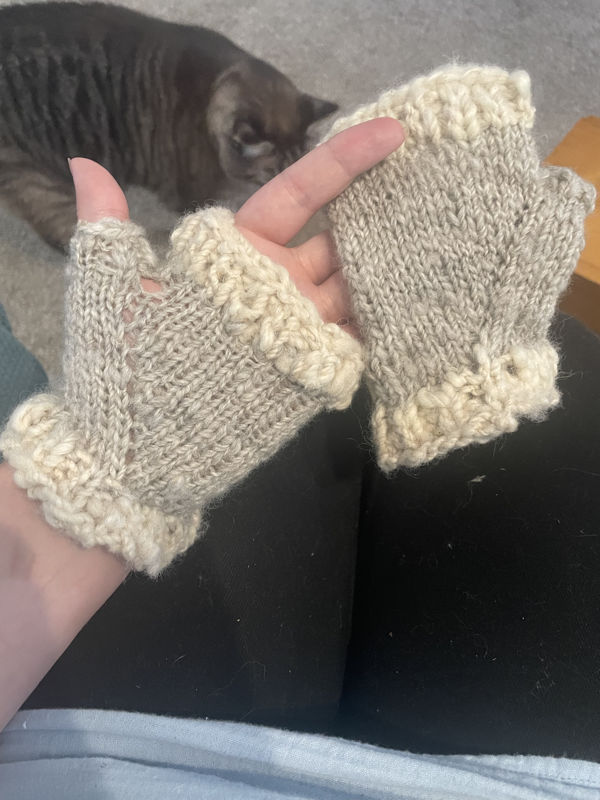
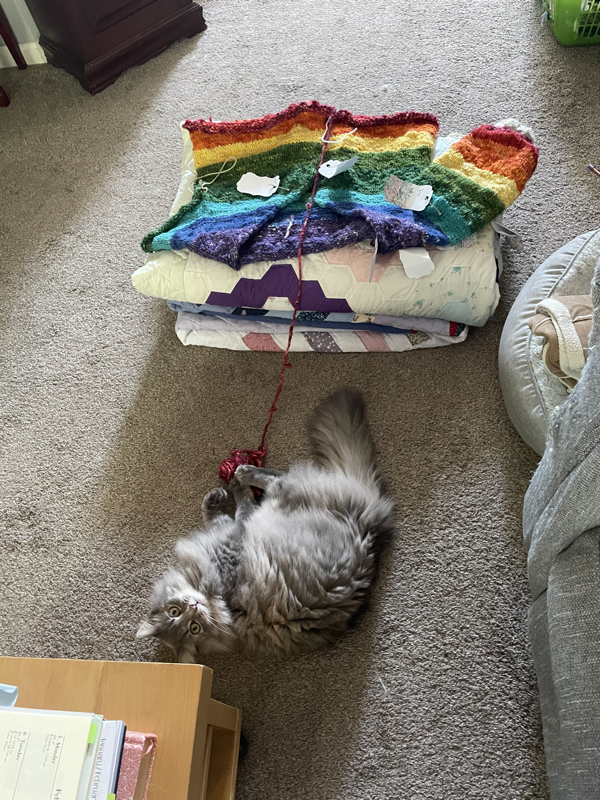
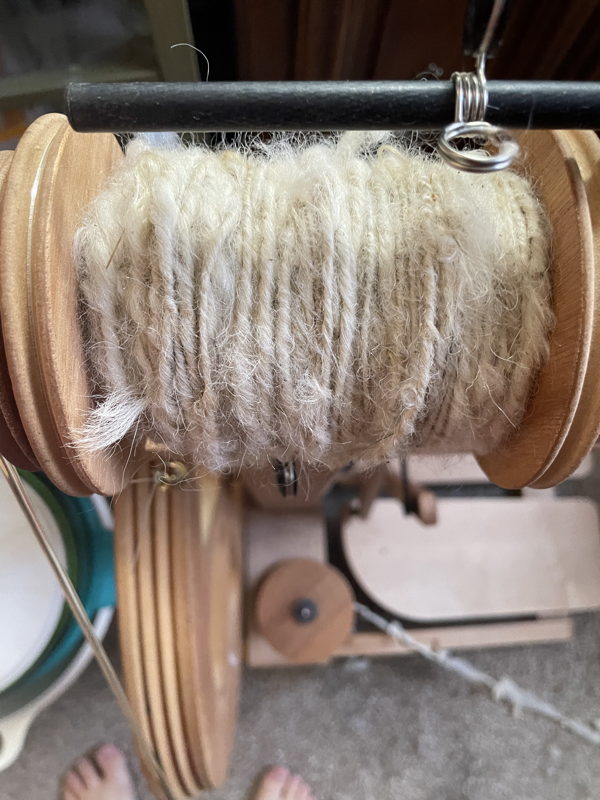
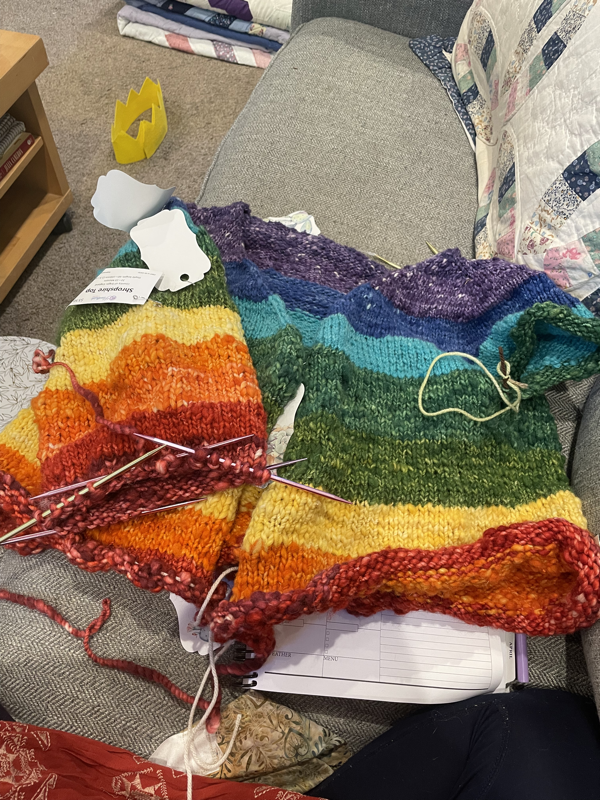
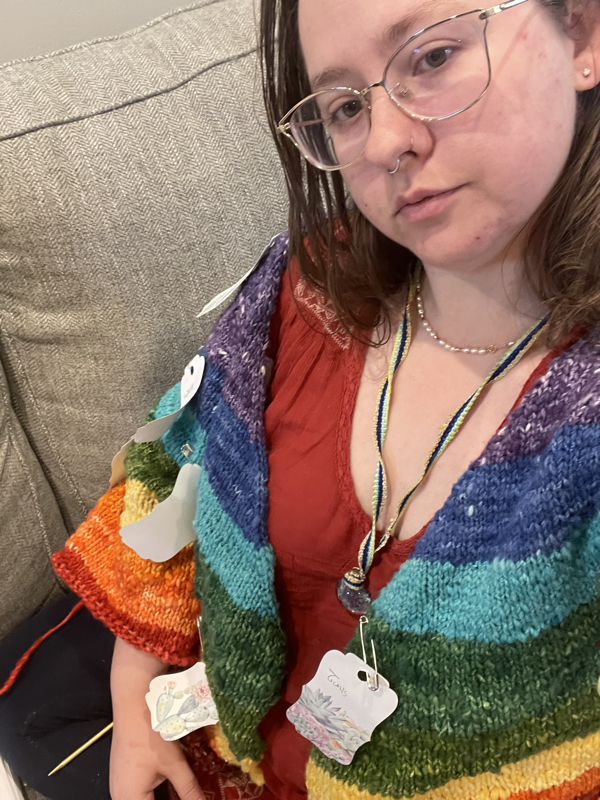
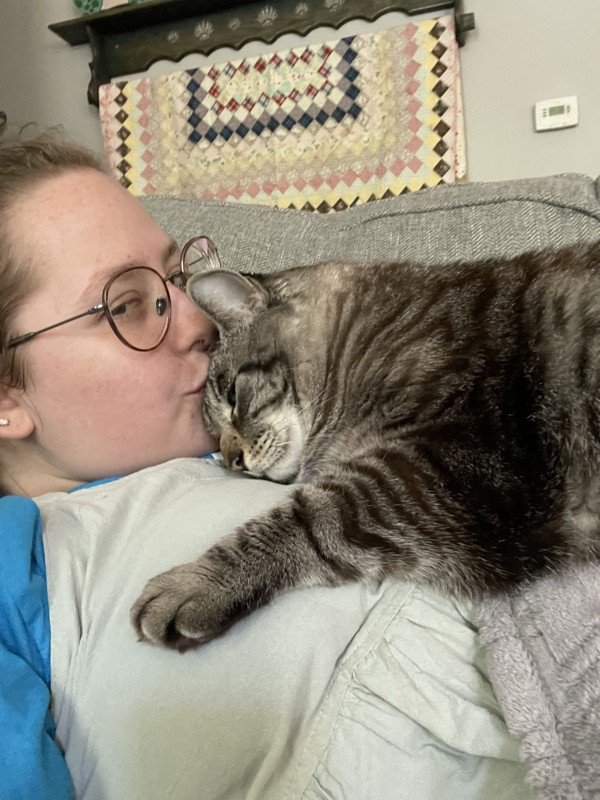
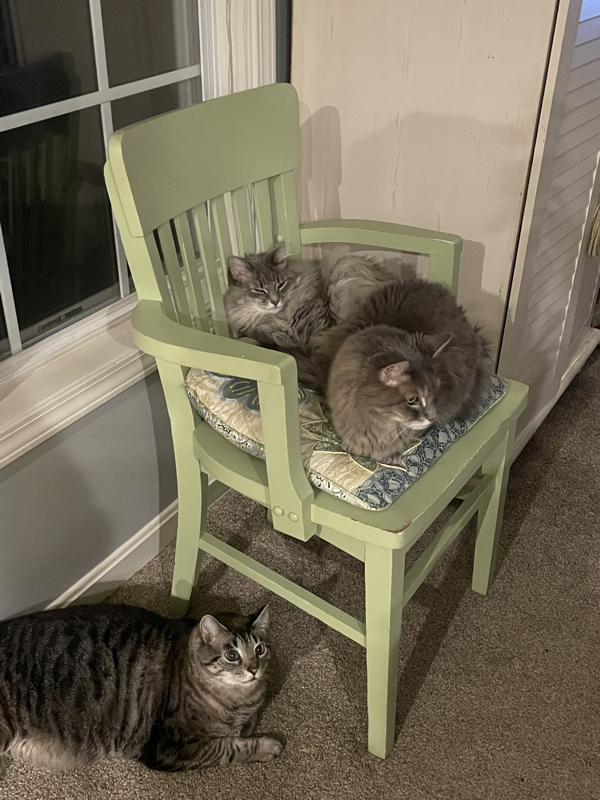
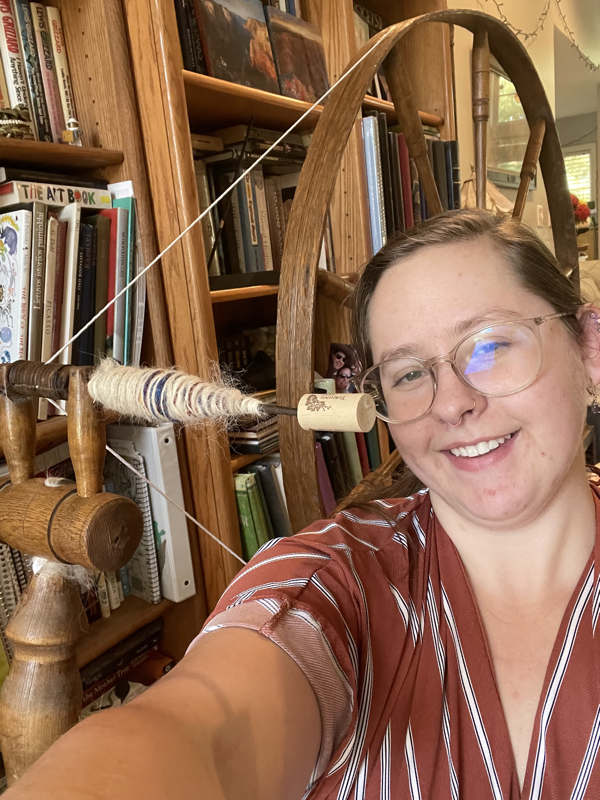
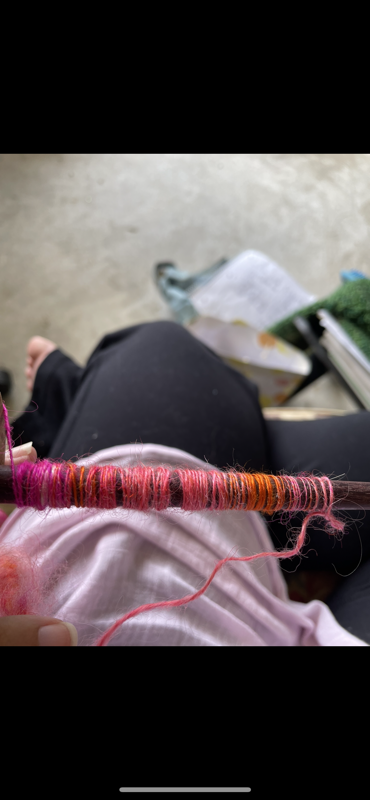
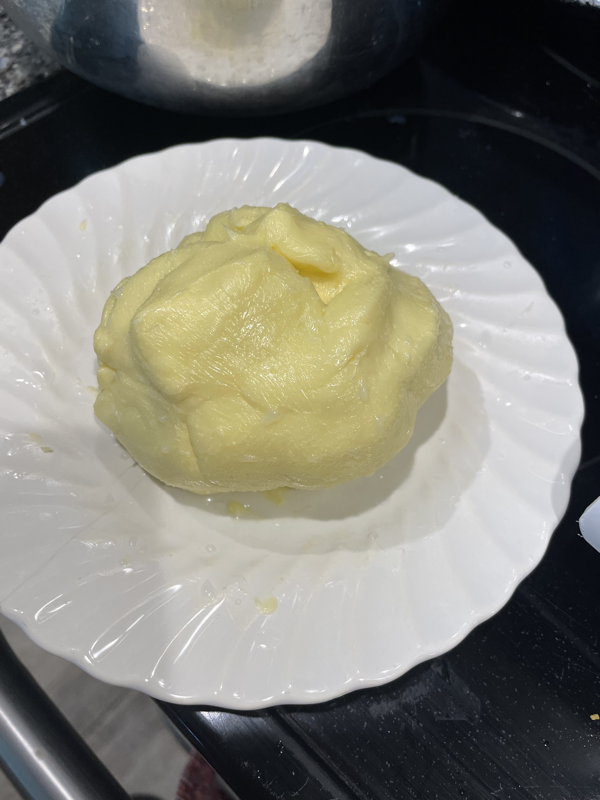
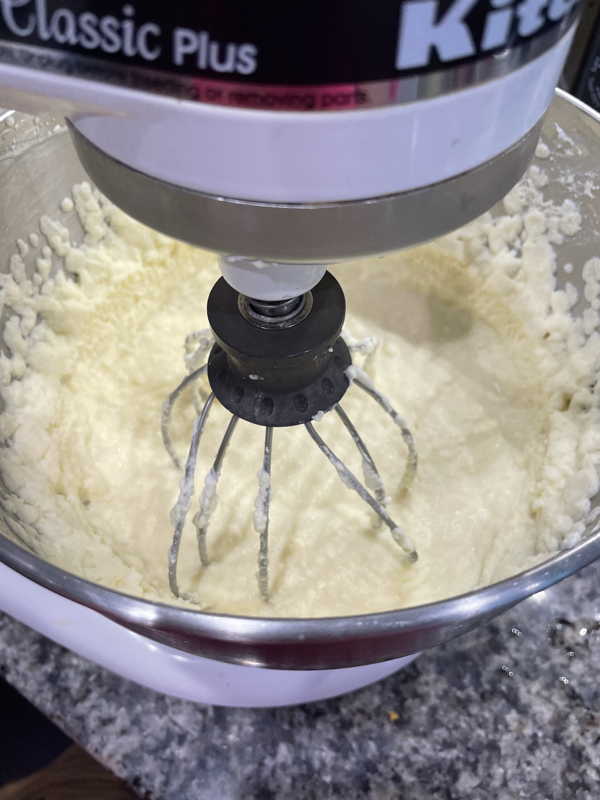
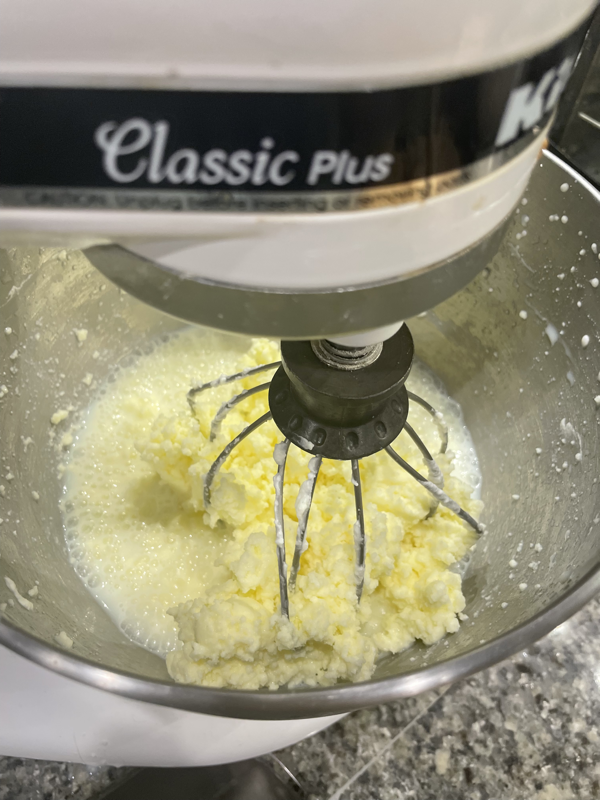
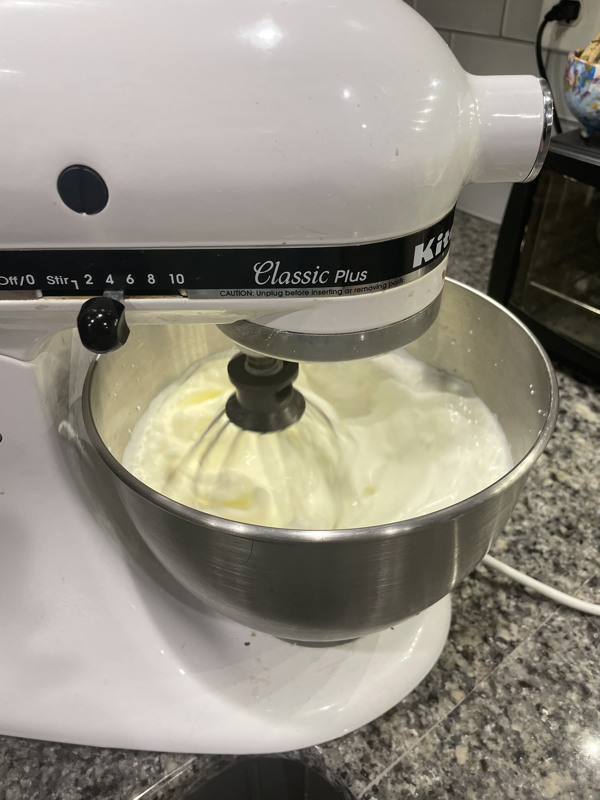
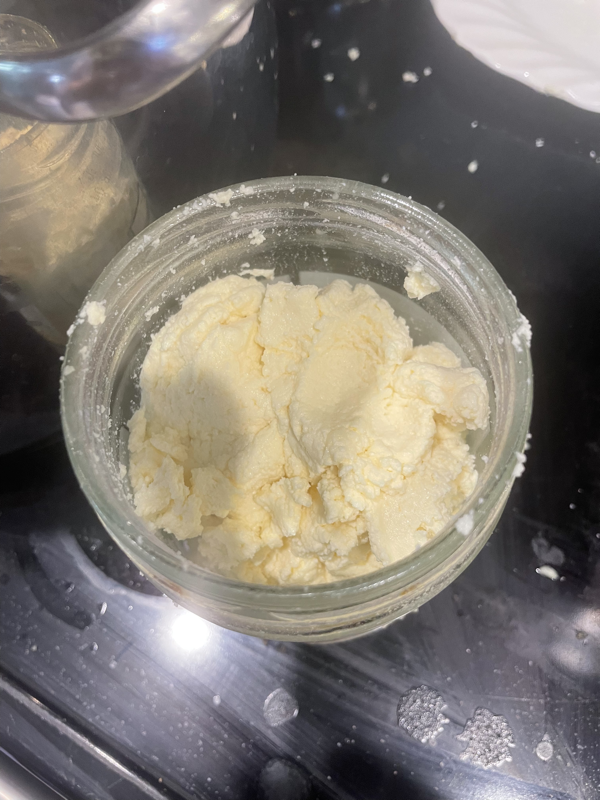
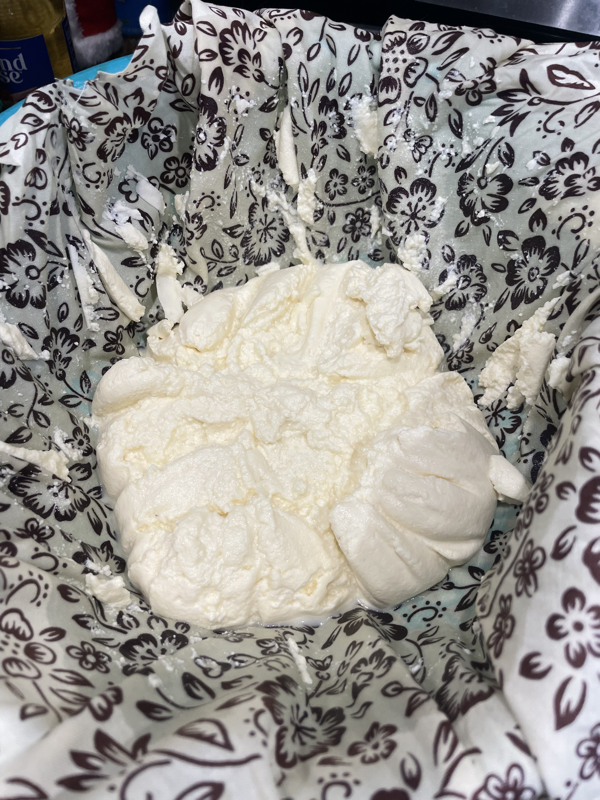
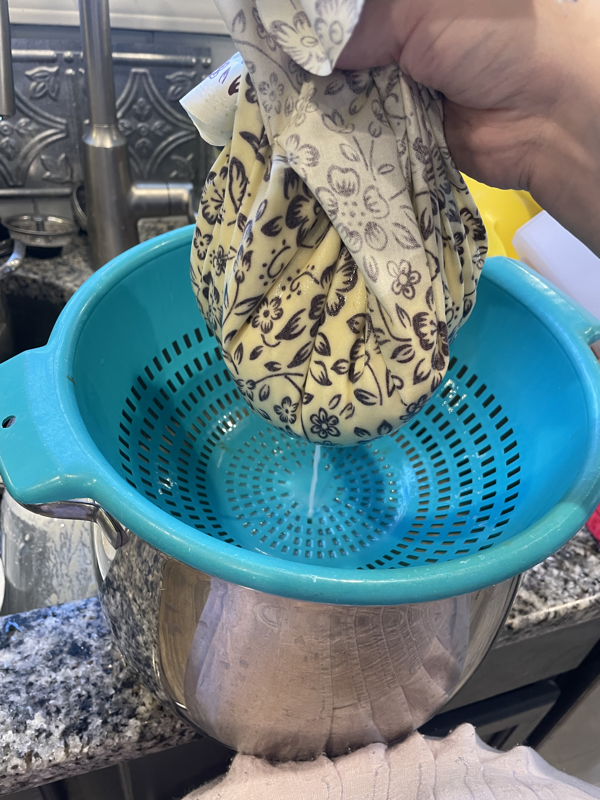
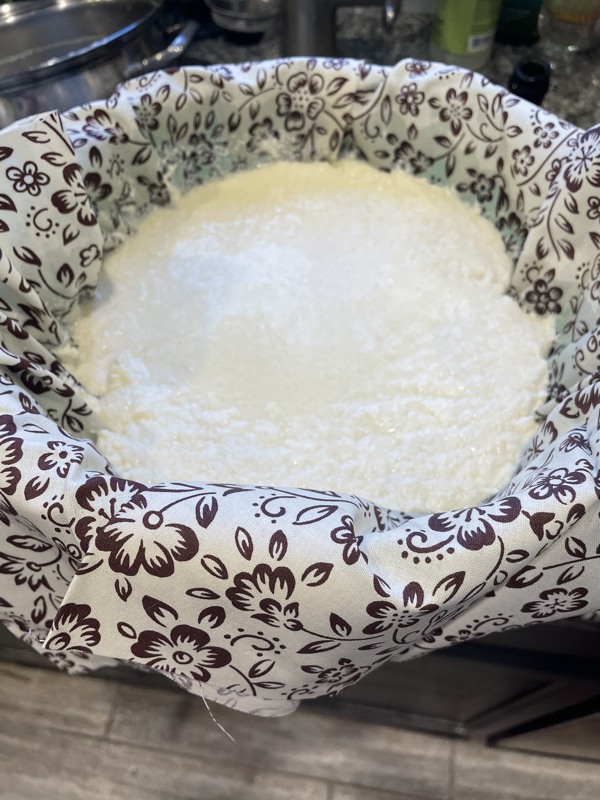
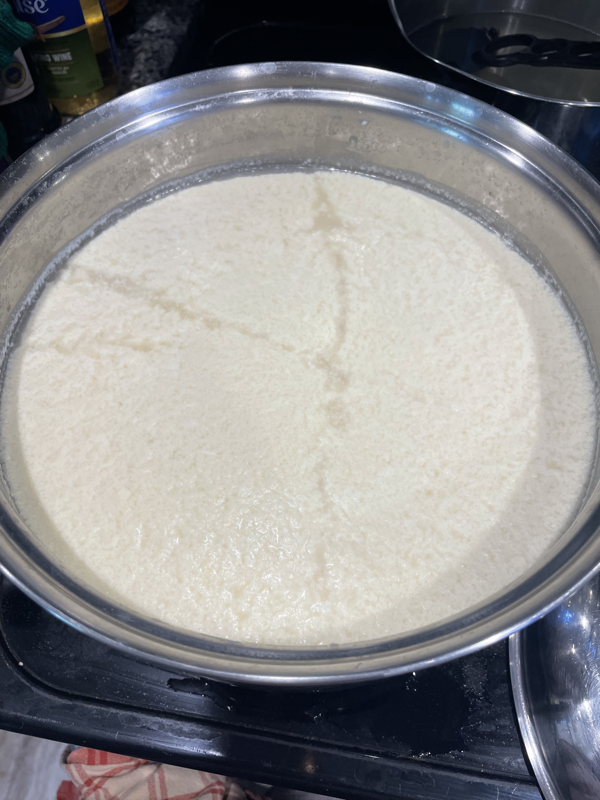
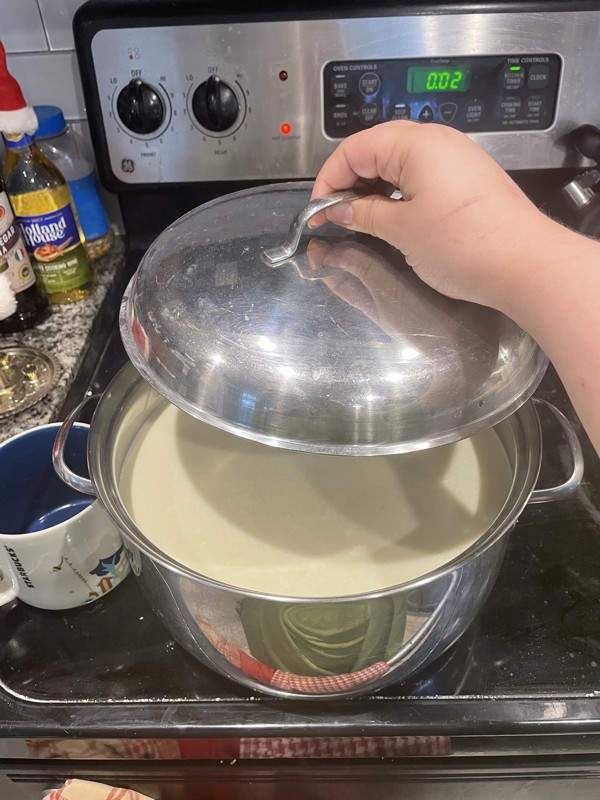
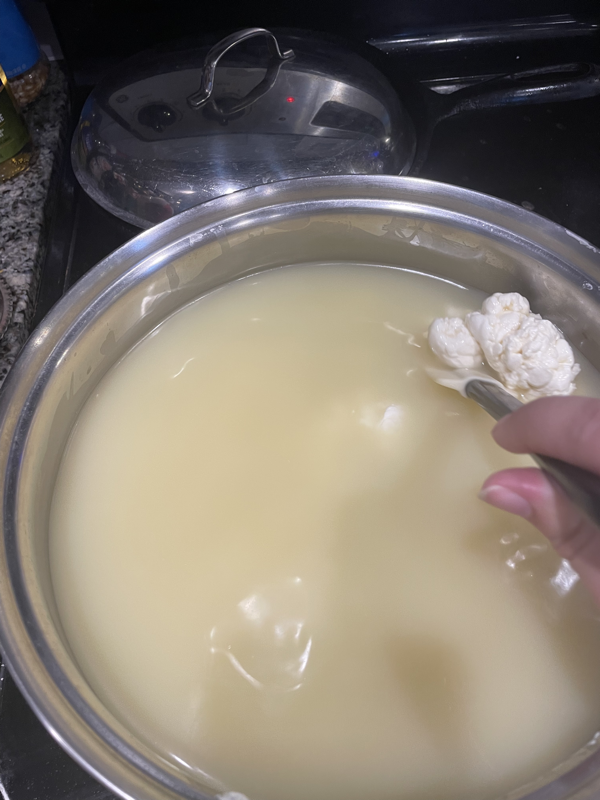
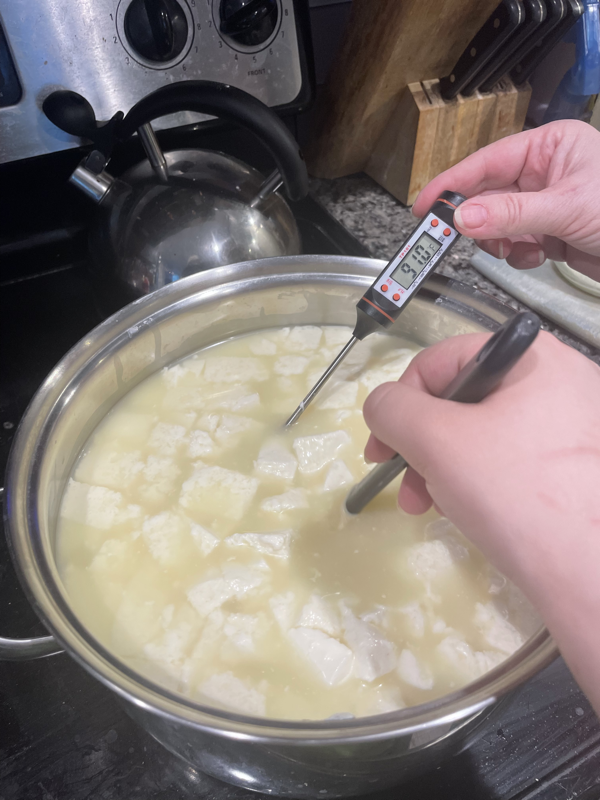
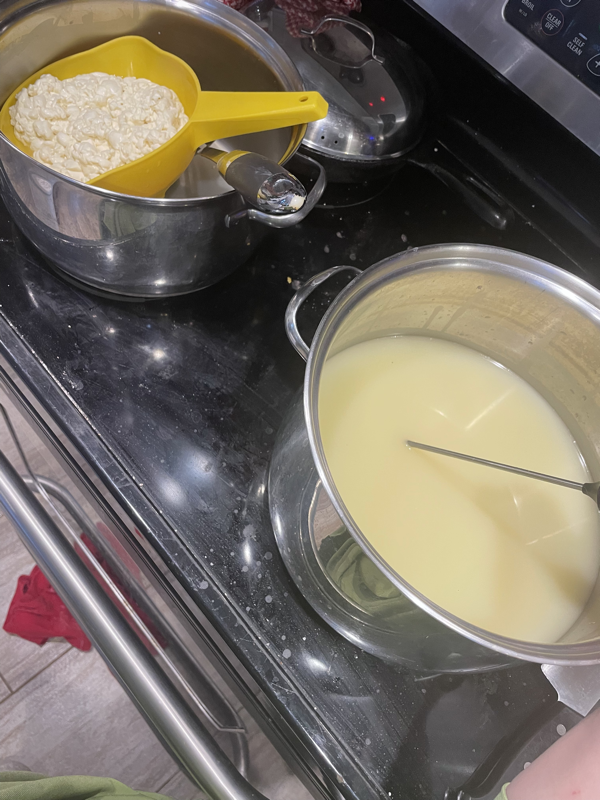
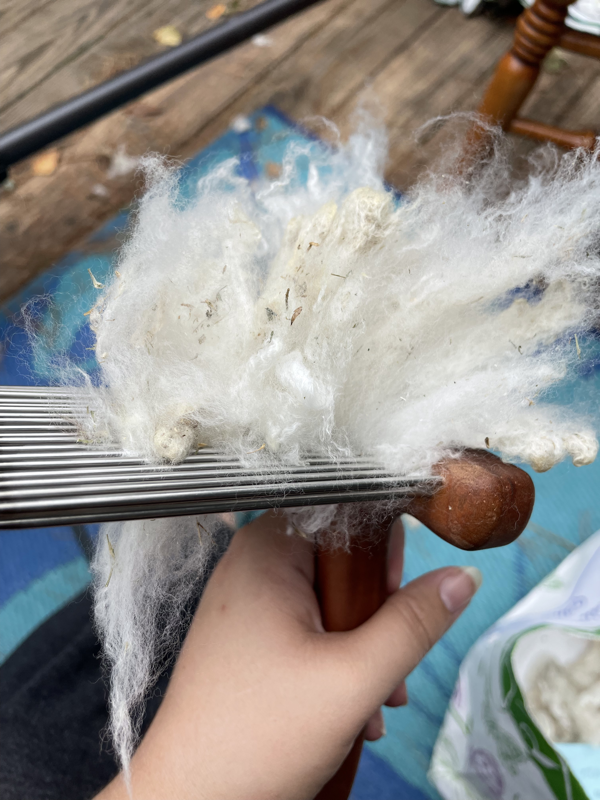
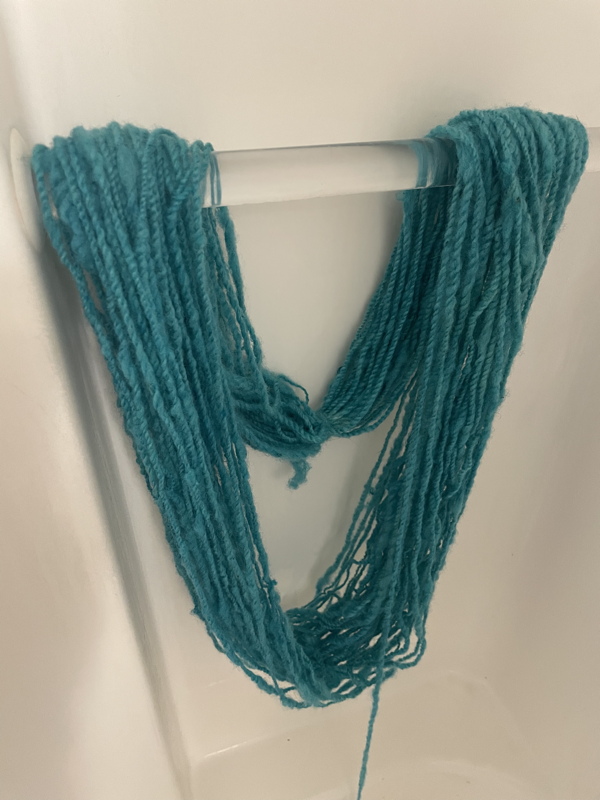
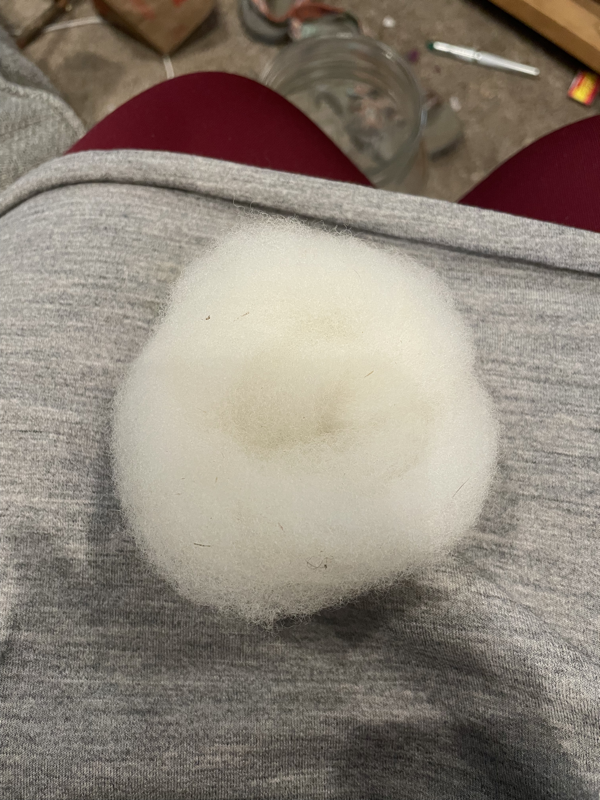
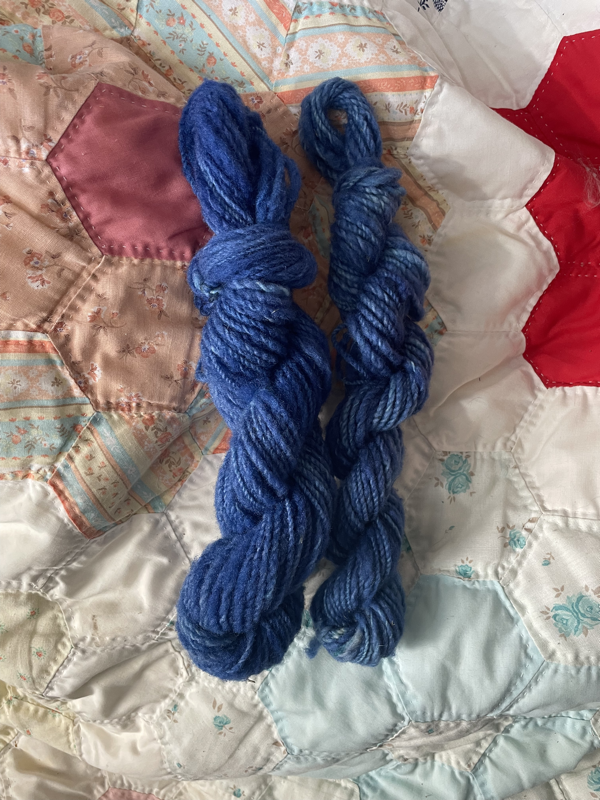
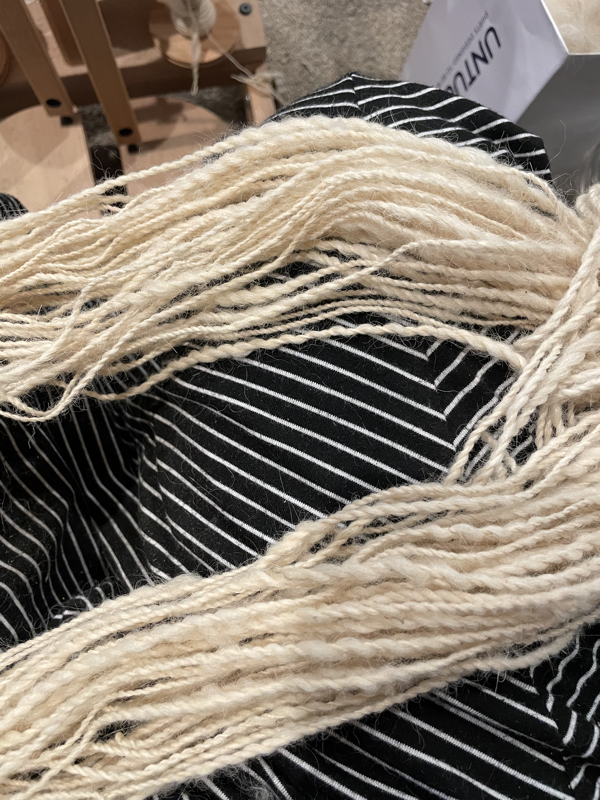
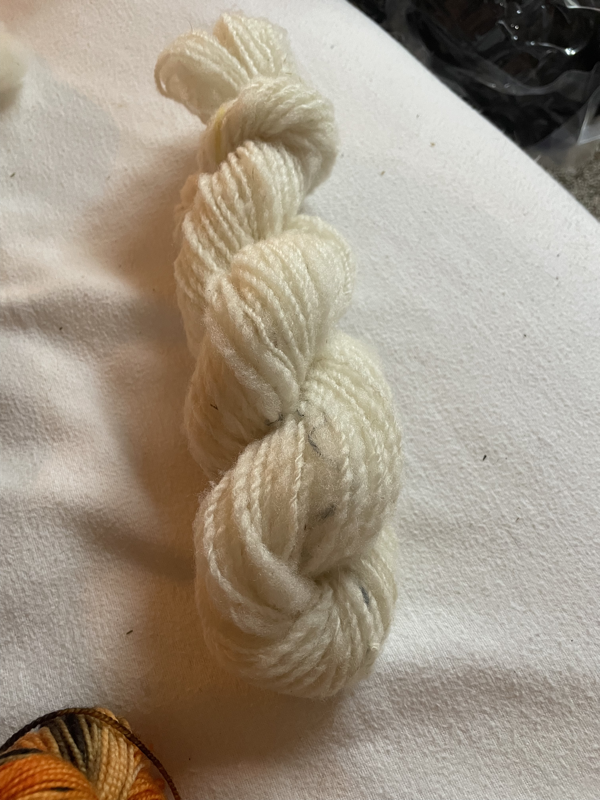
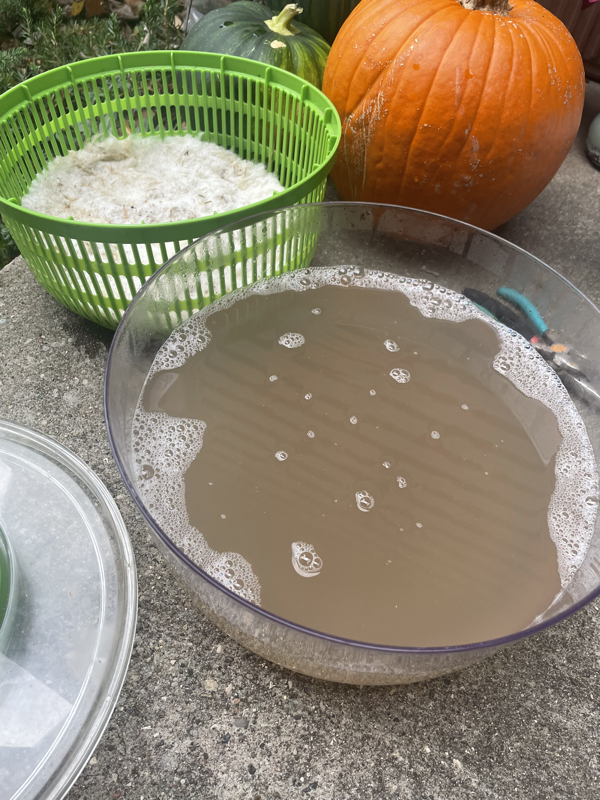
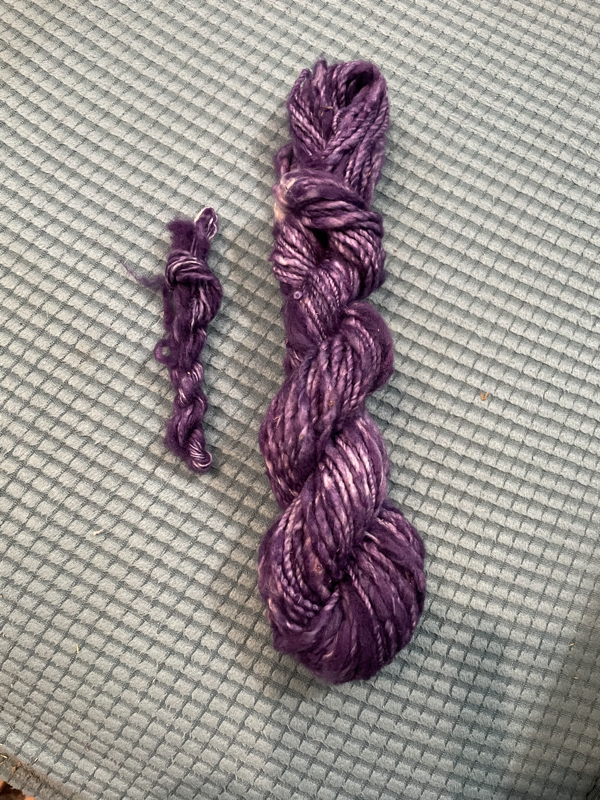
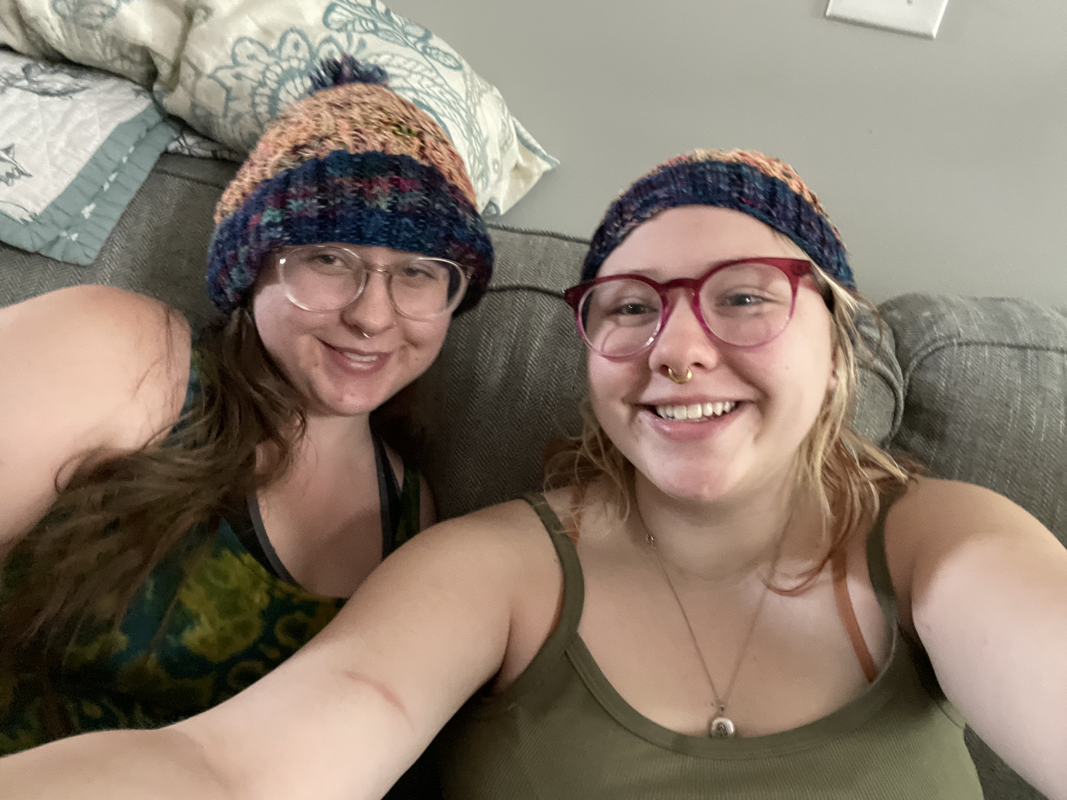
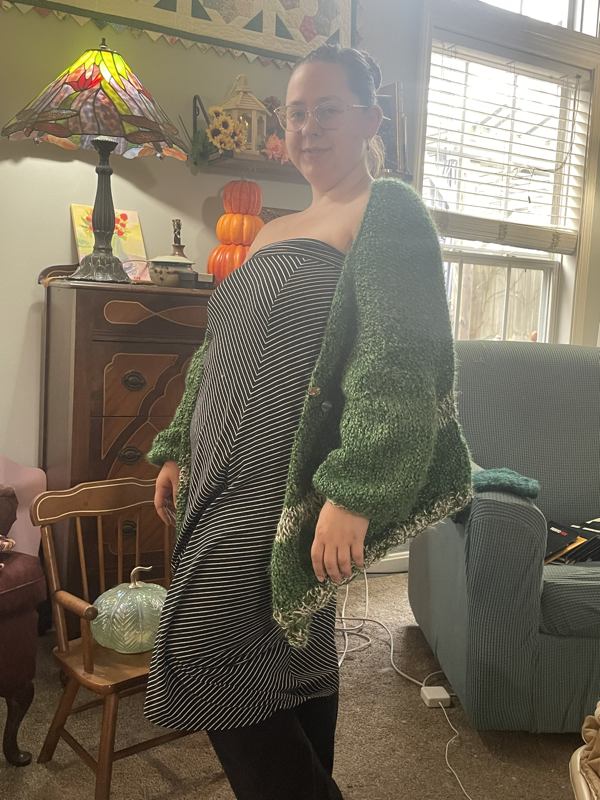
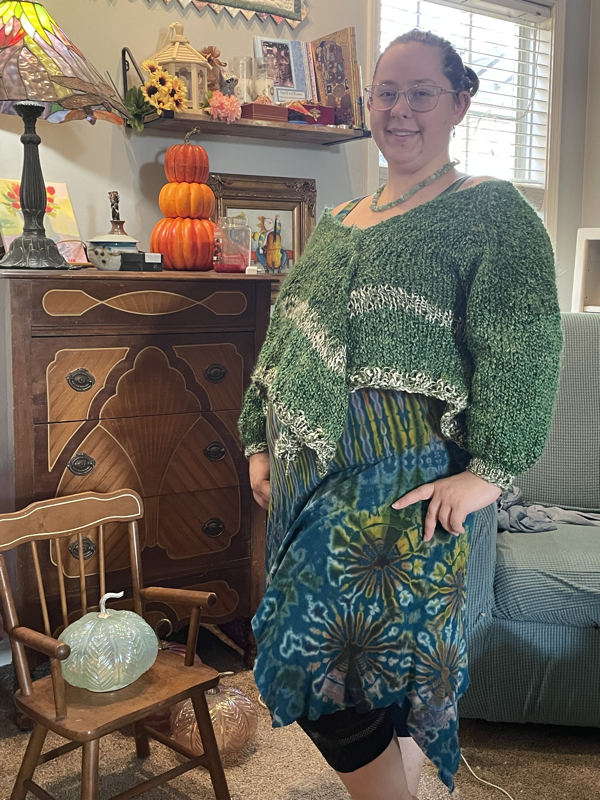
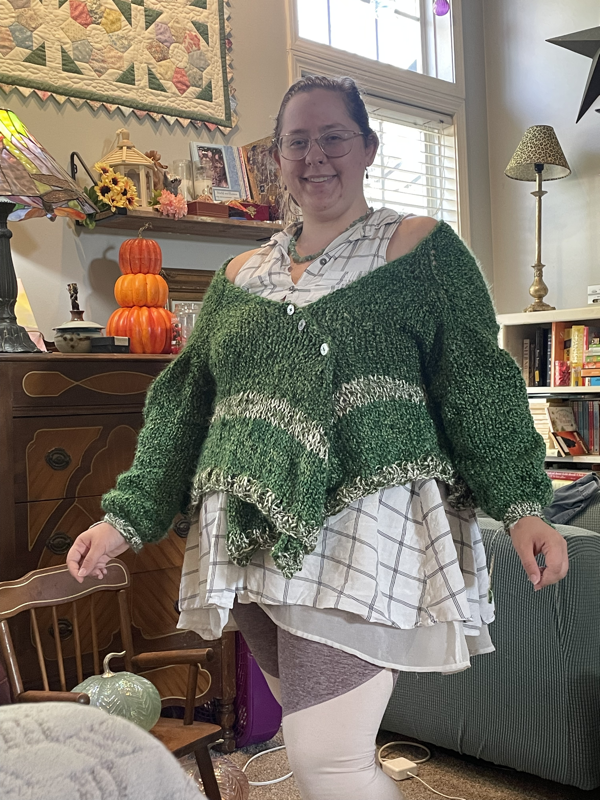
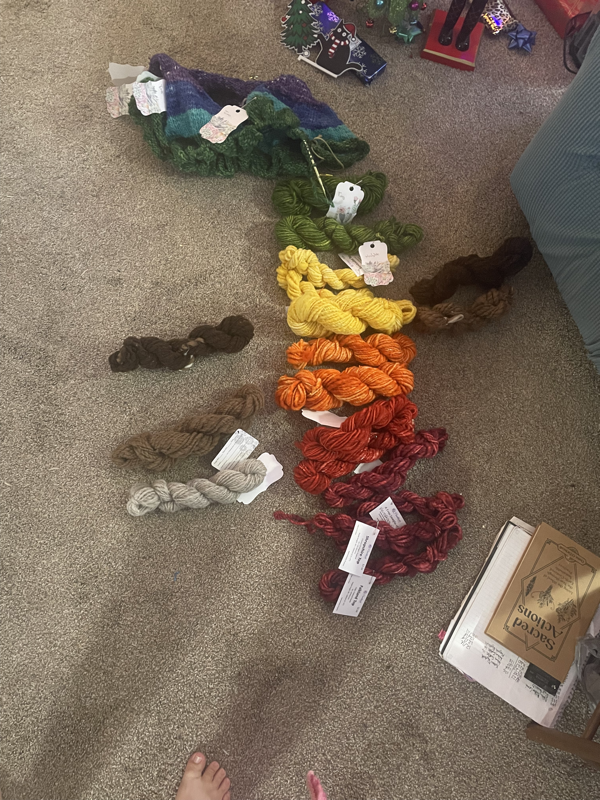
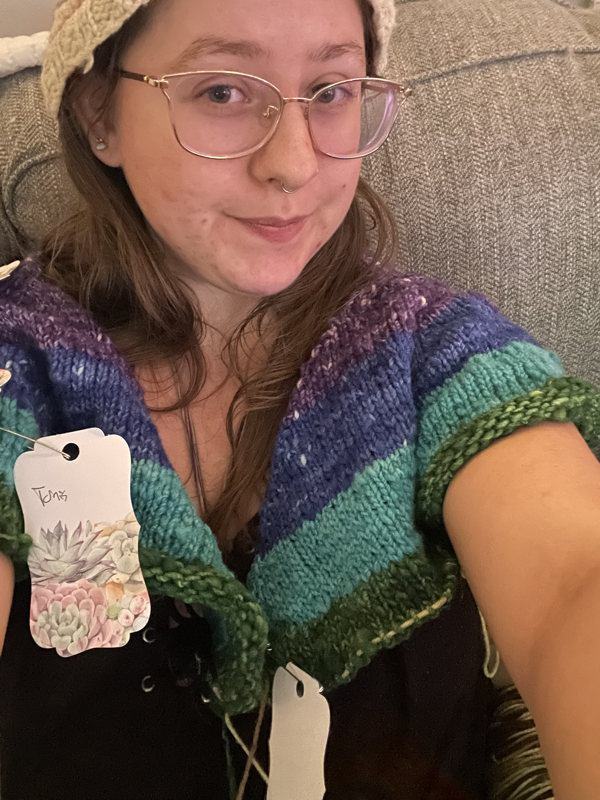
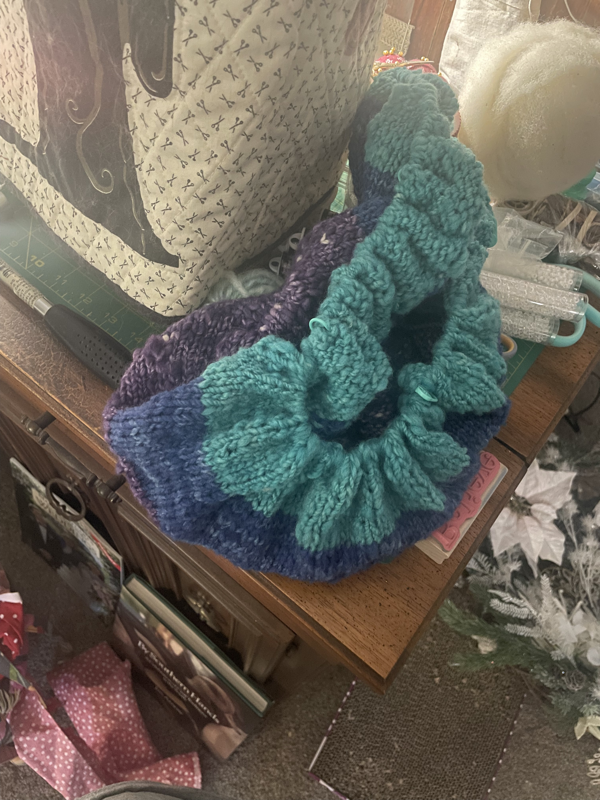
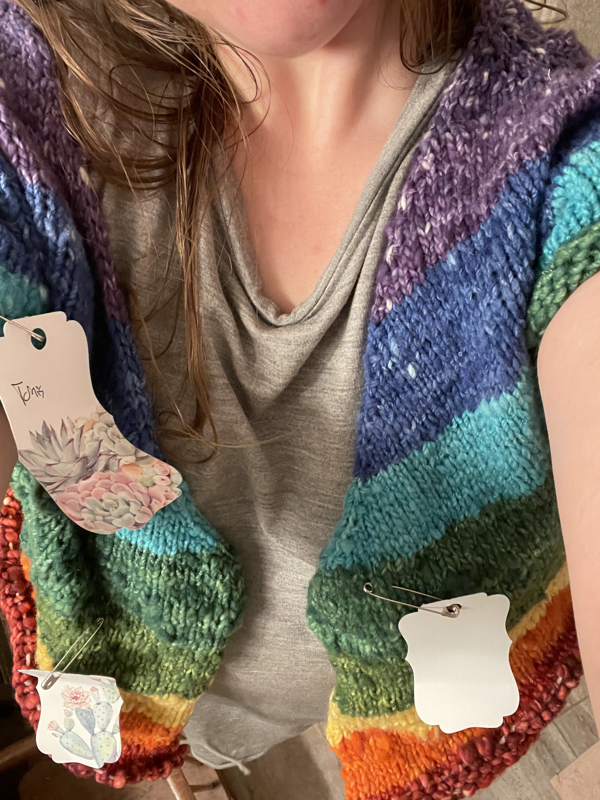
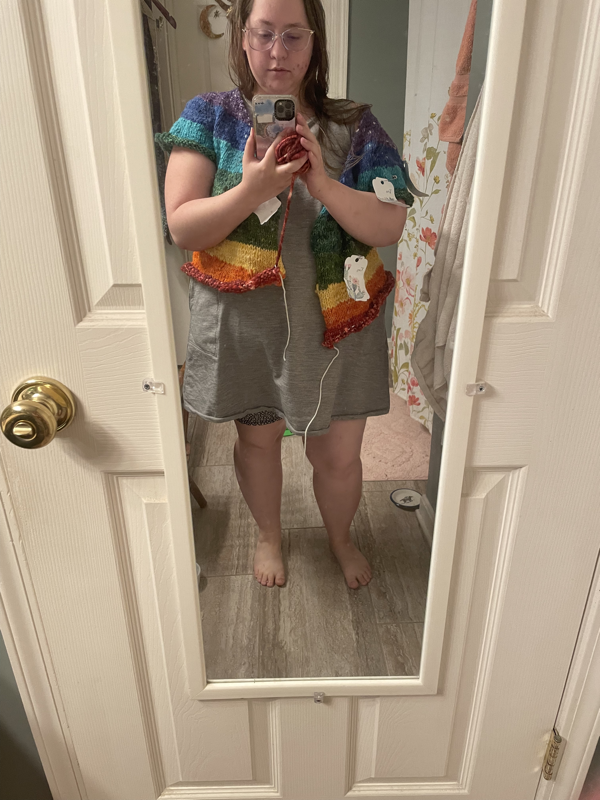
16: Technique— I don’t always have the best technique when I spin. Most of the time I draft in long draw, and I spin more uniformly or consistently with a drop spindle than any other spinning form. It’s when I lock into my meditative state and literally feel physics… 17: Weekend— almost every Friday night, I stay awake late to have crafting night. Saturday mornings I call my dad and relax while I have my coffee.. then I get back to work with whatever I’m doing. 18: Fiber Friends— have to give a big shoutout to my dear friend, Amelia Zenerino, an artist of many mediums. Amelia and I were in a knitting circle in Henry County Kentucky during college, and that fiber group has taught me so much! I went from knitting rectangles to now knitting sweaters and embarking on colourwork. Amelia and I love to chat fiber and trade dyestuffs and yarns etc as well as just ideas and life stuff. I am so thankful for our friendship! 19: Project Bag— I have so so many 😂 you can find bags upon bags of different groupings of my wool. Additionally, I will have bags for my knitting, and baskets and boxes for storage of all my crafts. The epitome of a project bag is my extra large trash bag of alpaca fiber! 20: Twos Days— 21: Wear it Wednesday— every time I leave the house I go through by checklist: -did I brush my teeth? -do I have my keys? -do I have reusable bags? -what am I going to wear? Especially in the winter! As I’m putting on my coat, I pick out a hat or pick out gloves. There’s not much I don’t have to bundle up! Today I picked my handspun holiday hat, my test acrylic cardigan, my Goldfish Memory test knit (that I, myself, did not knit) and an Inkle woven band of my own creation.  22: On this day in 2020– 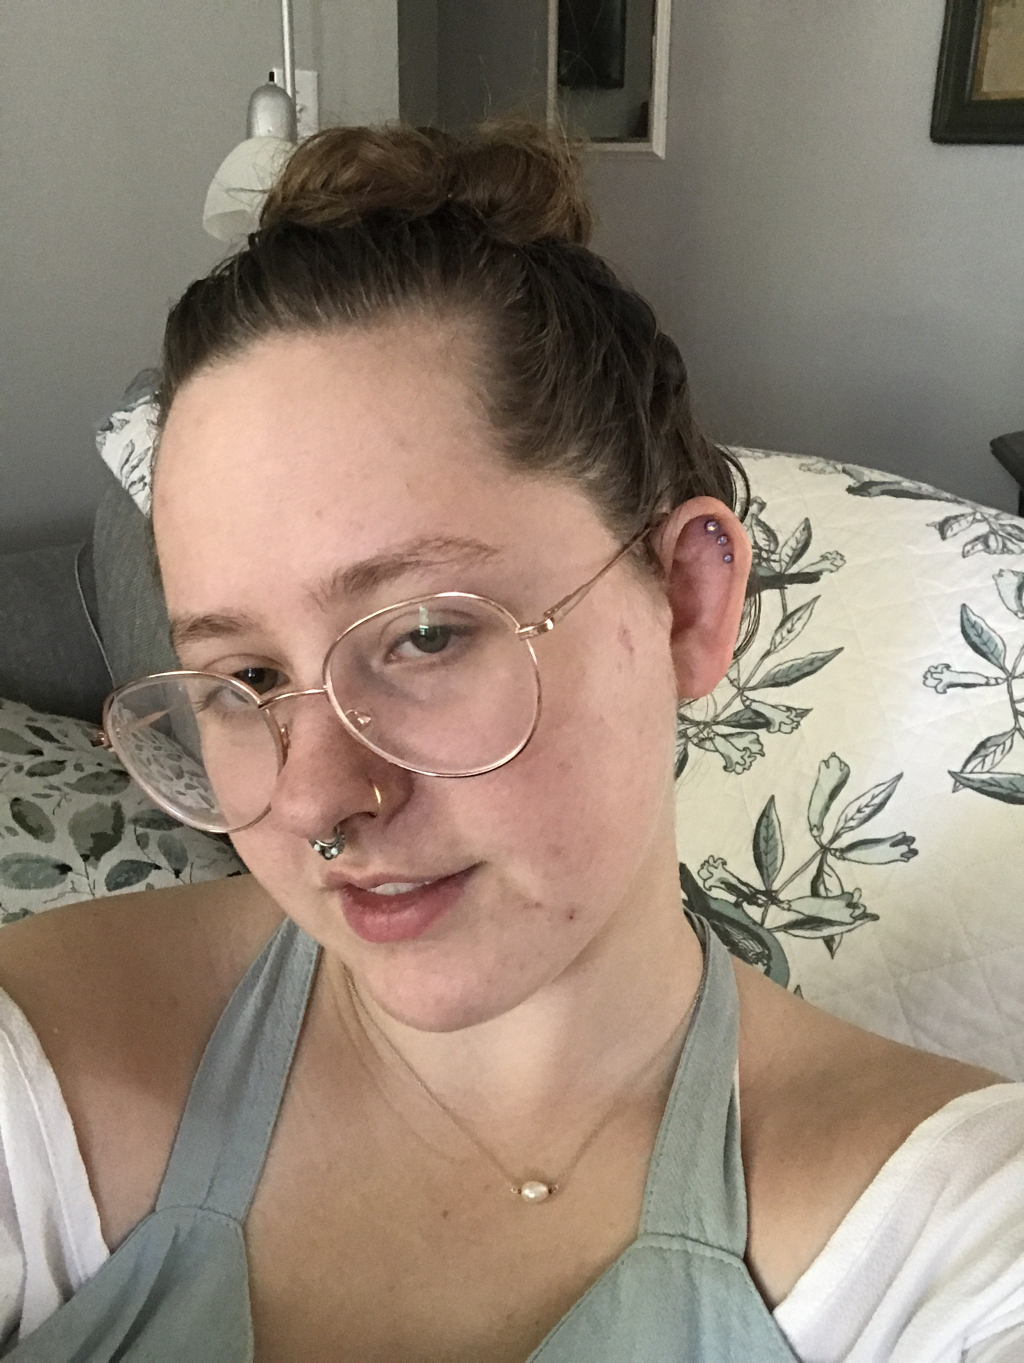 23: Cute & Cuddly— 7: Work in Progress— always spinning a yarn or two! This is alpaca and Wensleydale sheep wool I washed from raw and blended. 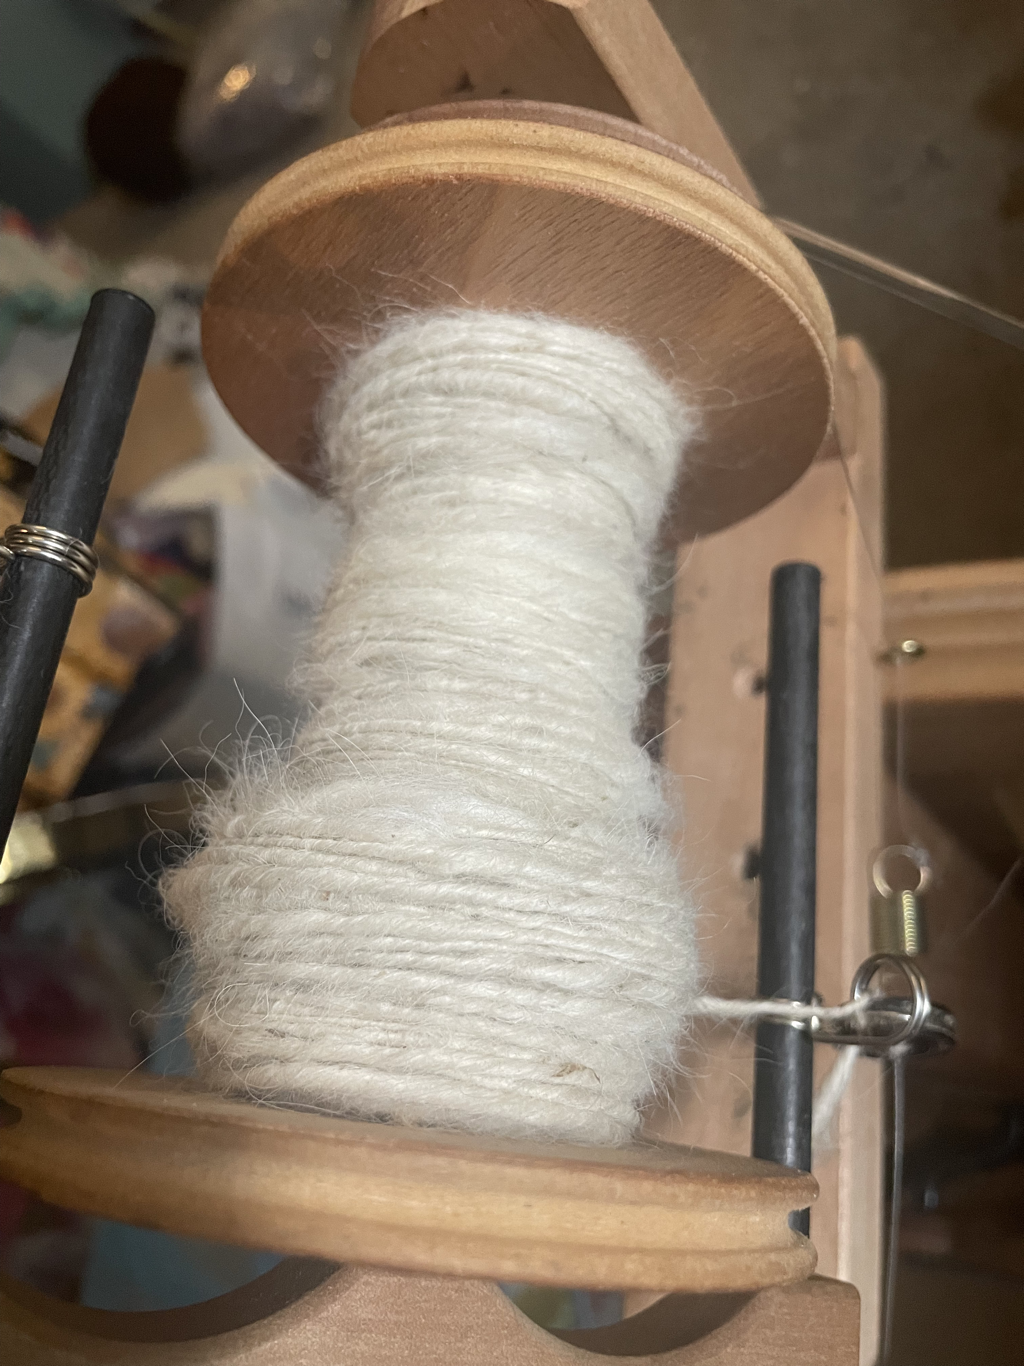 8: Outside— I can’t wait for all the creation that’ll happen this summer in the gardens of our cozy cottage and community garden plot! 9: Flashback Fiber Festival! Here I was at the Kentucky Wool Festival dressed as Professional Knitter Barbie! 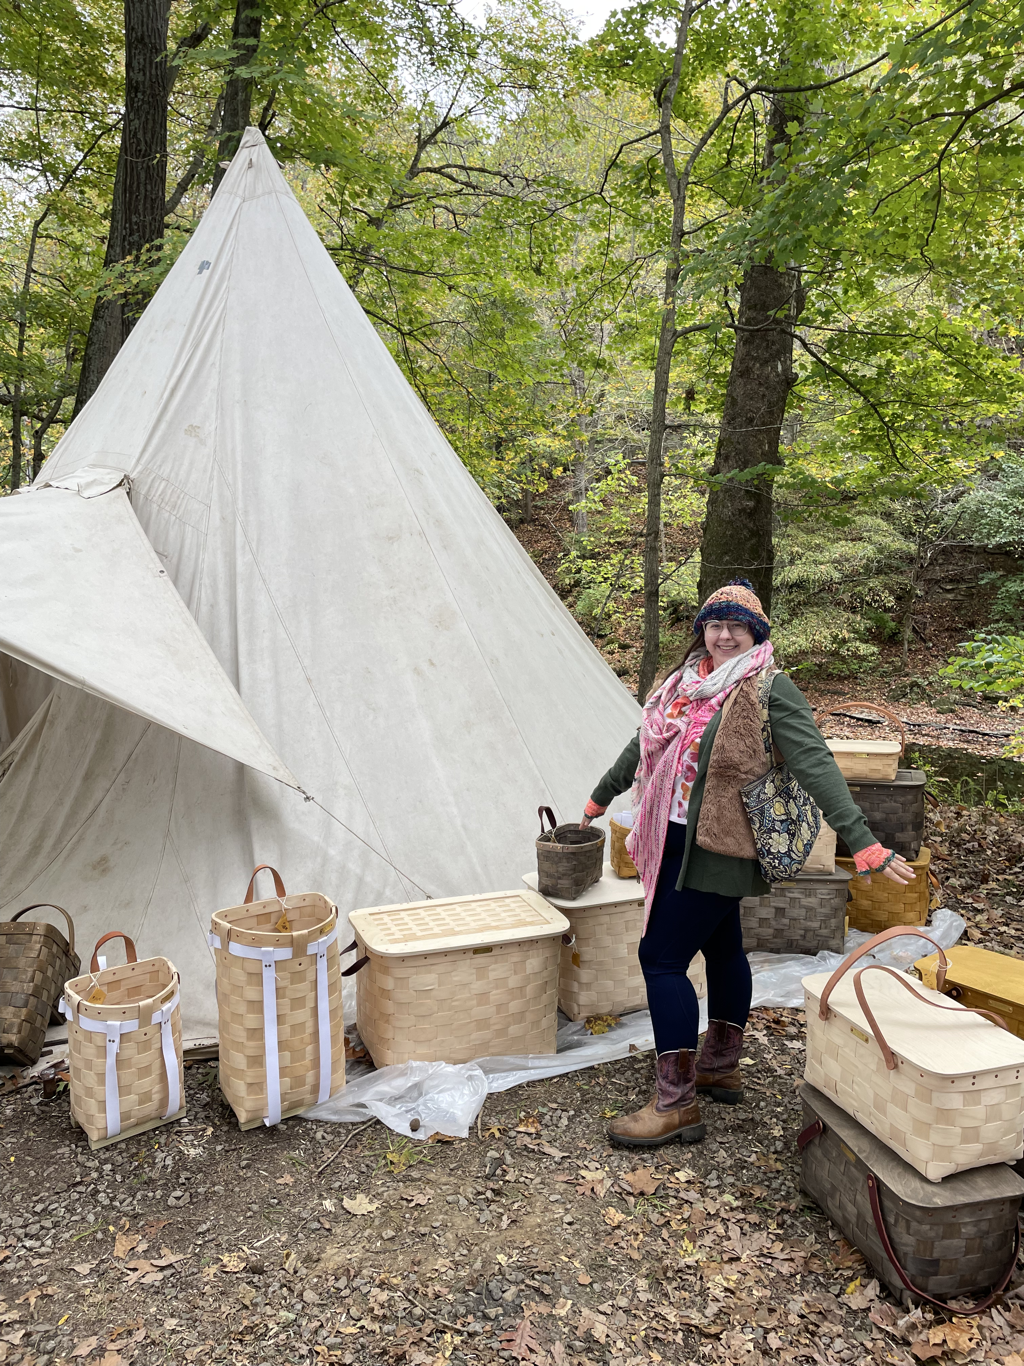 10: Greenery green flowers and buds 💚🥦🪡 11: Sunday Funday Jordan and I went to Berea for my birthday weekend for a little art vacation. We went in some galleries and explored the town but much was closed that we wanted to see. We soaked up the sunshine on graffiti bridge, then went to Wilson’s greenhouse on our way home, and drove over the little bridge over the Kentucky River. 12: Mugshot Monday 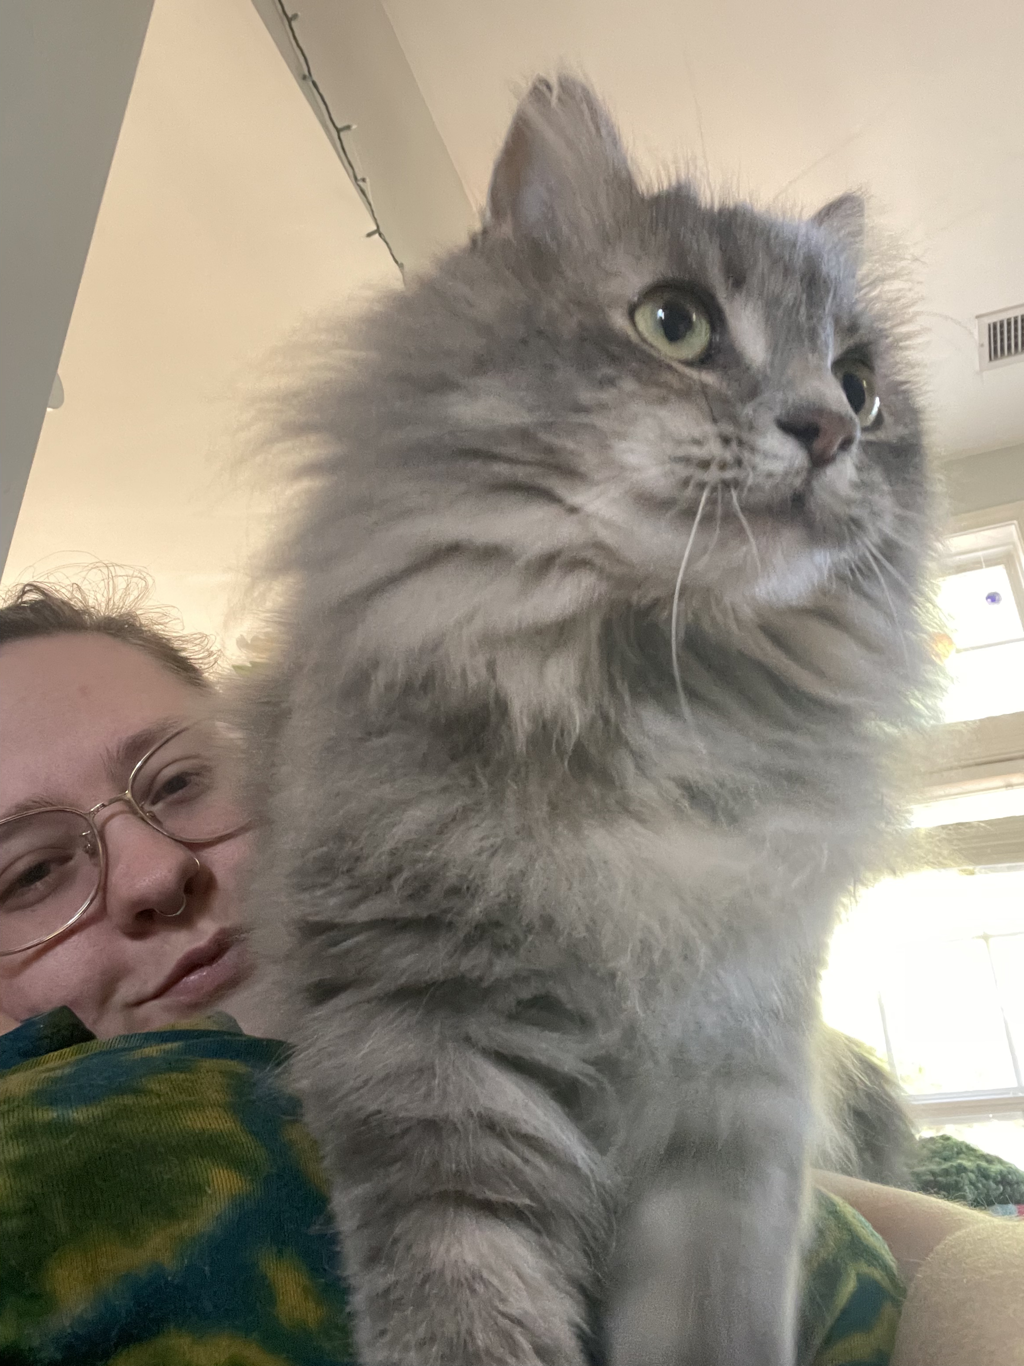 13: Black and White The Great Wheel  The Yo-Yo Quilt (Royal Ladybird) 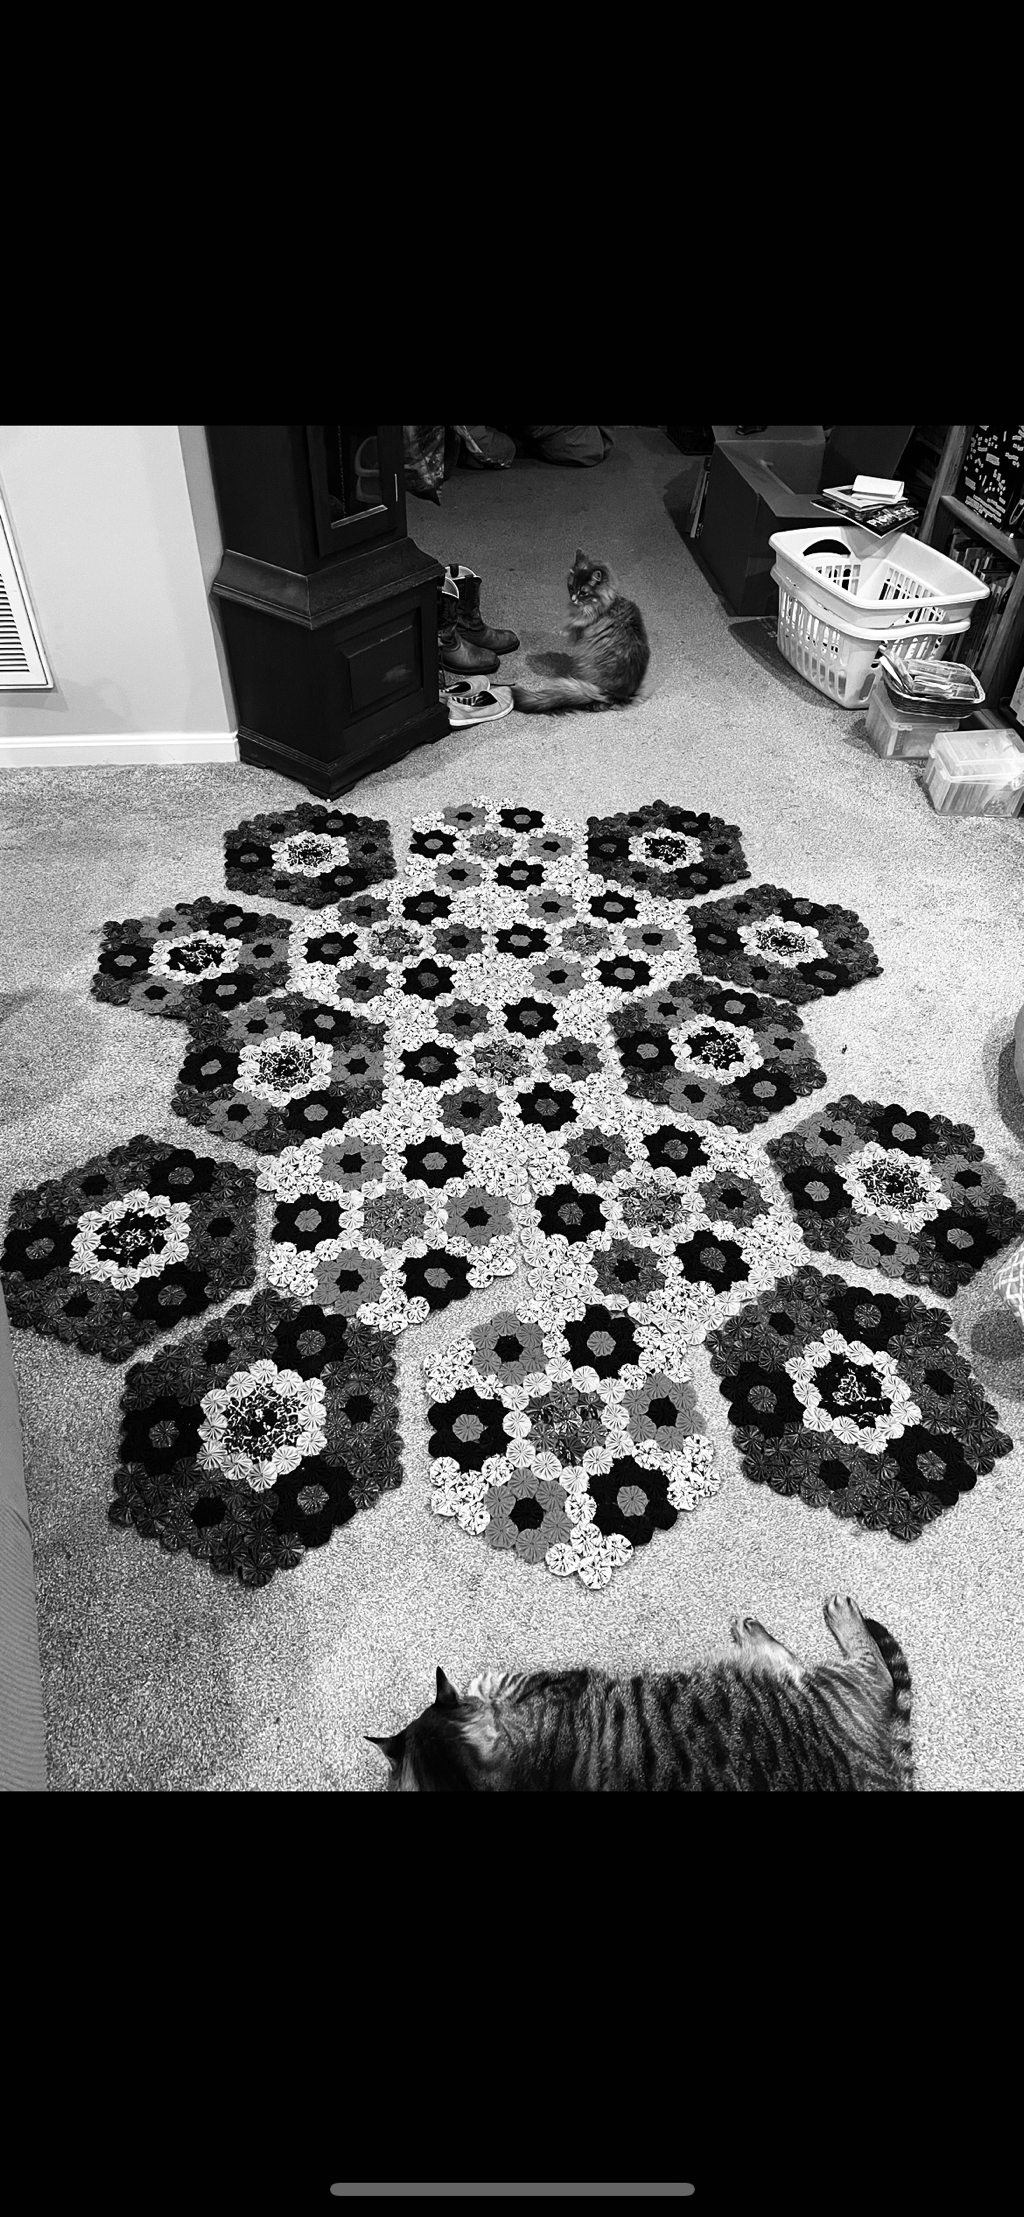 15: Matching Josie and I in our finest, the Hat For Joy s I made for us in Malabrigo Fortaleza and Peggy Jane Fibers Dirty Tangerine 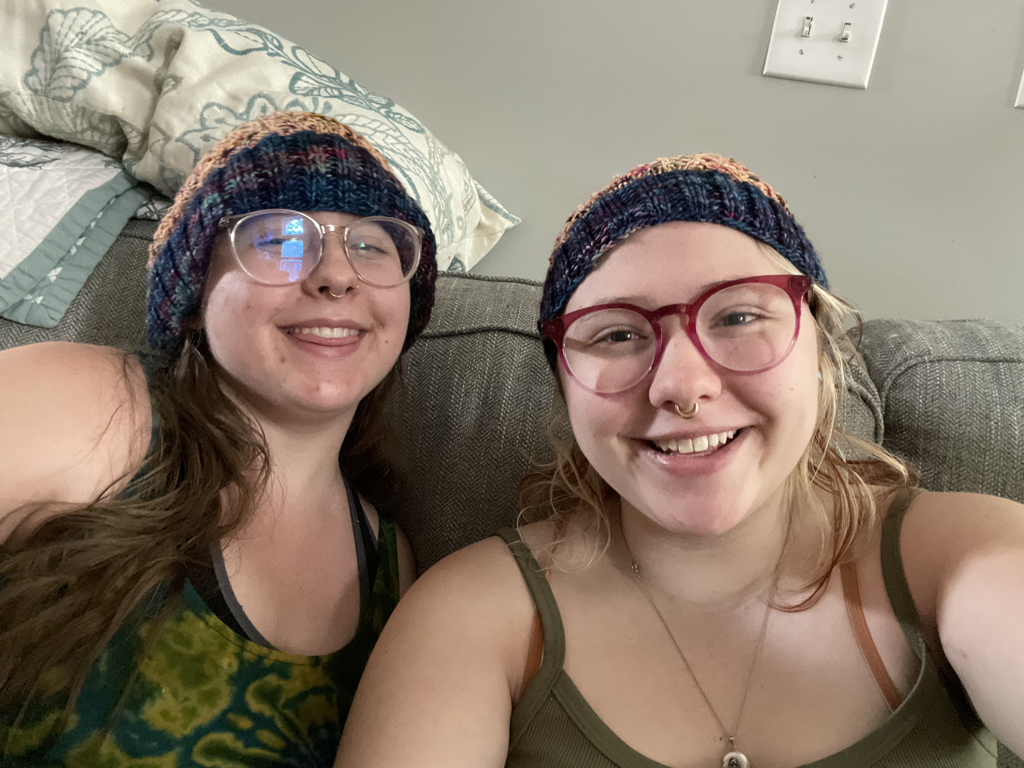 Fiberuary challenge I wanted to take the time to share my “fiberuary” fiber art challenge here on my blog! This was so fun! 1: Hi! I’m August Lee, also known as the Emerald Garden Girl! Im a kitchen homesteader, urban gardener, fiber artist, cook, writer, and Green Witch. I live my life with passion, and luxuriate in the everyday magic and minute details of our world. 2: A 2023 memory I’d like to share was winning two blue (first place) ribbons in the state fair, for two of my favorite entries—handspun garment, a gold headwarmer; and baby socks.   3: Looking forward to this year, I’m getting ready for a festival I will be vending at—the Women’s Homestead Society Festival at the end of April! I’m planning on having lots of artisanal handspun and hand dyed yarn available, as well as a few baby garments, some tallow products, quilt block garments, and fantasy chicken and embroidered sheep hats! A week after the festival, I’ll have a big announcement during our celebration of The 150th running of The Kentucky Derby. It’s a project I’m bursting at the seams to share and am thrilled to be releasing it—Sooooo…. STAY TUNED! 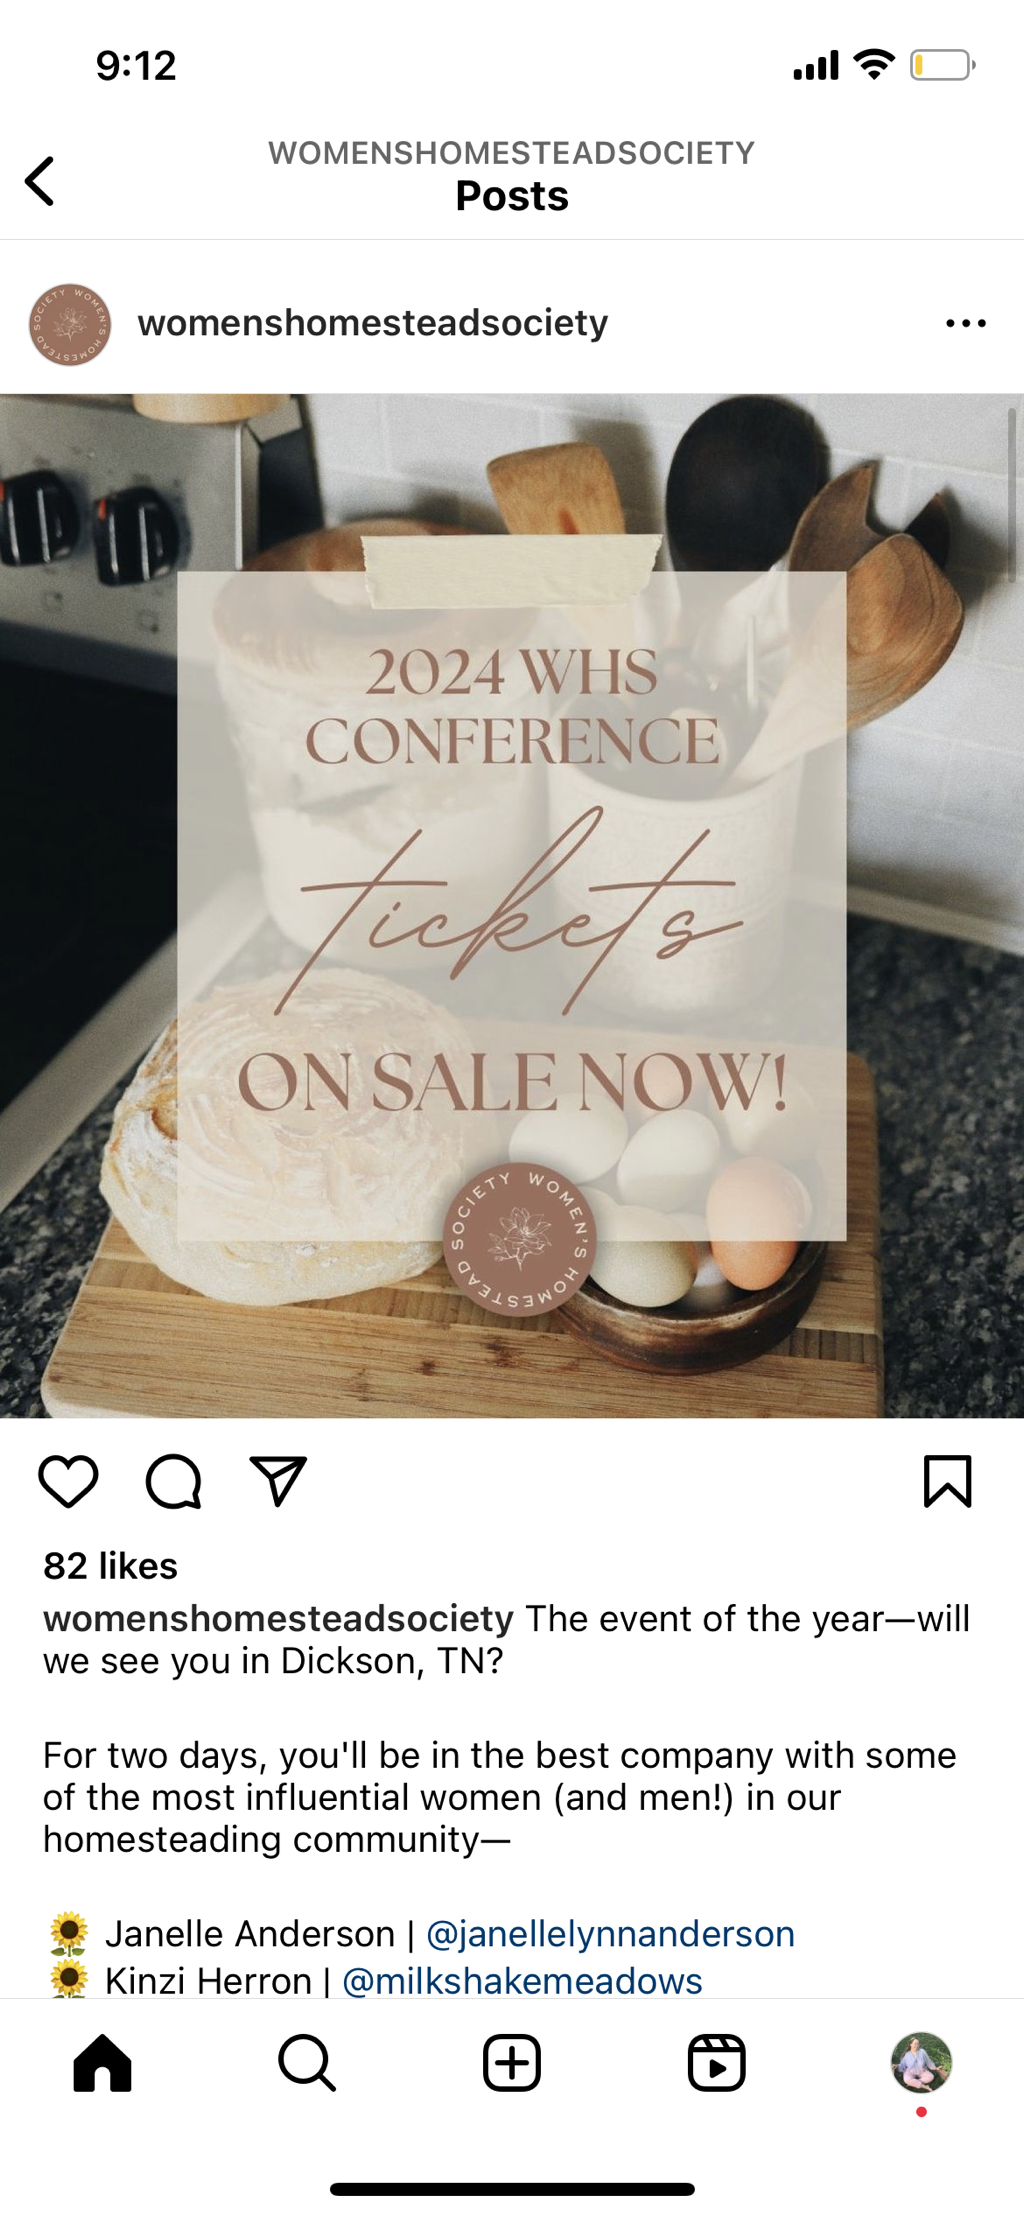 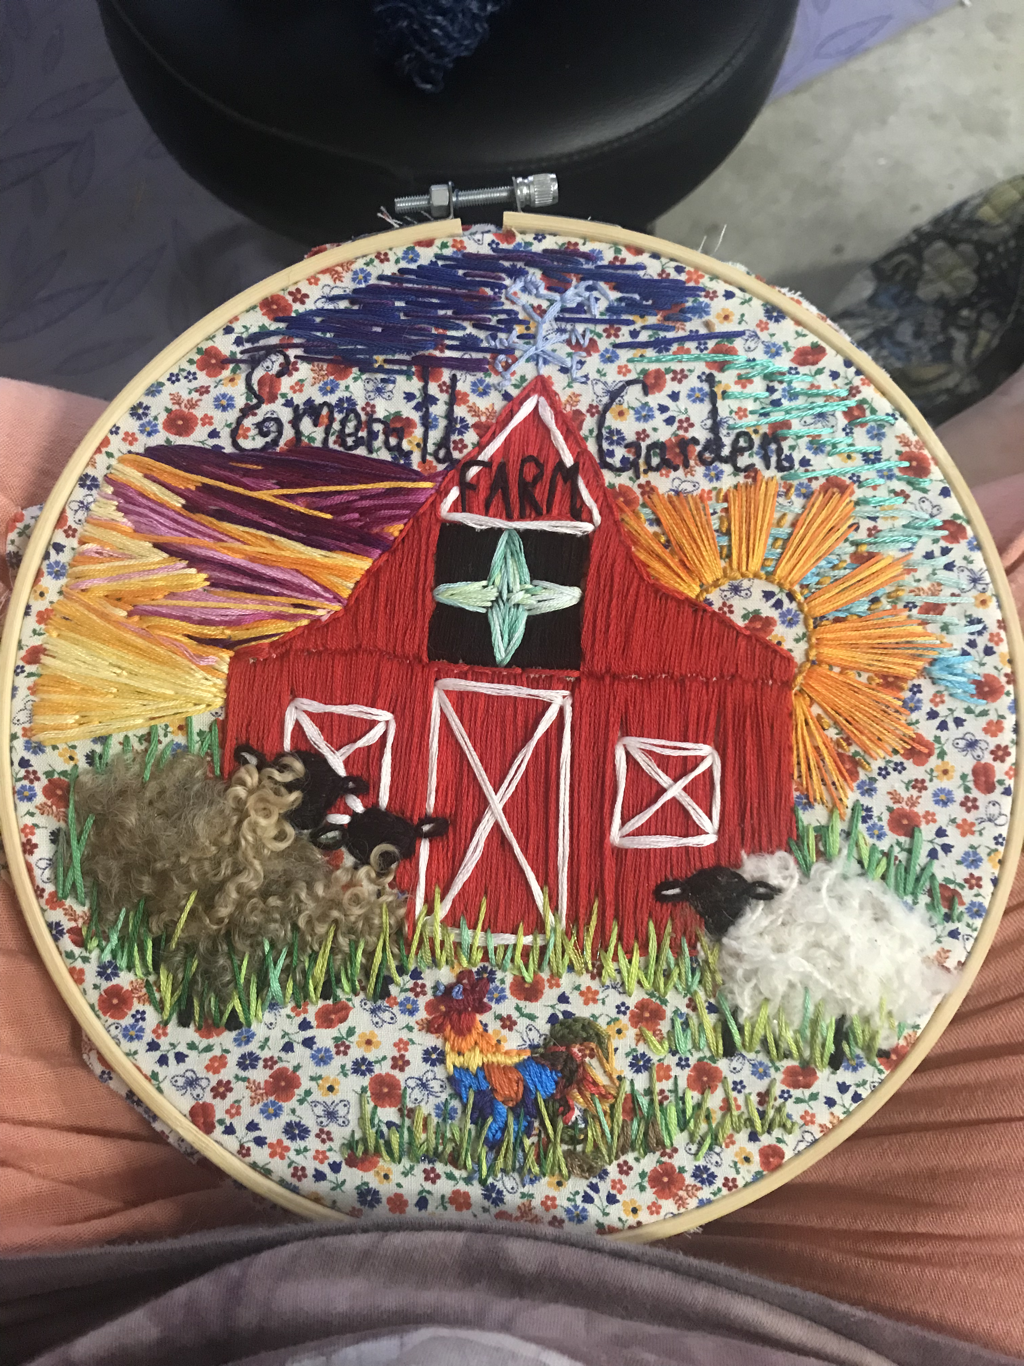 4: Local yarn shop love: Over the Next Row Knits with Kate Ritter! Kate is amazing with getting people started knitting with her kits. She stocks a beautiful collection of yarns and has excellent taste to help you pick out the perfect wool, linen, or cotton yarn. 5: Monday Motivation: “busy people get more done” “choose your hard” and make a “done” list 6: Now and Then: Early on in my yarn journey And today!  Our experience with a herdshare in Kentucky! Our family just wrapped up our first experience with a herdshare! A herdshare is a way to buy milk directly from a local farmer—the person pays to cover the cost of owning and boarding a milk cow with a group of local people, and we each get a share of the milk or other products that come from the dairy herd. We hadn’t done this before, so it was a totally new process for us, and we really enjoyed it. It is a huge blessing to be able to get milk from a local farmer, and it really made me feel like a more active participant in our agricultural system. Here’s what that was like for us! We met our farmer on a local milk page on social media. She negotiated a price for us, and we started with cream. Our family doesn’t drink or use much milk but we use butter regularly. I like to make my own butter with heavy cream. Cream from the local farmer was a dream! I drove to her pick up and signed paperwork to buy into the herdshare for six months. I gave her an empty jar, and received our jar of cream. I paid her, and drove home and then in a few hours of reaching room temperature its ready to make butter! It’s such a simple way to buy such a quality product. This dairy is truly amazing. Making butter is simple. I put room temperature cream in my kitchen aid and mix it til it’s silky, add salt, continue whipping til it turns into butter. It takes less than 15 minutes which is a perfect amount of time for a quick tidy of the house. I wash my butter in ice water, squeeze it out, and put it away. Then I pour the buttermilk into a jar to use later as well. You can also, then, put some butter back into the kitchen aid and whip it, adding herbs, spices, honey—whatever! Can you say yum? It may go bad faster but good food goes bad. You just have to ask yourself “do I care about preservatives going into my body?” If you do, you do; and if you don’t, you don’t. Eat your food accordingly. It is, at least, a less expensive way to eat high quality food. I eat mozzarella as a snack with balsamic olive oil and spices. However, I thought, “hey, wouldn’t it be cool to try making my own mozzarella?” A lot of people on homesteading pages make their own cheese, and I identify as a kitchen homesteader, so why can’t I do this. So I bought some rennet, bought a gallon of milk from my girl, and made some dang mozzarella! The first time we tried it, we diluted the rennet (we used a liquid rennet) not knowing, you don’t need to dilute liquid rennet, only capsule. So it didn’t set up like we hoped and didn’t form a firm cheese. It was more like a cream cheese but still yummy. The second time we tried it, we didn’t dilute the rennet and so the curds separated from the whey and it made a firm, standard mozzarella. Very cool! So it was a really fun opportunity for us to be able to try that this past few months! Core homesteading memories! Wool of the Week Breed Study Sweater Today I can announce that I have finished my Wool of the Week end project—a rainbow sweater! Each stripe was a different breed of sheep’s wool (and a little alpaca thrown in, of course!) to test which breeds I like working with and learn a little bit more about each of them. I started off this project processing a sample amount of raw wool—washing it, prepping it, spinning it, and dyeing it. I wrote, for this blog, an article on each breed and my experience with it. When I began the project, I just started by making the yarns. To tell them apart, I started dyeing them. As the project grew, I realized what I wanted to make with all of the yarns—a sweater! After a test run of the pattern in acrylic (I figured it might be best to test before using my special yarn) I finalized my pattern, and got to work. I based my pattern off of a simple raglan v-neck cardigan in stockinette stitch (the classic knitting stitch.) All of the yarn was spun in an Aran weight, and I spun as I went. I started off knitting after I had dyed my purples and blues, but then I just started spinning and knitting, spinning and knitting as much and as fast as I could. Early on in this project, I got the opportunity to go to the Southeastern Animal Fiber Festival 2023, and take a class with Martha Owen on High Wheels: mechanics, maintenance, and spinning. She spoke about the overall reason for spinning: clothes. In days before Target, Gap, Walmart, and even thrift stores, people spun thread to make cloth for clothes. “Start with adoration,” she said, “then spin like you’re naked.” And I spun, then, like I wanted this sweater. I did. I’ve been knitting little things like scarves, hats, and mittens for ~5 years, but this year I made the leap into garment knitting (sweaters, shirts, etc). I’ve been thinking seriously about a handmade life. I make my own food in my kitchen from whole food ingredients, and I keep trying to make that area in my life homemade. Clothes are the next area that I naturally see I can work on. And, you know, to feed and clothe yourself are two of the tenets of survival. I don’t have a lot of clothes that fit my body today, and most of the things I do have, I don’t love. But from the first moment I made my own hat on a knifty knitter knitting loom, I felt value, pride, and sheer glee in wearing what I make. To me, there’s no better feeling than a fresh pair of hand-knit, thick, woolen socks—weeeeeeeell, save the feeling of putting on a new, hand-knit sweater. New Socks can be a semi frequent occurrence, but a sweater obviously takes more time and effort. (Some of my accessories I knit ☺️) When I made my test knit for the WOTW sweater in acrylic, I was really unsure. I had never knit an adult sized sweater, and wasn’t really sure what size I should do. Measurements are helpful to me, but even when I knit gauge, it doesn’t seem to be quite right. Sizes don’t make sense to me—everything is relative! The beauty of knitting is, you can alter the patterns to fit you. With the measurements on the pattern, I was a size large for no positive ease. I wanted a slouchy sweater though, so I cast on an extra large. Additionally, my yarn wasn’t exactly what was called for in the pattern (it was smaller—or lighter weight) and I was scared that would make the sweater even smaller, so I used larger needles. All this to say, the sweater was not too small. So I accomplished that initial goal. Sadly, this meant the sweater was waaaaaaay too big. In a move most knitters would not recommend, I decided to alter the pattern on the go rather than to “frog”. “It’s my sweater!” I thought, “I can try whatever I want!” And that is the beauty of knitting. Or rather the versatility. The test sweater did end up beautiful but did not really look like I had planned. It was a learning activity. (Test cardigan)  (Baby cardigan) For the WOTW sweater, I decided to follow the initial plan. Make a normal-looking, raglan-style, vanilla cardigan. I stuck to the plan, and was really happy with it by the time I separated for sleeves. At that point, I had a decision to make: how did I want to do the sleeves? I debated doing natural colored yarns and keeping the body of the sweater rainbow—I had several yarns already made for this, but in the end, I wanted to keep it a regular rainbow. What I did to keep the stripes similar lengths was that I spun two big skeins for each color, or four little skeins. I used one (or half) on the body, and split the rest of the color for each sleeve. I knit my sleeves one at a time, and you know, this sweater is NOT precise. So, I’m actuality they probably don’t match up exactly. This doesn’t affect in the slightest how much I love this sweater and how perfect I think it looks. There’s still one step to go before it’s done done, which will be blocking. Blocking is washing and laying out flat to dry. This allows the fibers to relax and have more drape. I’m just a little nervous that the colours could bleed so I’m enjoying the sweater so so much as is currently. Isn’t it beautiful? 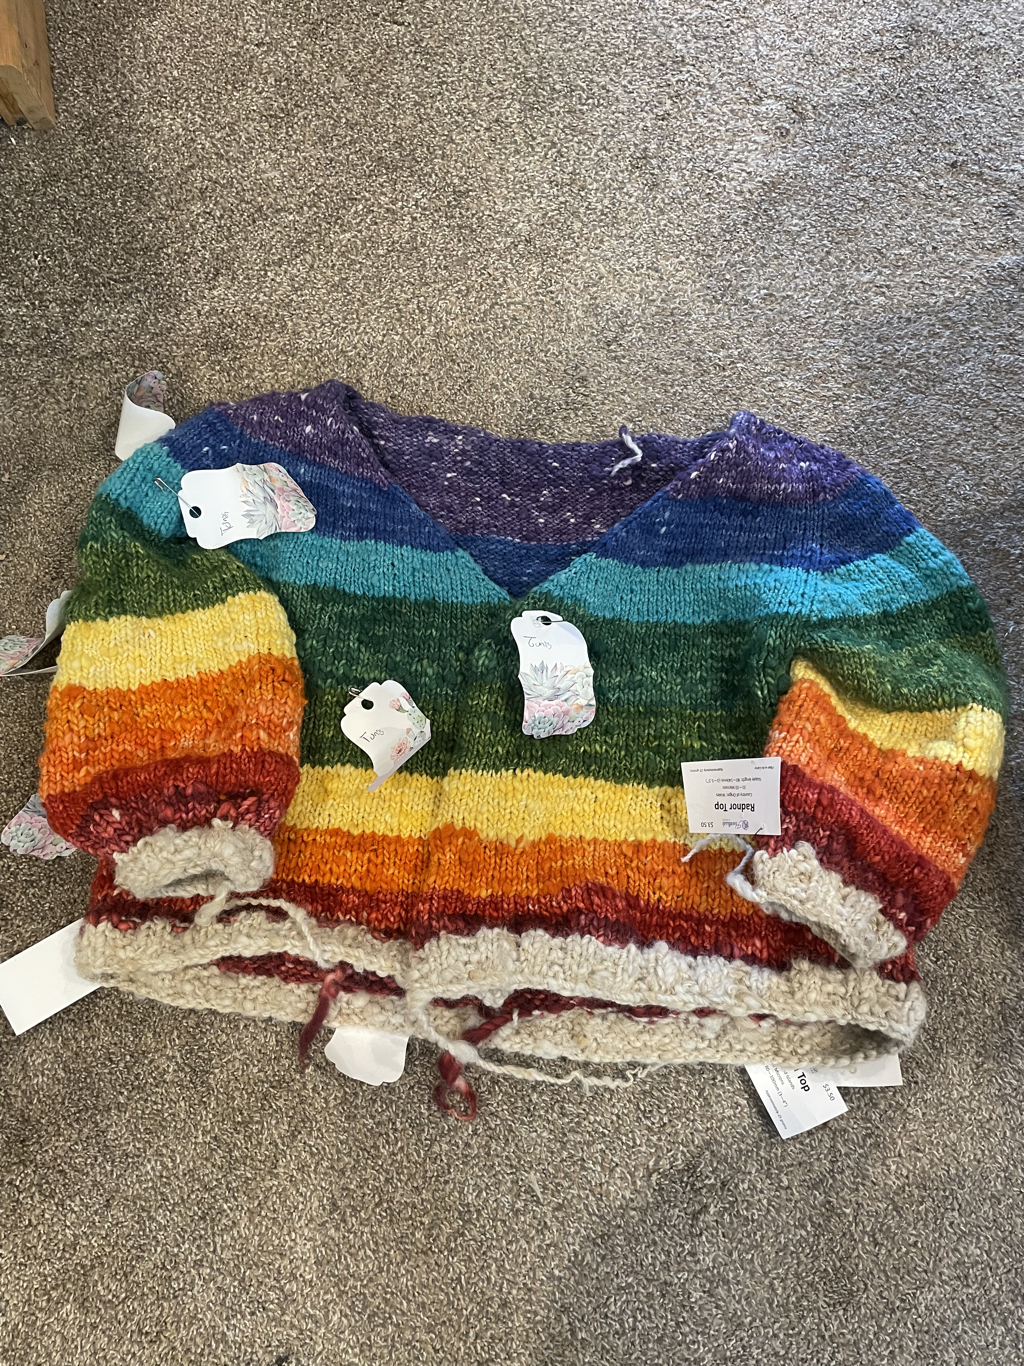  I’ll be back later with another blog round up on the breed study side of the sweater, but thank you to everyone who has been following along with me on this five month journey!
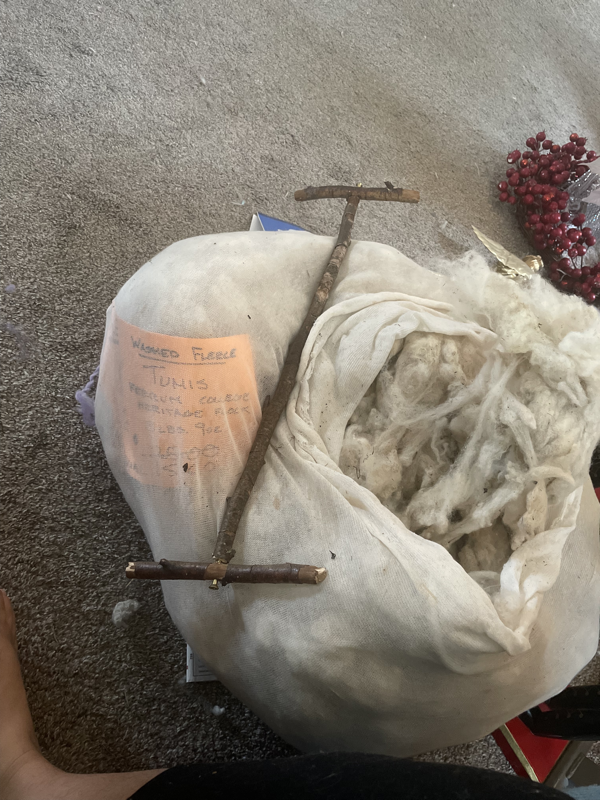
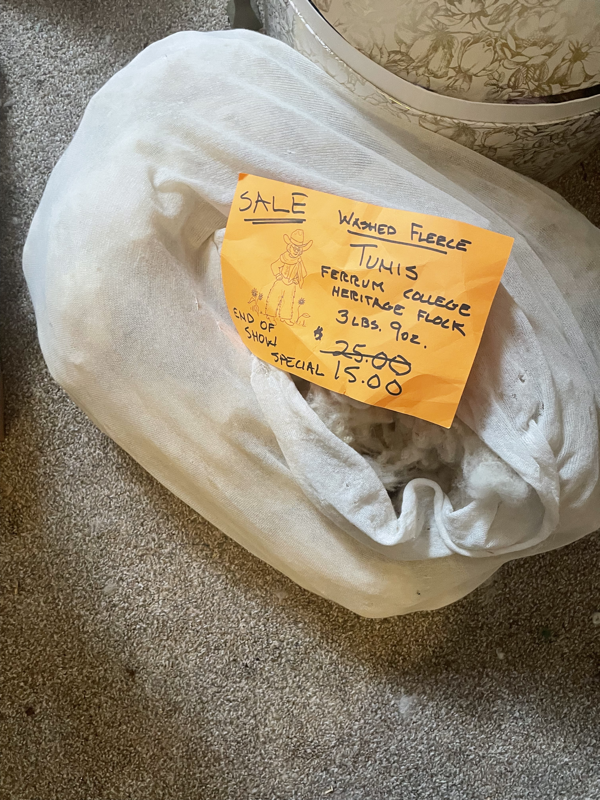
 Here is the video concluding my wool of the week sweater project. This project was a study on some of the different breeds of sheep’s wool, much of it from raw off the sheep, washed, processed and prepped for spinning. I spun every yard of this yarn on my Ashford Kiwi 3 spinning wheel (that I built), dyed it, and knitted it. This project spanned from October 2023 to February 2024. It included gulf coast native, merino, Suffolk, Tunis, Wensleydale, polwarth, California red, rad or, shropshire, white faced woodland, blue faced Leicester, Falkland, ramboulliet, and an alpaca blended with a teeswater/Cotswold cross. Follow the rest of this journey and others at my insta @EmeraldGardenGirlFarm , my YouTube at August Lee, and my blog (there will be two new blogs on it soon!) Follow my next projects! Really really exciting things coming up for the 150th running Of the Kentucky Derby! Todays ecological musings
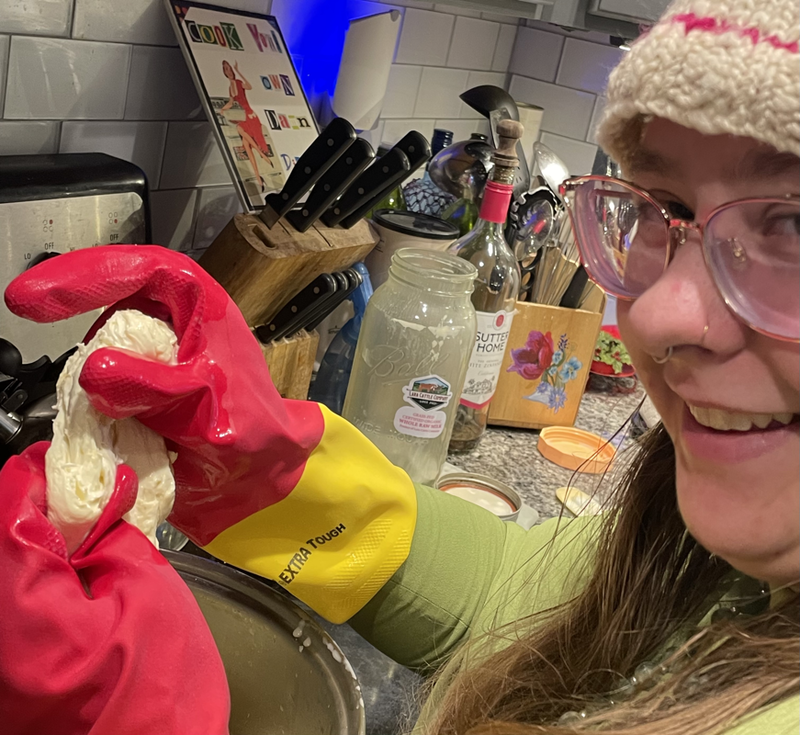
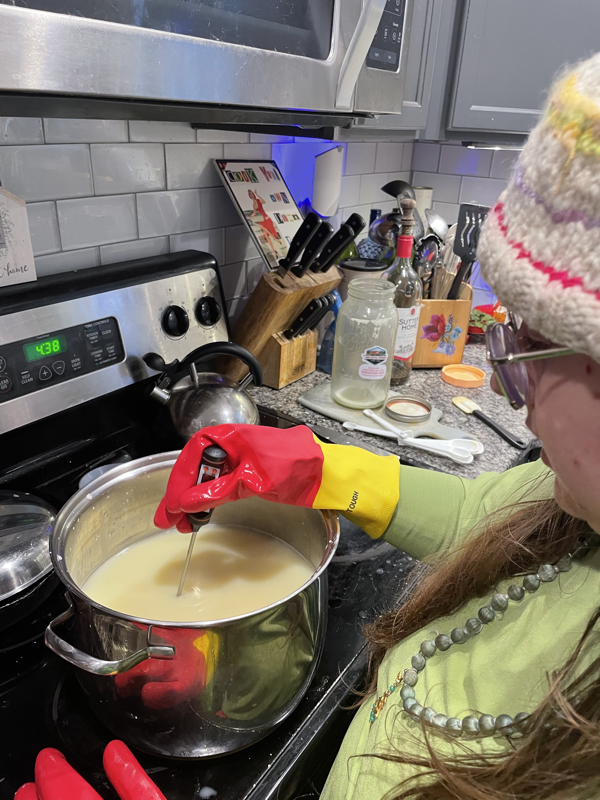
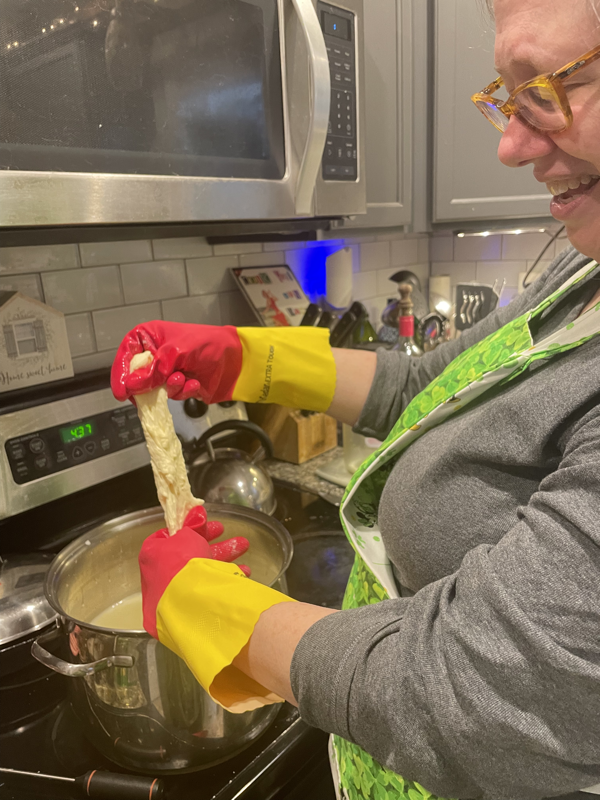
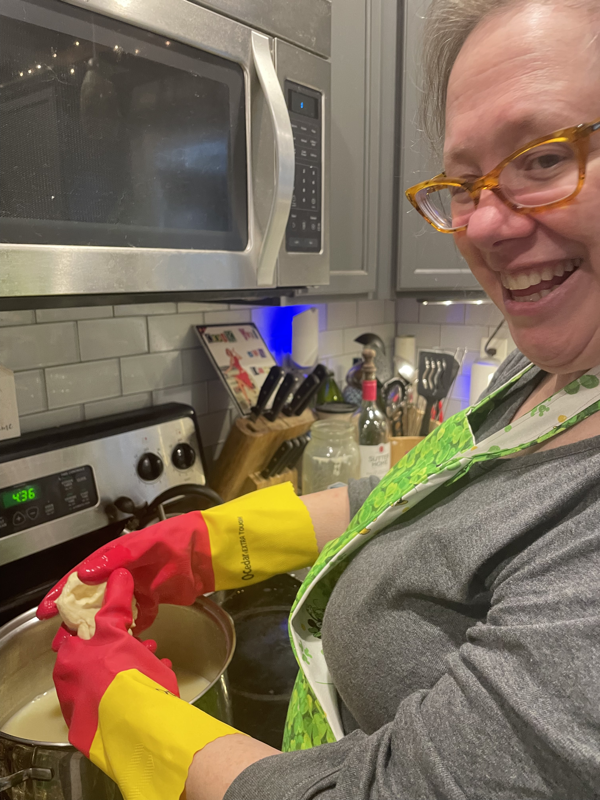
For the last 13 months I have been actively trying to bring myself closer to the earth and also to have a lighter footprint on our planet. Majority of the American population today believes in climate change, myriad have felt it, and actually lots of people have actually died from it or survived only to lose their homes and or home places. Wildfires, hurricanes, sea level rise on the Atlantic and gulf coasts. Since there’s no gen Ed class on climate change that everybody has to take, sometimes we don’t even realize what all climate change brings. The extinction of the Great Barrier Reef, the endangerment of polar bears, and the devastating abundance of little creatures that don’t have charisma enough for us to call them beloved, slip, slip, slidin away. We are in an extinction event, But we can’t stop ourselves. It makes me think of a crass act I heard of recently, of pain, self harm, and pleasure. These actions we as a species are making, though, is much more than crass, they will be our detriment. So while it’s fairly common for people to say they’re a nature lover, or an environmentalist, or that they’re eco conscious and recycle; I have come to a realization. No matter how much we feel it in our hearts, this care and love, it is a cognitive dissonance to not take stock of our impacts and make some direct changes. I feel like I wanted to write something hopeful and inspiring and fun but now I feel like I’m wagging my finger at everyone. My stance is firm and blatant, harsh. This tactic doesn’t usually work, as it sadly incorporates shame. “But it is shameful!” I think. Yes, yes it is a shame that we have gotten ourselves into this situation in a routine we have evolved into. These “bad actions” are plainly our native tongue. Disappointing? Yes. Daunting? Absolutely. Impossible? Yet to see. What can be gained by giving up bad actions, donating and uplifting others and building strong healthy resource stocked interdependent communities, and finding a connection with our earth? A lot. Even if it doesn’t save our planet, I firmly believe that a climate activist life as a natural earthling is a better and more fulfilling lifepath than just holding a positive thought in our heart but keeping on poisoning and hurting ourselves and others. That is what we are giving up (if we have the means to change, I don’t want to exclude people who have barriers to eco activist living—and I hope to provide information and inspiration as to how ANYONE can make good changes.) Thank you for listening to this Ted talk 😂 I hope it doesn’t deter you from my usual posts (this is a much more vehemently passionate post than my everyday posts.) Blessings, until next time! The top things I do for climate action:
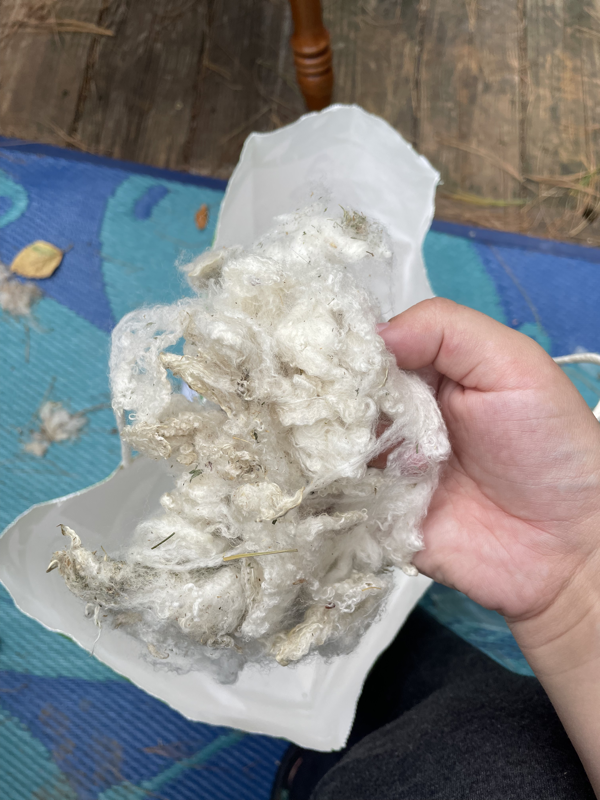
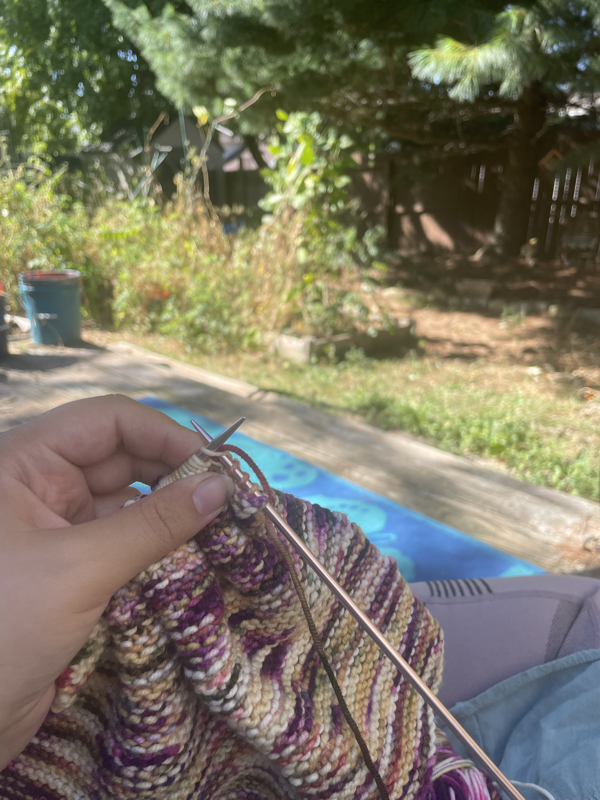
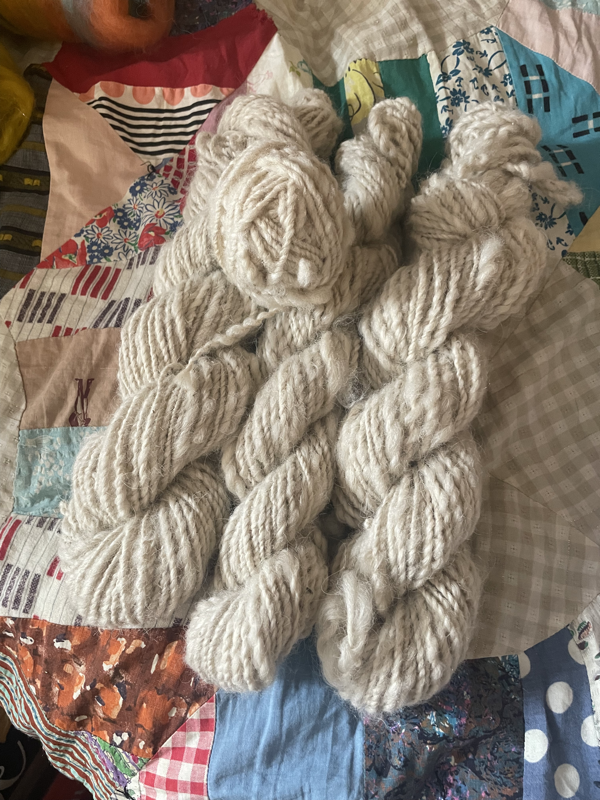
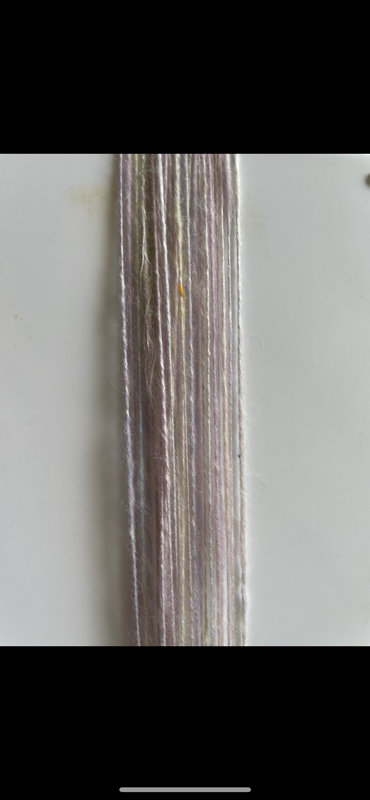
Hopefully this gives a hint of insight into some of the main practices of my current environmentalism! Thank you as always for reading! |
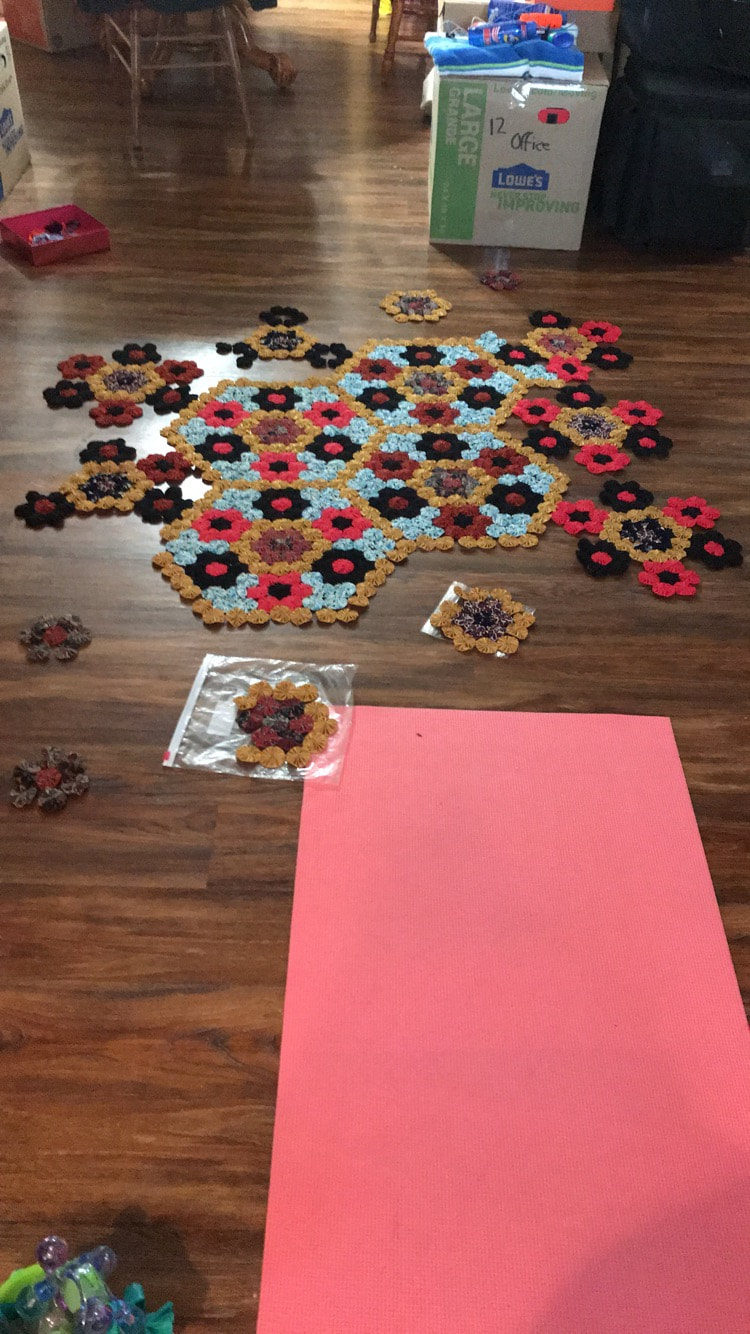
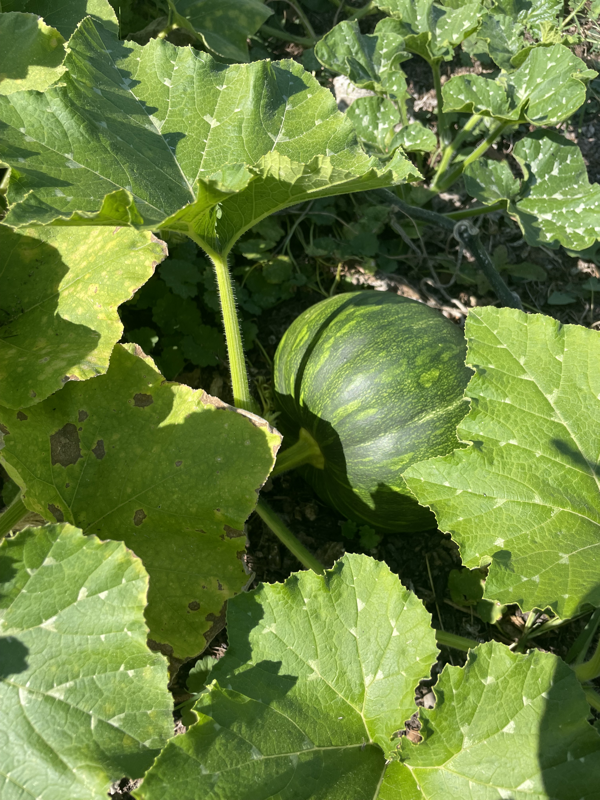
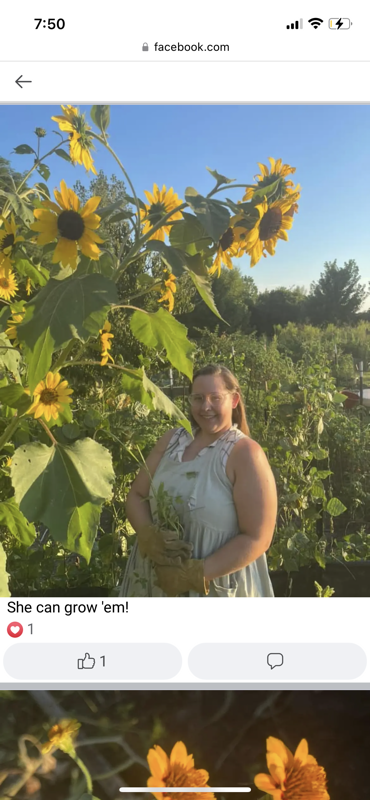
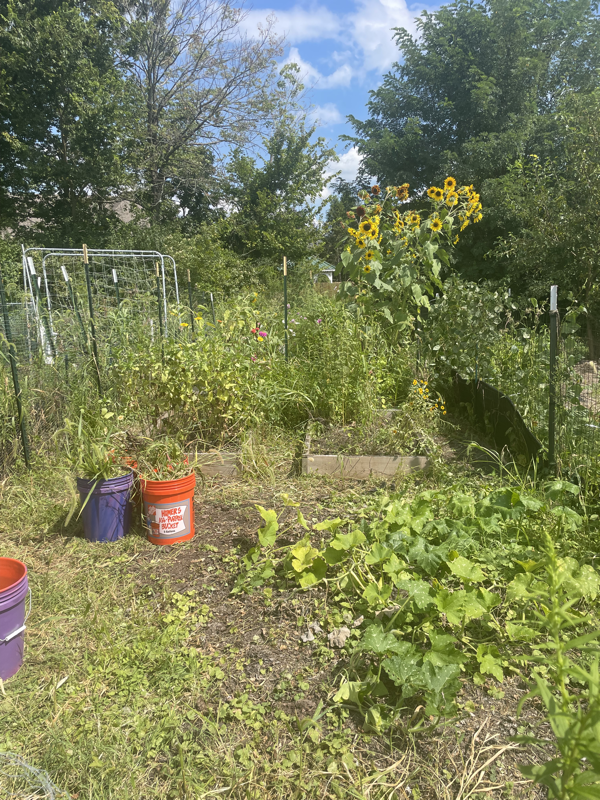
Quilt Update!


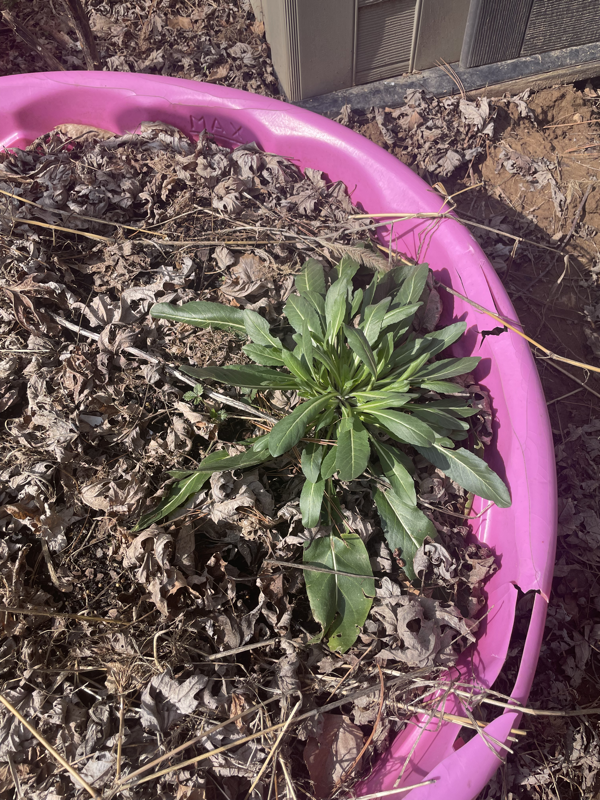
Ironweed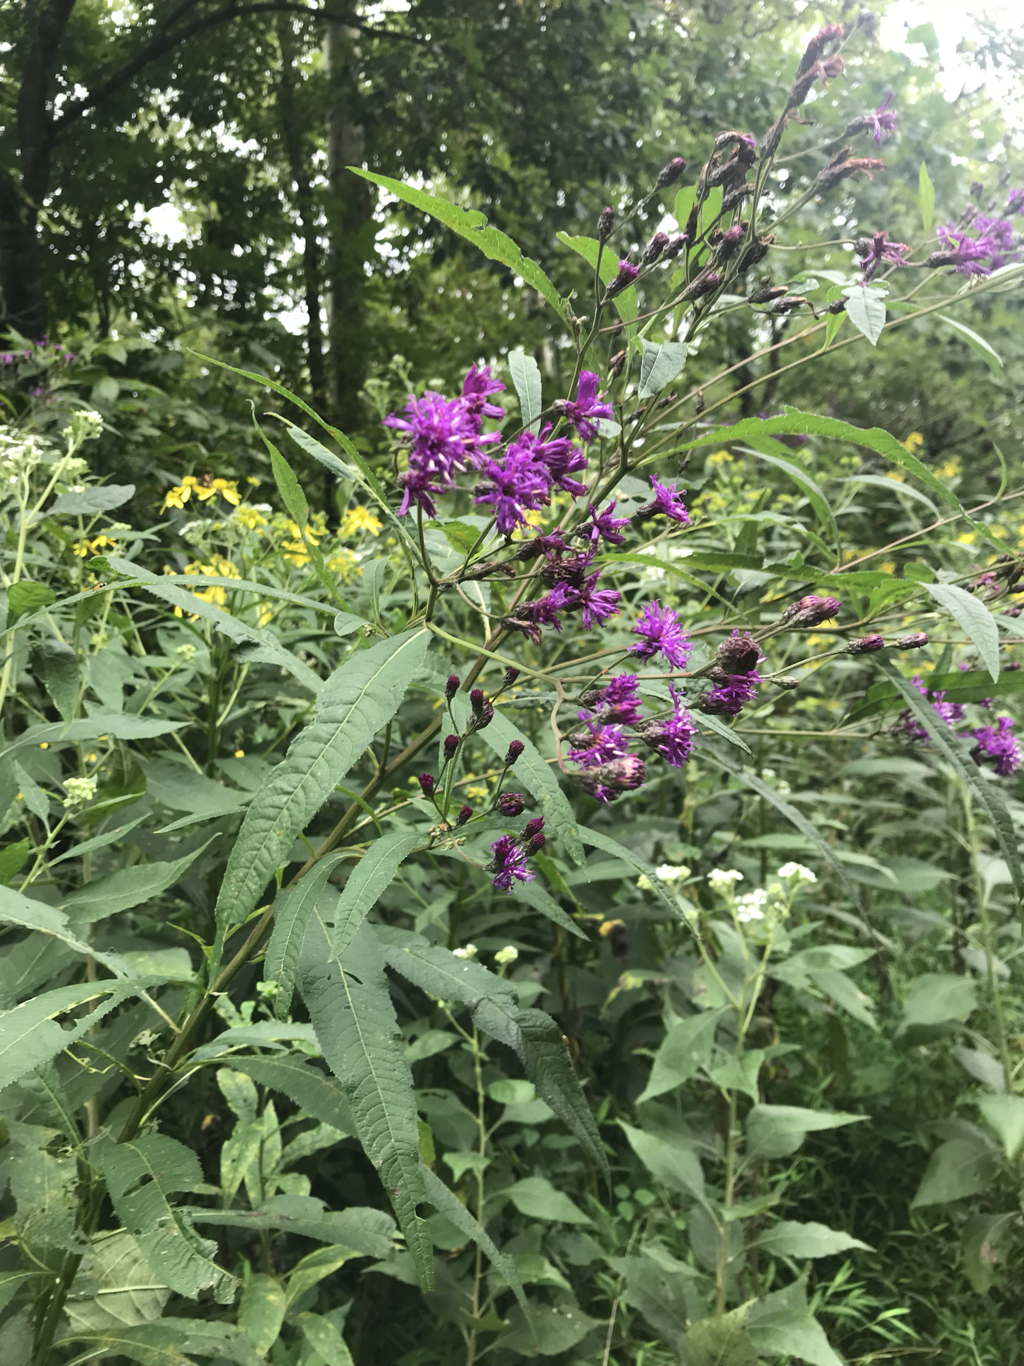
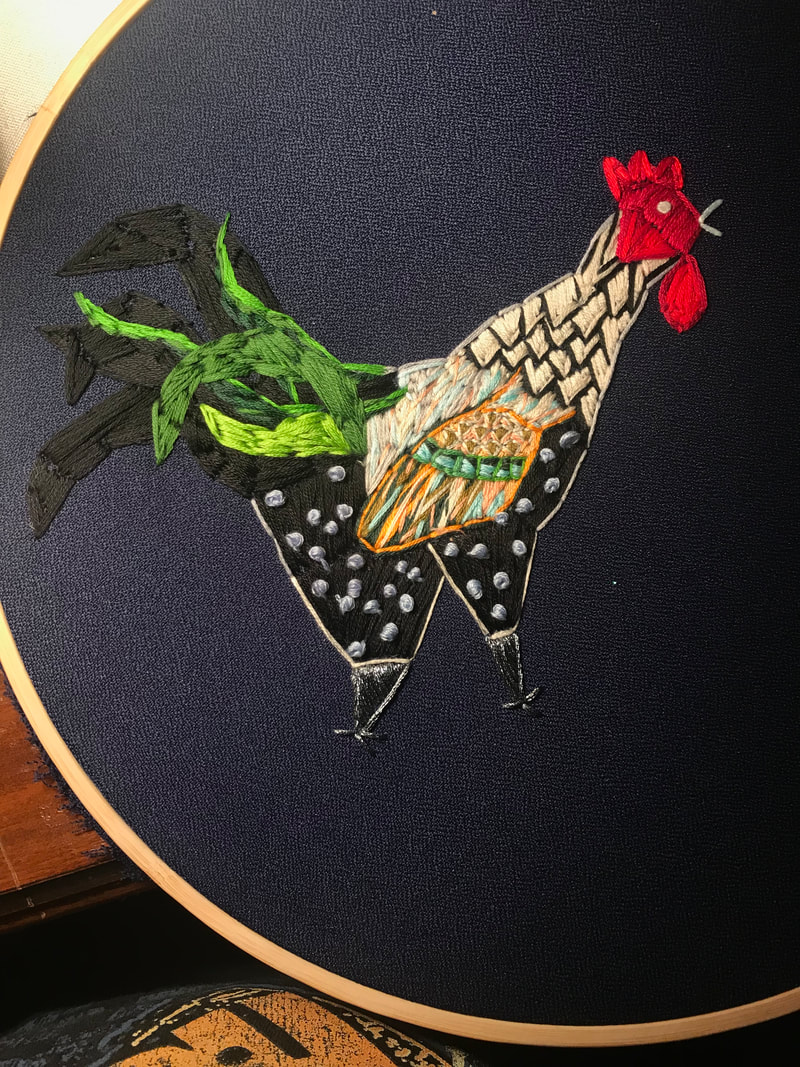
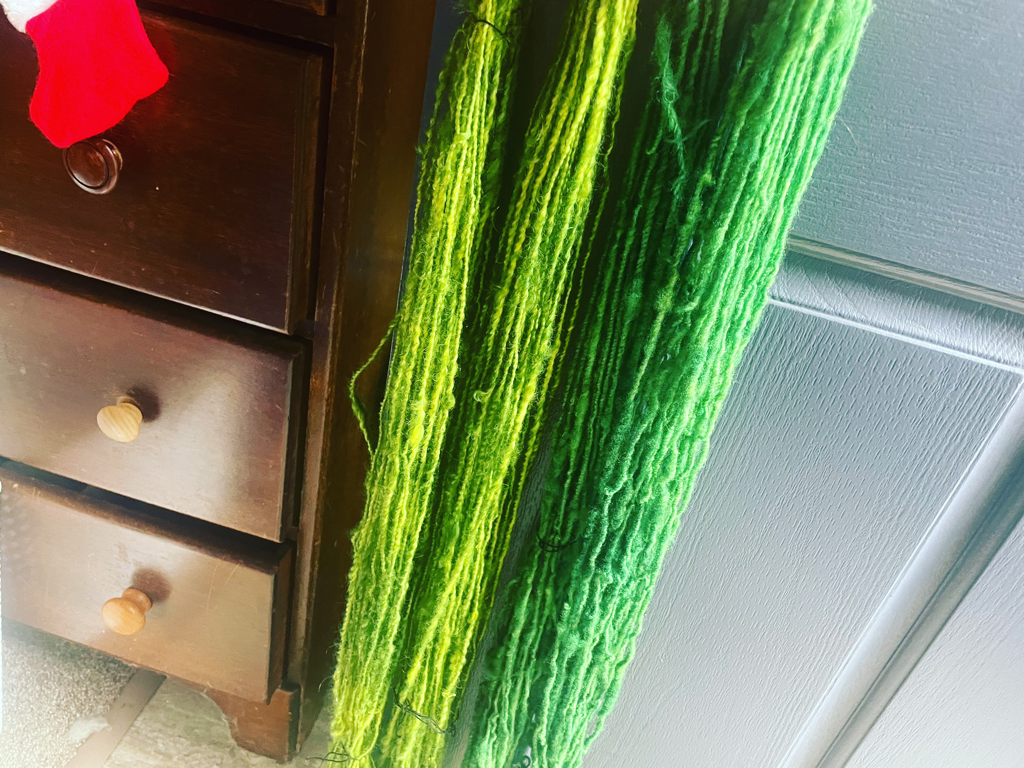
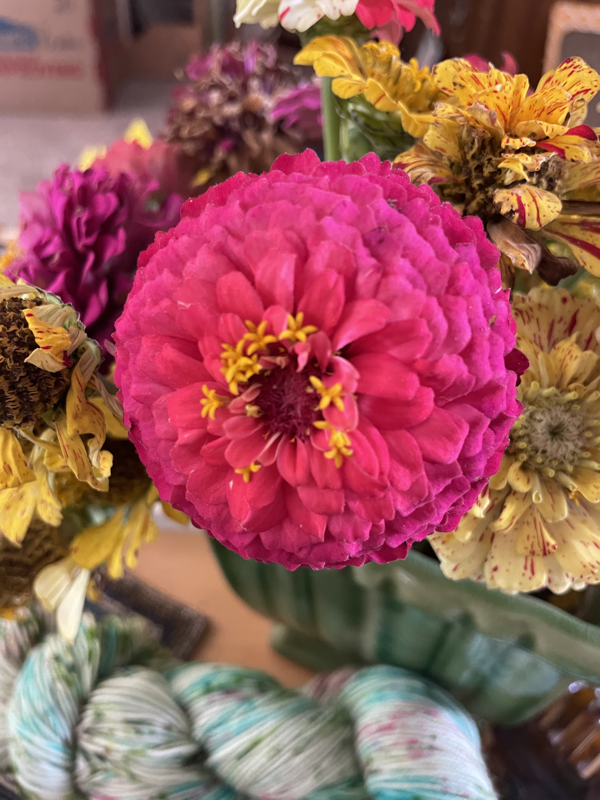
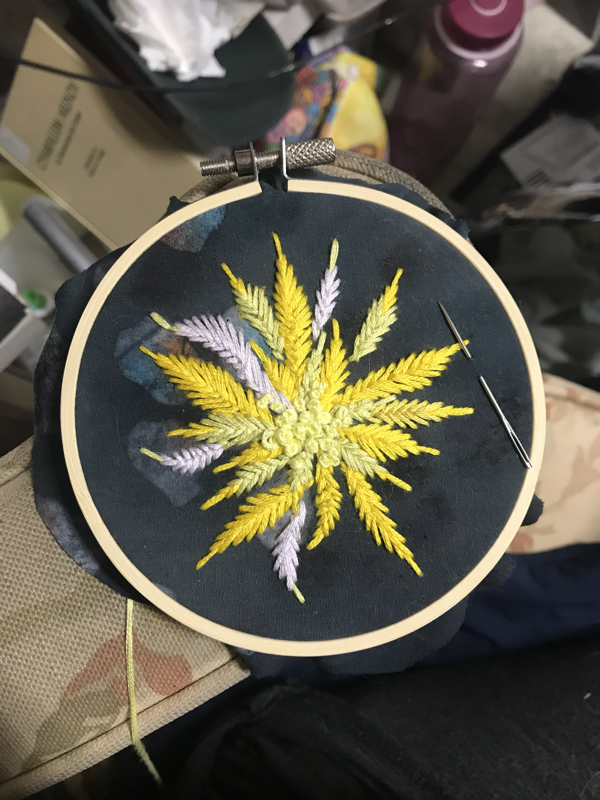
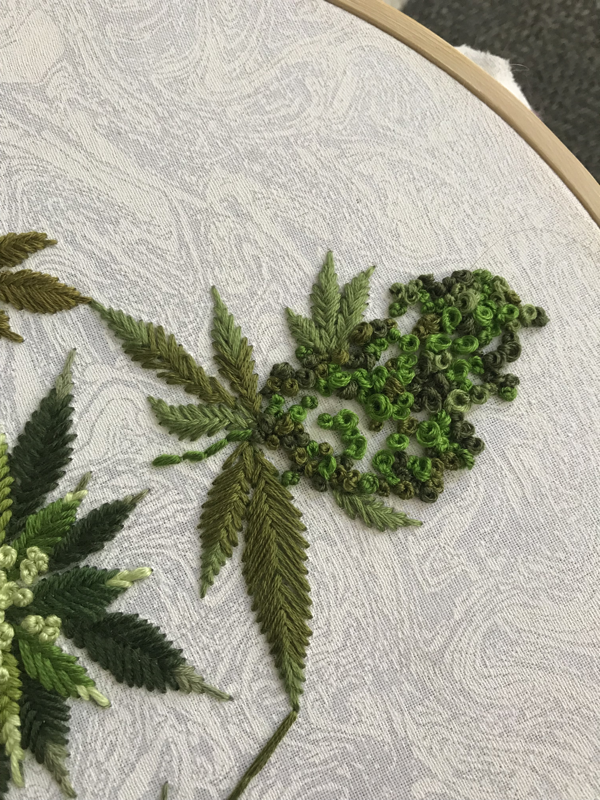
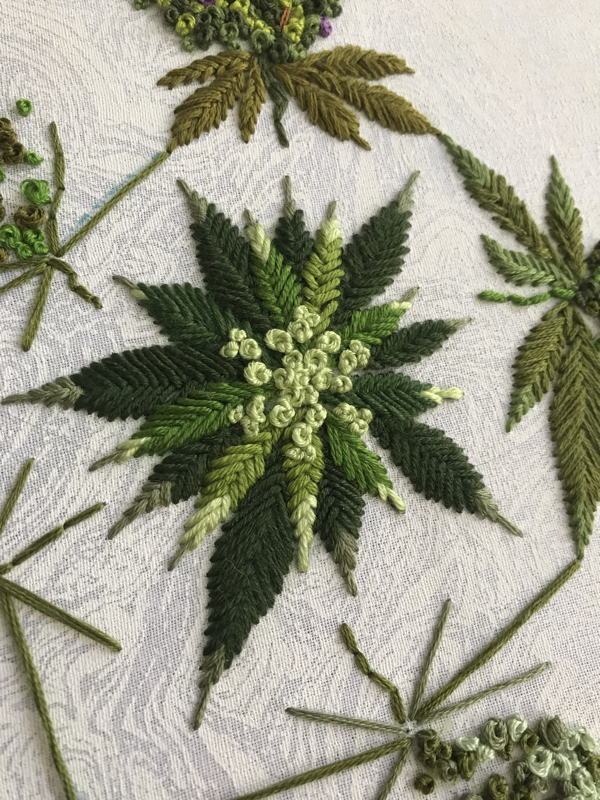
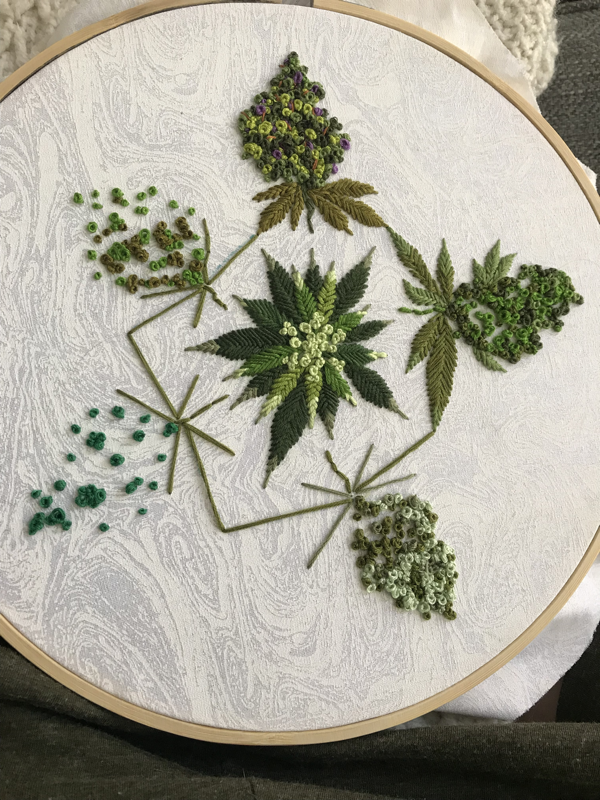
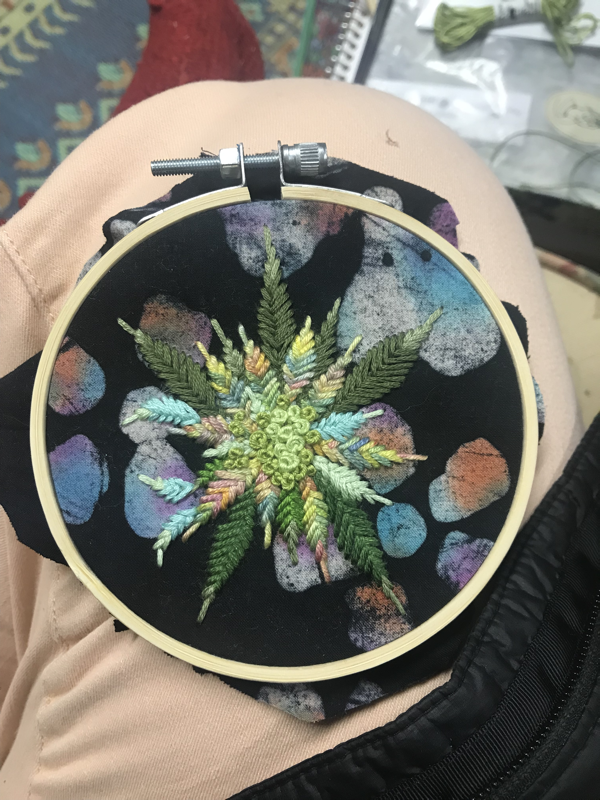
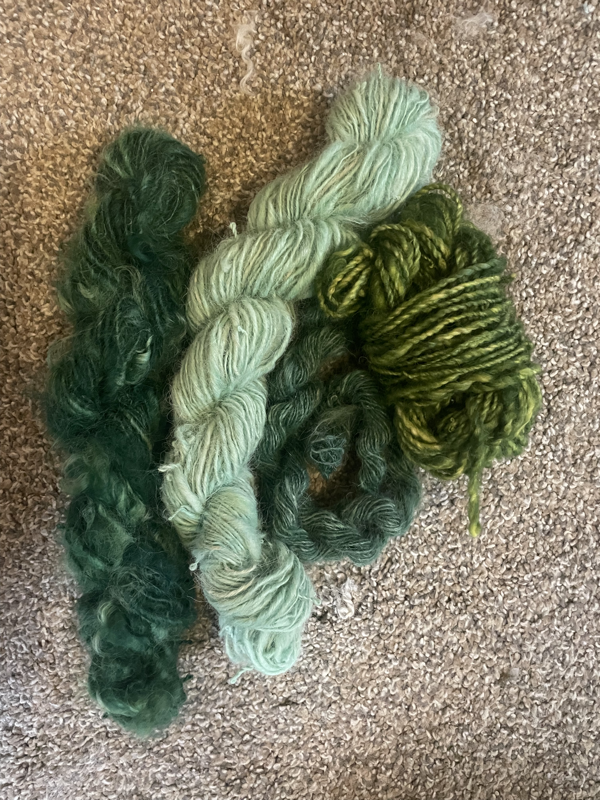
Disco Chicken of Love
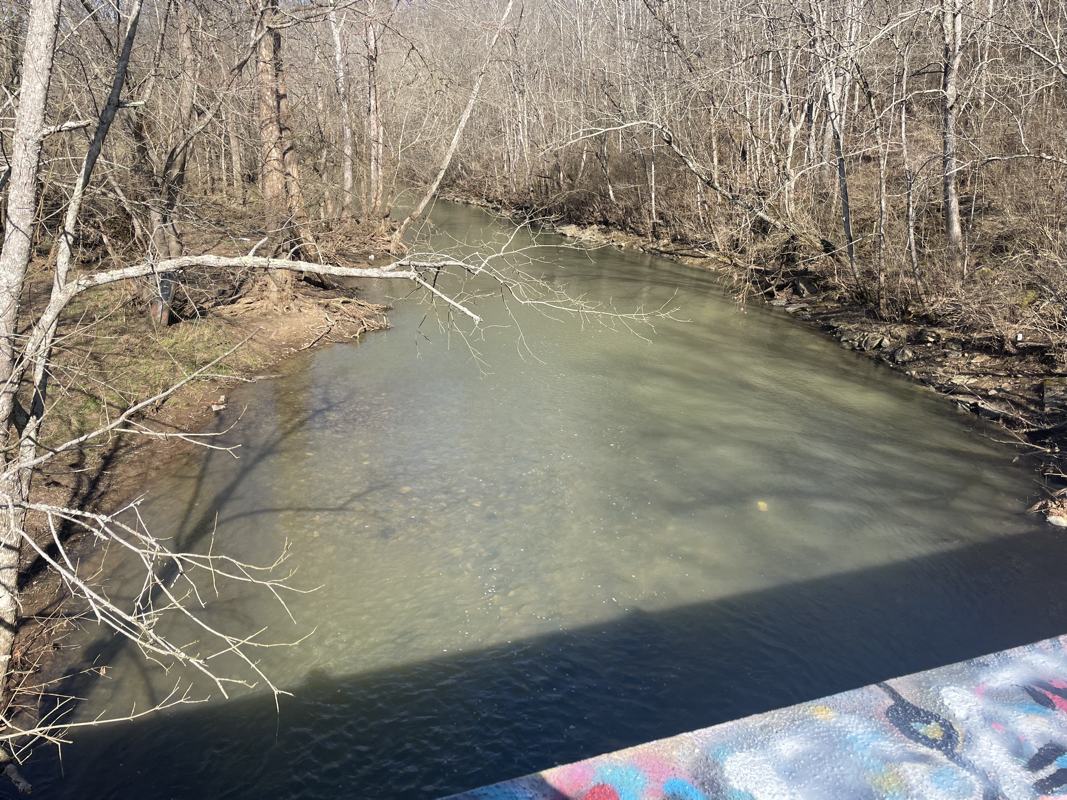
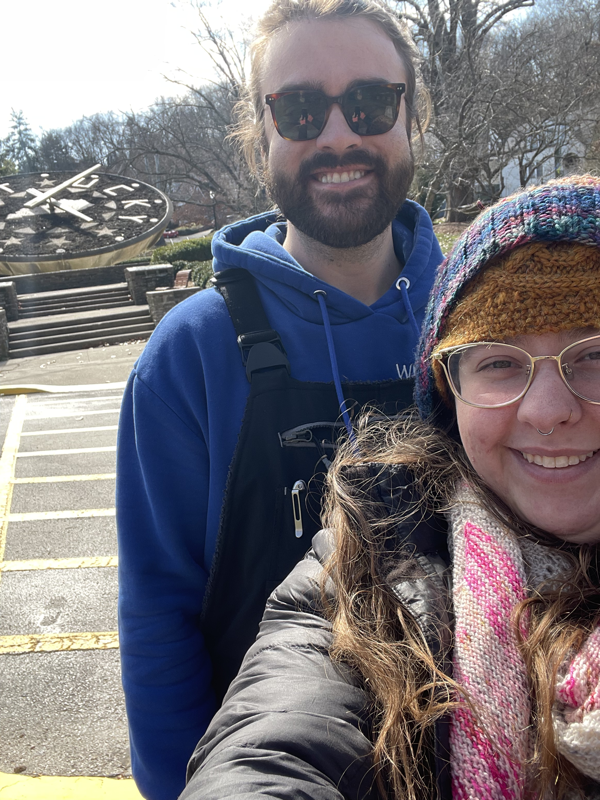
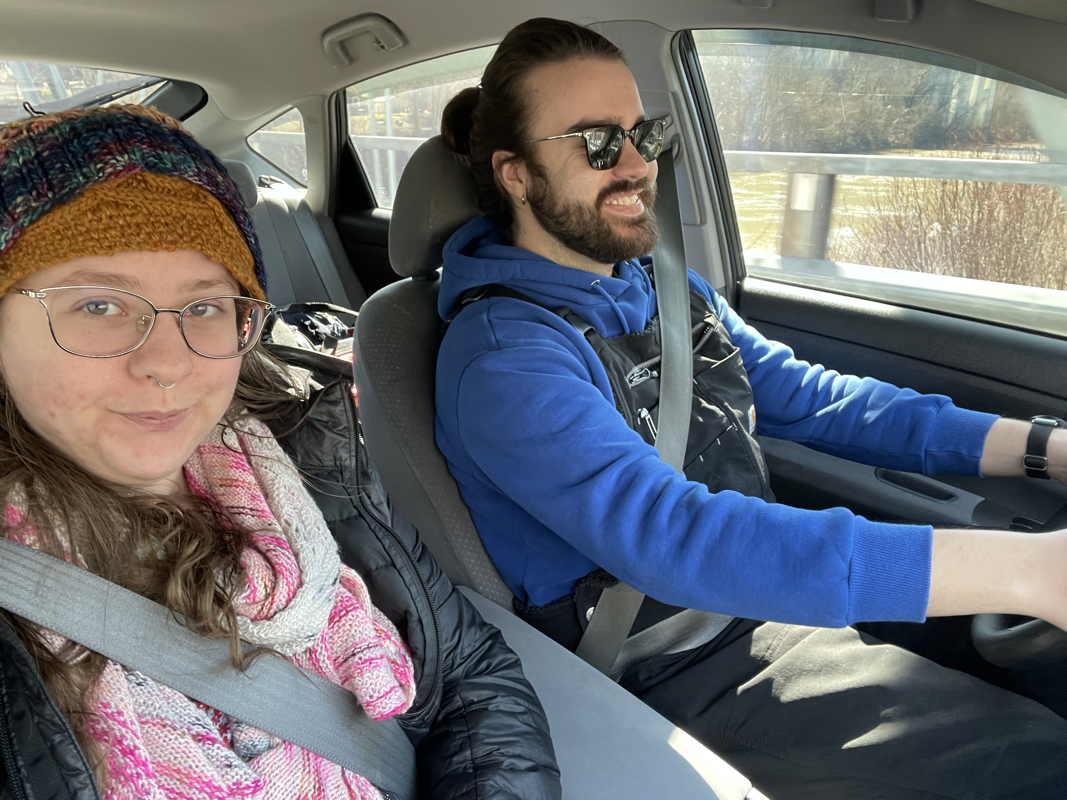
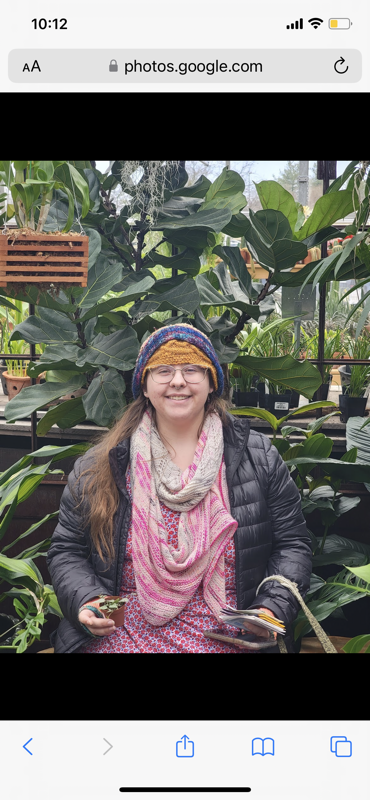
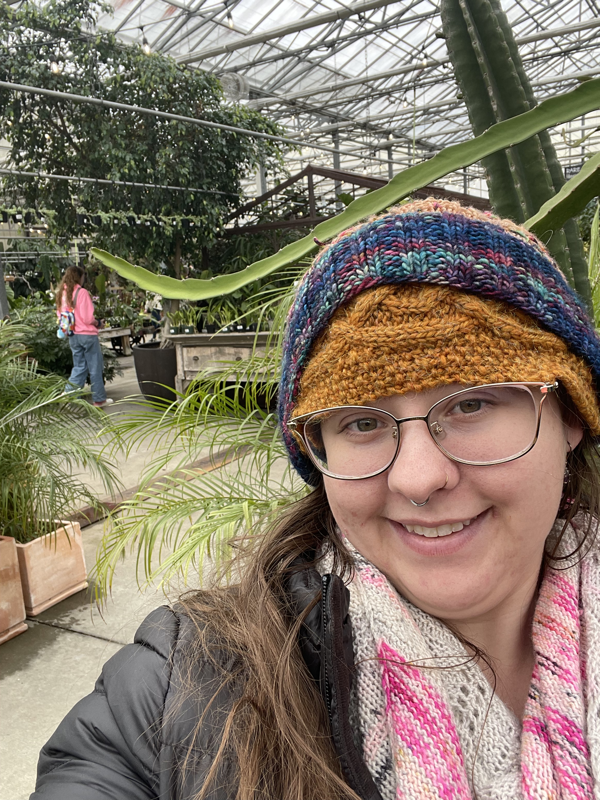
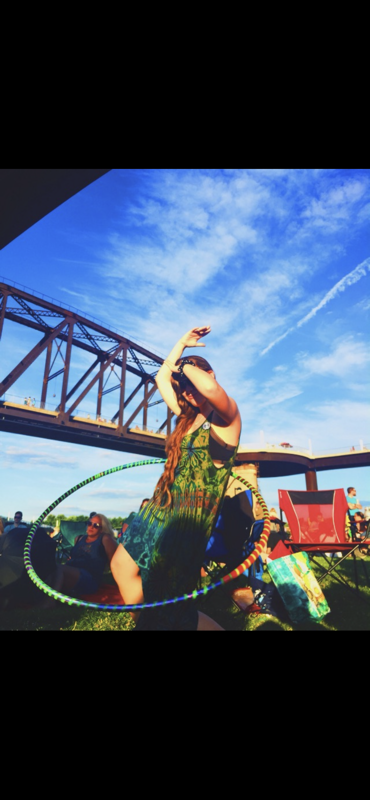
sTate fair ready!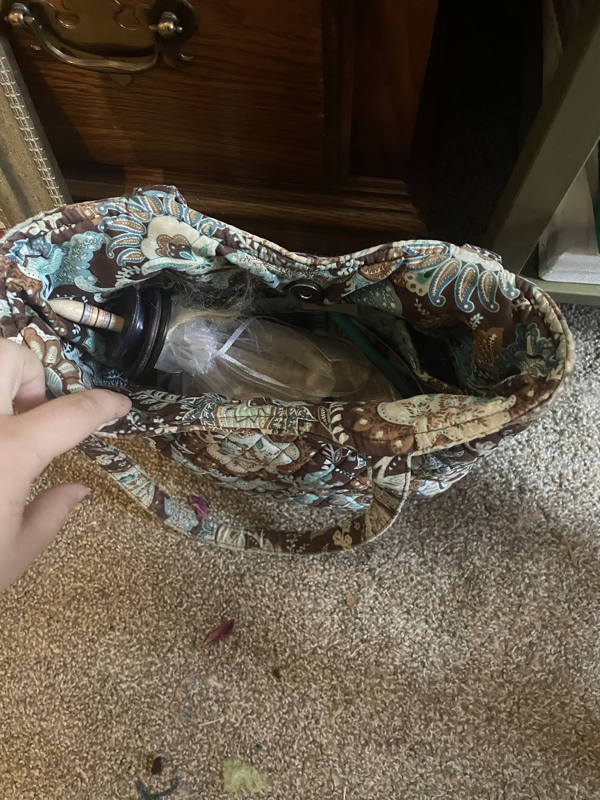


seed starting 2019


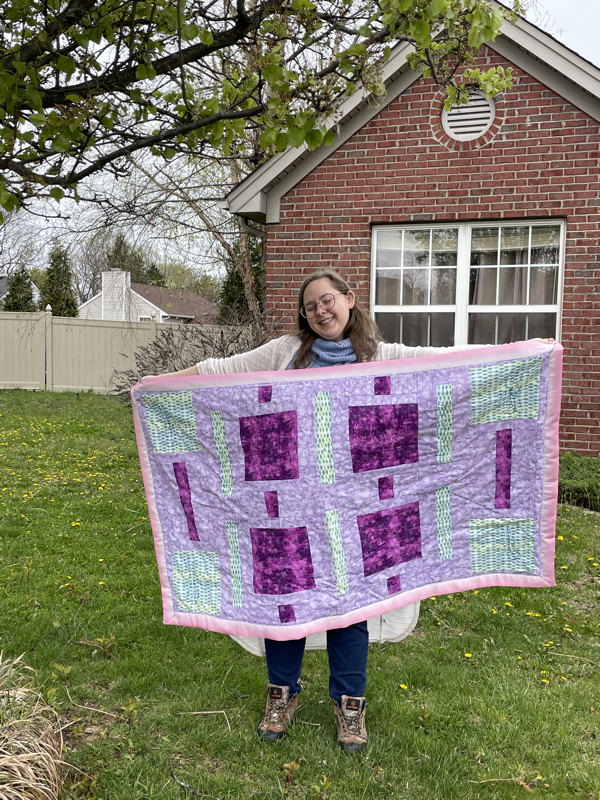
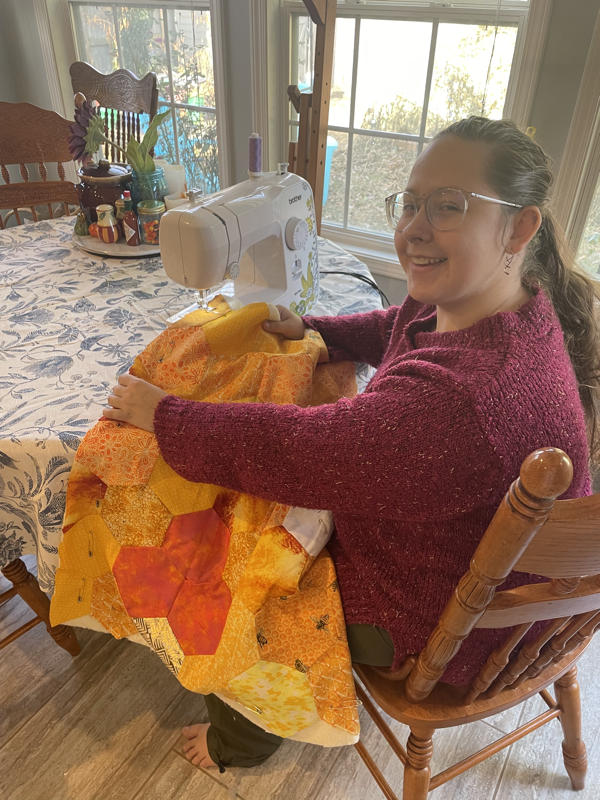
ky state fair quilt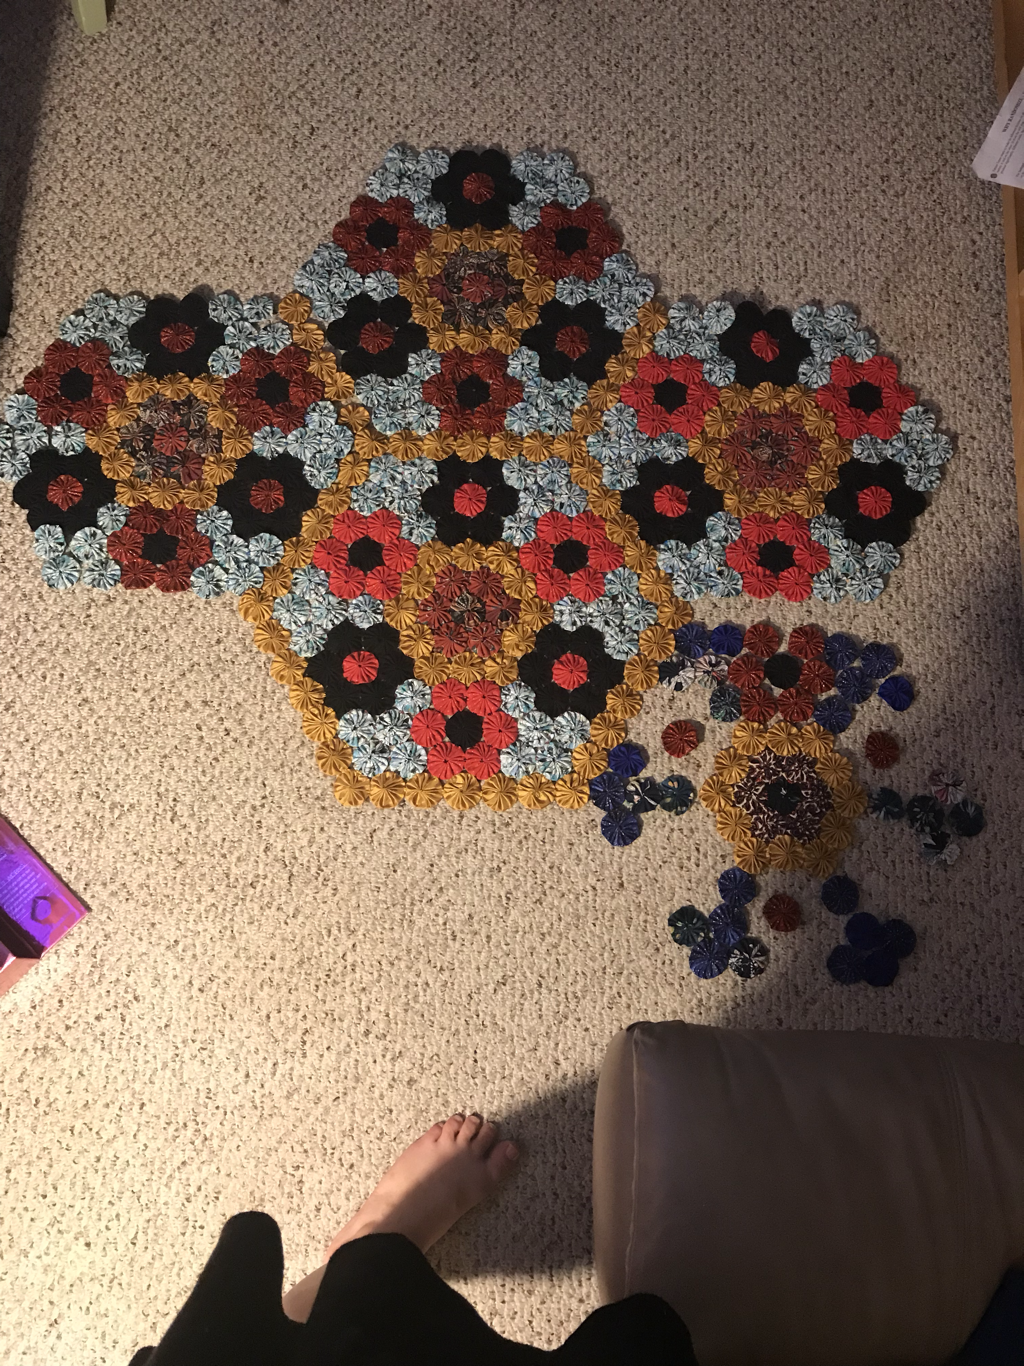
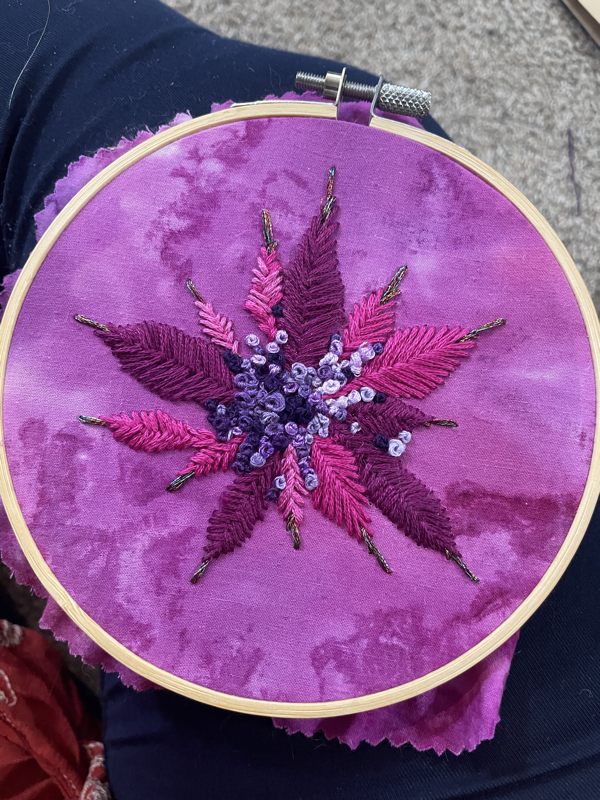
WHOTH Embroidery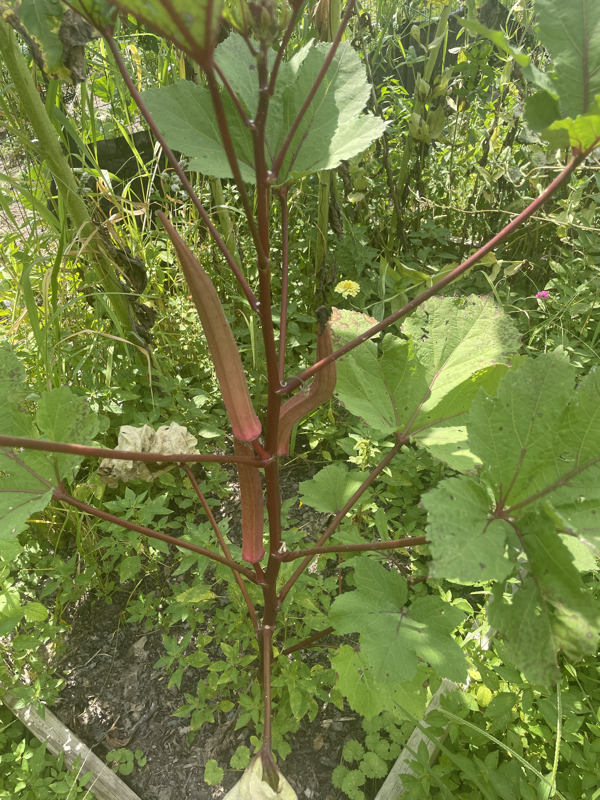

seashell casTles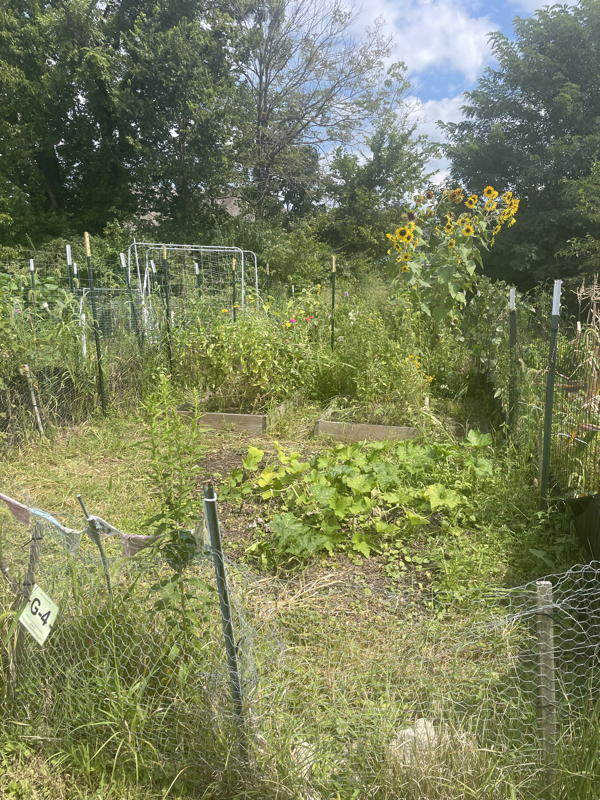
whoth blanket
edible goodness


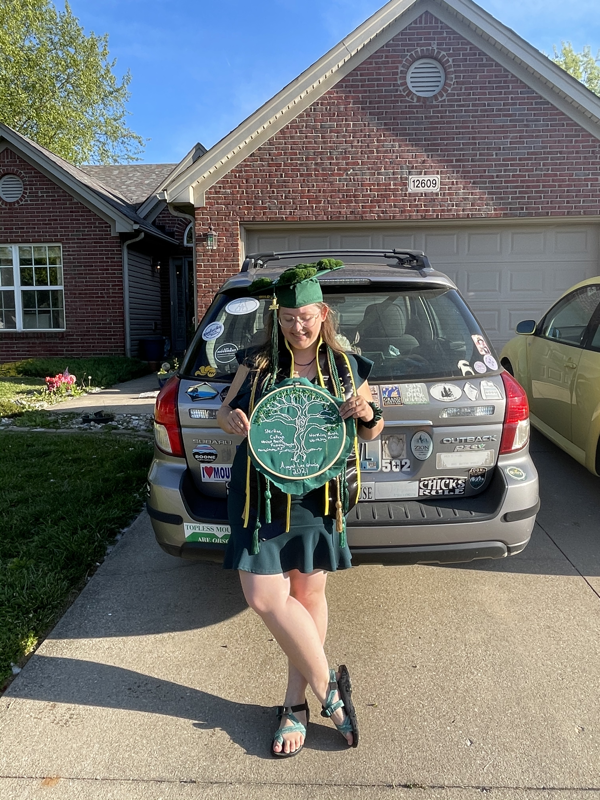
AuthorA sustainability major at U of L, beginning farmer, crafter, and writer. Archives
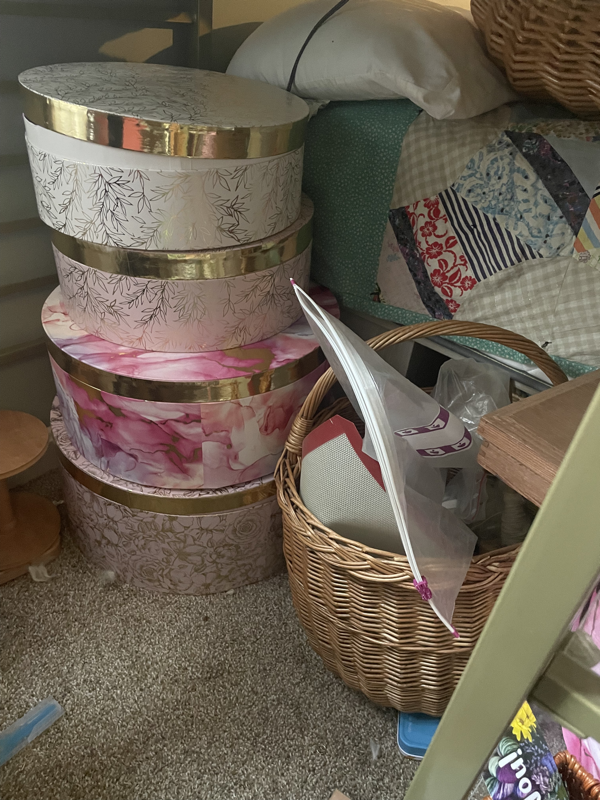
April 2024
Categories |


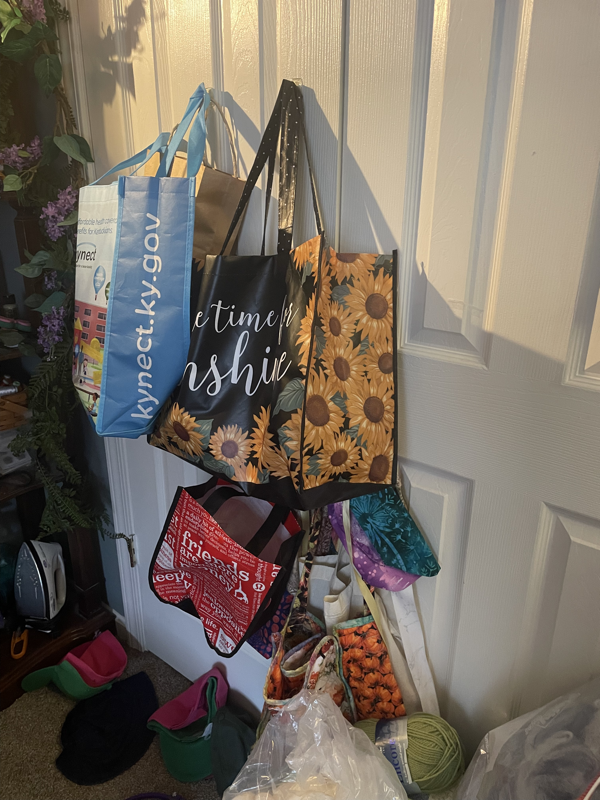


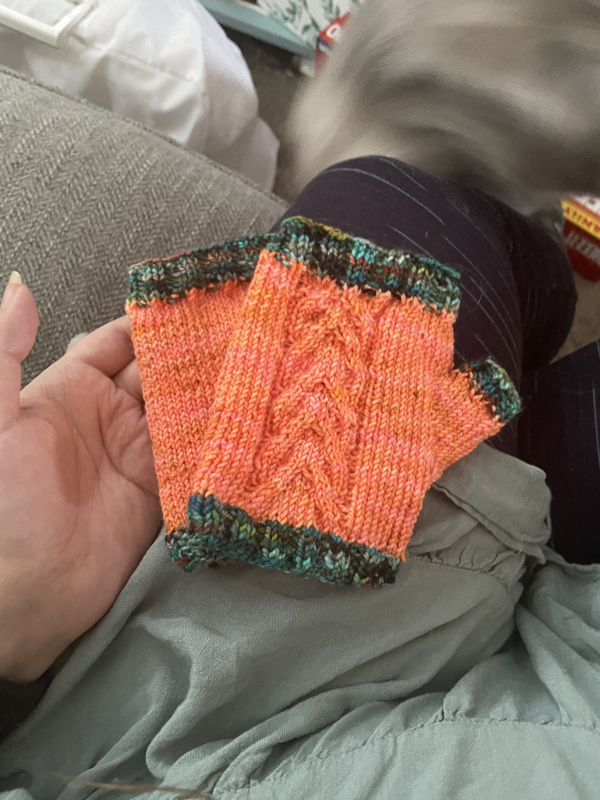
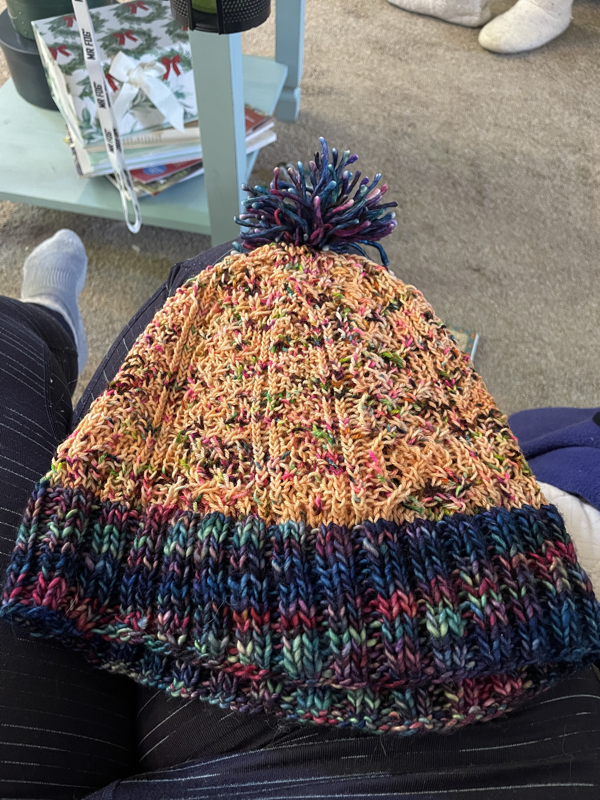

 RSS Feed
|
|
|